A woodworking crib is a fully hand-built infant bed made without power tools — flattened with a hand plane, joined with mortise and tenon joints, and shaped with saws and chisels. It’s a real furniture project, not a beginner exercise: expect a full weekend or two, tight tolerances for slat spacing, and a hard requirement that every joint be strong enough to hold a moving toddler. This guide walks through the build in the order you’d actually do it in a shed or garage.
Is building a crib by hand actually a good first big project?
No, and it’s worth saying that plainly before you buy wood. A crib is not a beginner project. It’s a safety-critical piece of furniture that a baby will be left alone in, unsupervised, for hours at a time. If your joinery has never held up anything more demanding than a shelf bracket, practice on something lower-stakes first.
A stool, a small bench, or a wooden crate are all good warm-ups because they use the same core skills — flattening stock, cutting mortise and tenon joints, squaring a frame — without the consequence of failure being a fall or a pinch injury. If you haven’t built a crate yet, our crate guide covers the same joinery at a much lower risk level.
If you’ve already built a few things and you’re confident in your joints, a hand-built crib is absolutely achievable in a small shop. It just isn’t the place to learn mortise and tenon for the first time.
What tools do you actually need to build a crib by hand?
You need a hand plane, backsaw, chisels, a marking knife, a mortise gauge, and clamps — no power tools required. Most of this can be secondhand and still perform well once properly sharpened, which is the more important variable than the tool’s age or brand.
Specifically:
- A jack or jointer plane for flattening rough stock and squaring edges before joinery.
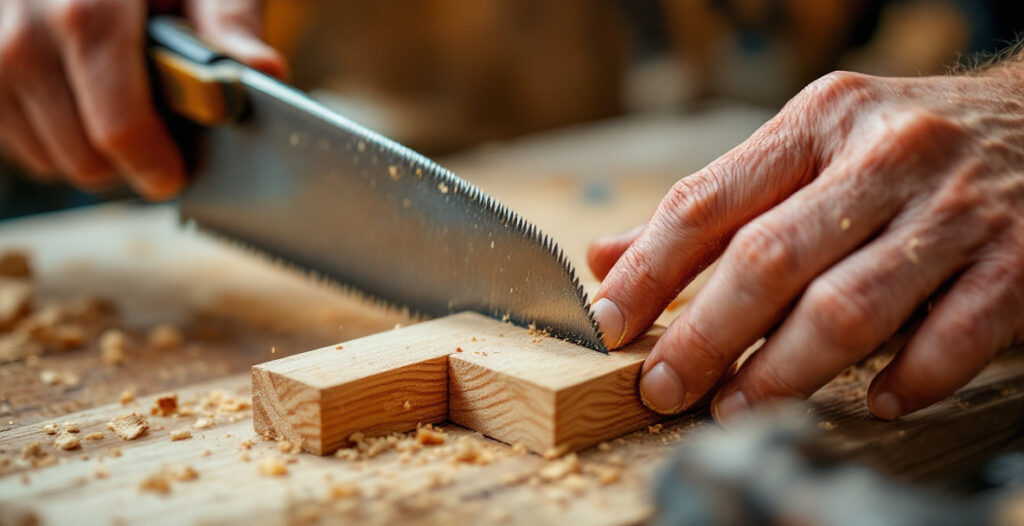
- A backsaw (tenon saw) for cutting shoulders and cheeks cleanly.
- Chisels in at least 1/4″, 1/2″, and 3/4″ widths for chopping mortises and paring joints.
- A mortise gauge for marking parallel lines for mortise and tenon layout.
- A marking knife, which gives you a crisper, more accurate line than a pencil ever will.
- Bar or pipe clamps, at least four, for glue-up.
- A coping saw if you’re shaping any curved rails or cutting dovetail waste.
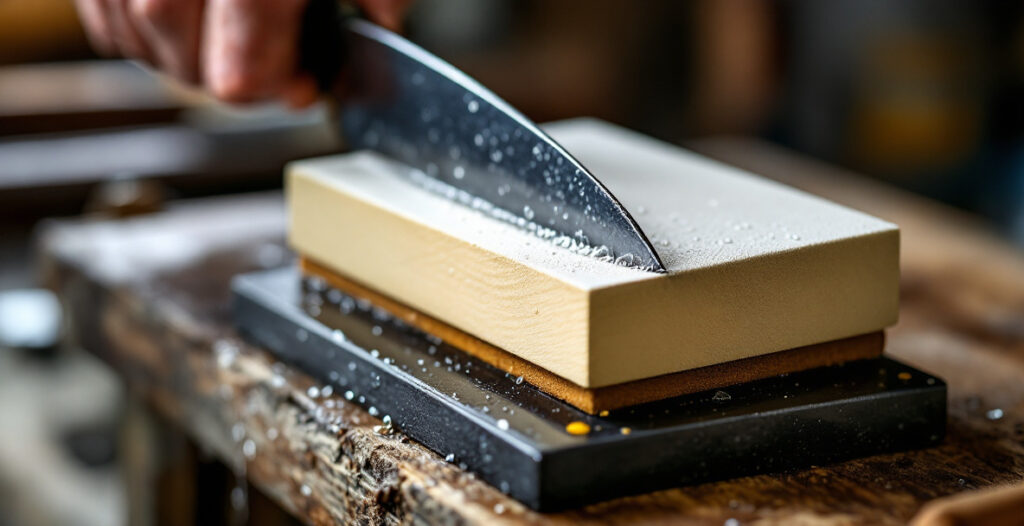
If your chisels or plane blade are dull — and secondhand ones almost always are — sharpen before you start, not halfway through a mortise. Our guides on sharpening a hand plane blade and using a marking knife cover the setup work most people skip.
Choosing wood for a crib
Use a stable, straight-grained hardwood like maple, birch, or ash, and avoid anything treated, painted, or reclaimed from an unknown source. A crib touches a baby’s skin and mouth constantly, so the wood needs to be solid, splinter-resistant, and free of any chemical finish history you can’t verify.
Softwoods like pine can work structurally but dent and splinter more easily under teething and kicking. If you do use pine, expect to sand corners more aggressively and finish with something food-safe.
Skip anything from a demolition pile, an old pallet, or furniture of unknown origin. You cannot know what it was treated with, and for a crib that risk isn’t worth taking. Buy new stock from a lumberyard, even if it costs more than salvaging would.
Board width and moisture content matter more here than in most projects, because slats need to stay straight and gap-free over years of humidity swings. Buy your lumber a few weeks ahead and let it acclimate in the space where you’ll be working before you cut anything.
Building the frame with mortise and tenon joints
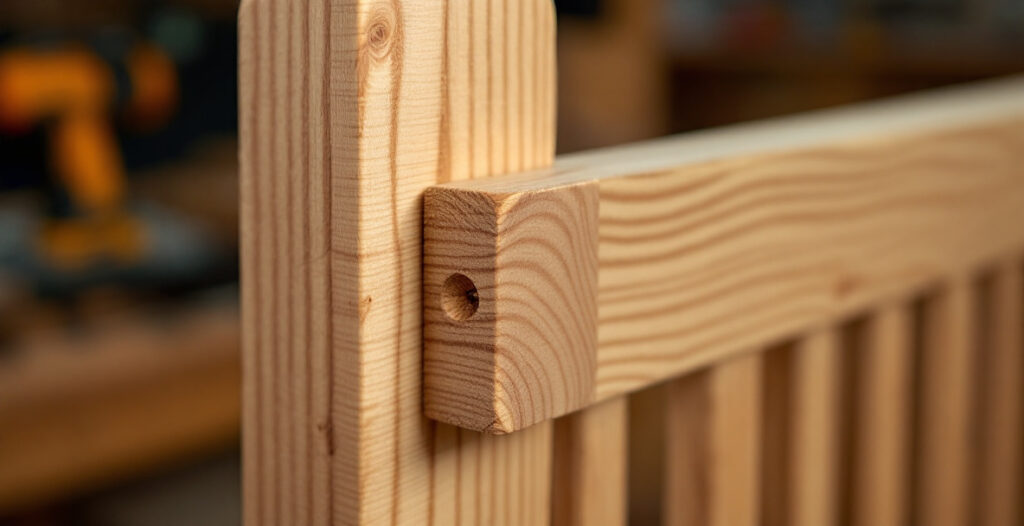
The four corner posts and rails should be joined with mortise and tenon joints, not screws, dowels, or pocket-hole joinery — a crib takes repeated lateral stress from a moving child, and mechanical fasteners alone loosen over time. This is the joint that has held bed frames together for centuries without glue failure, done correctly.
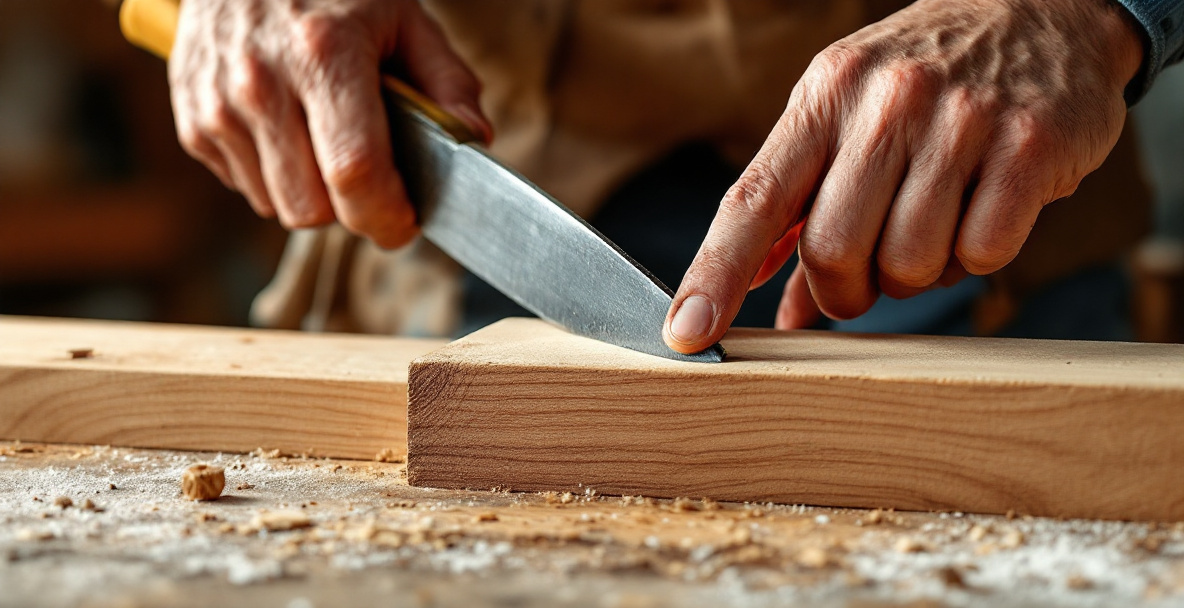
Start by squaring and flattening every piece of stock with a hand plane before you mark anything. A twisted or out-of-square post will throw off every joint downstream. If you haven’t flattened boards by hand before, this flattening guide walks through the process step by step.
Mark your mortises with a mortise gauge set to the width of your chisel, and cut the tenons to fit snugly — not so tight you have to force them, not so loose they wobble. Dry-fit the whole frame before any glue goes near it. If a joint is loose, pare a shaving off the shoulder rather than reaching for extra glue to fill the gap; glue is not a substitute for a well-cut joint.
Once the four corner assemblies are dry-fitted and square, glue and clamp them one at a time, checking for square with a diagonal measurement rather than eyeballing it.
How wide should the mortise and tenon joints be for crib rails?
Aim for a tenon that’s roughly one-third the thickness of the rail stock, which balances strength against the amount of wood removed from the mortised post. For a typical 3/4″ to 1″ thick rail, that puts most tenons in the 1/4″ to 1/3″ range.
Go too thin and the tenon shears under stress; too thick and you weaken the post around the mortise. When in doubt, err slightly thicker rather than thinner — a crib rail takes more abuse than almost any other joint in the piece.
Cutting and spacing the slats
Slats should be spaced no more than 2 3/8 inches (about 6 cm) apart, which is the standard safety spacing used to prevent a baby’s head or limb from becoming trapped between bars. This is the single most important dimension in the entire build, and it’s non-negotiable regardless of design preference.
Measure your total rail length, decide on slat width, and calculate spacing before you cut a single slat — not after, when you’re stuck adjusting on the fly. Consistent spacing looks better and, more importantly, it’s the whole point of the number.
Slats can be joined into the rails with stub tenons in stopped grooves, or simply glued into shallow mortises if you want to keep the joinery simple. Either approach works as long as the slats are secure enough that they can’t be pulled or pushed loose by a determined toddler.
Finishing a crib safely
Use a food-safe, non-toxic finish such as raw or polymerized linseed oil, or skip finishing altogether and leave the wood bare. A baby will chew on the rails — plan the finish around that fact, not around how the wood looks in photos.
Avoid polyurethane, varnish, and anything with added solvents or driers you can’t identify from the label. Fully cured hard wax oils marketed as food-safe are generally fine, but “fully cured” can mean several weeks of dry time, not a few days. If you’re unsure whether a finish has cured, wait longer before use.
Sand thoroughly before finishing — every edge, corner, and slat end should be rounded over enough that there’s no sharp corner within reach of small hands. This step gets rushed more than any other in a hand-tool build, and it shouldn’t be.
What about hardware and mattress fit?
Any hardware you use — screws, bolts, brackets — should be fully recessed or covered, with no exposed sharp edges or points a child could reach. Mattress fit is equally critical: a mattress that’s too small for the frame leaves gaps a baby can slip into, which is a real and documented hazard, not a theoretical one.
Buy your mattress before finalizing interior frame dimensions, not after, so you’re building to a known size rather than hoping a standard mattress happens to fit. A snug fit — no more than the width of two fingers between mattress and frame on any side — is the target.
If you want a second, independently written walkthrough of a hand-built crib for comparison, this DIY Baby Crib guide shows one builder’s approach to the same core structure.
How long does it take to build a crib with hand tools?
Expect somewhere between two and four full weekends for a first-time crib build, depending on your speed with joinery and how much stock preparation you’re doing by hand. Flattening rough lumber by hand plane is the slowest part of the whole process, often taking longer than the joinery itself.
If you’re working evenings rather than full weekend days, stretch that estimate to three or four weeks of steady progress. There’s no shortcut here that doesn’t involve a power planer — this is simply what the pre-machine-era approach costs in time, in exchange for quiet, low-cost, small-space work.
Frequently Asked Questions
Can I use screws instead of mortise and tenon joints for a crib?
You can, but it’s not recommended. Screws and dowels loosen over years of lateral stress from a moving child, while a well-cut mortise and tenon joint gets stronger as wood glue cures into the joint. For a piece that needs to hold up for years without maintenance, joinery beats hardware.
What’s the maximum safe gap between crib slats?
The generally accepted maximum is 2 3/8 inches (about 6 cm), which prevents a baby’s head from passing through while the body cannot follow. Measure and plan your slat spacing before cutting any slats.
Is pine strong enough for a hand-built crib?
Pine can work structurally, but it dents and splinters more easily than maple, birch, or ash. If you use it, expect more sanding at edges and corners, and choose a finish that seals against moisture and chewing.
Do I need power tools to build a crib well?
No. A jack plane, backsaw, chisels, and a mortise gauge are enough to cut every joint in a crib accurately. It takes longer than machine work, but the result is just as strong.
How do I know if a wood finish is safe for a crib?
Look for finishes explicitly labeled food-safe once fully cured, such as raw linseed oil or hardened wax oils, and always let them cure fully before use — often several weeks, not days. Avoid polyurethane, varnish, and anything with unlisted solvents.