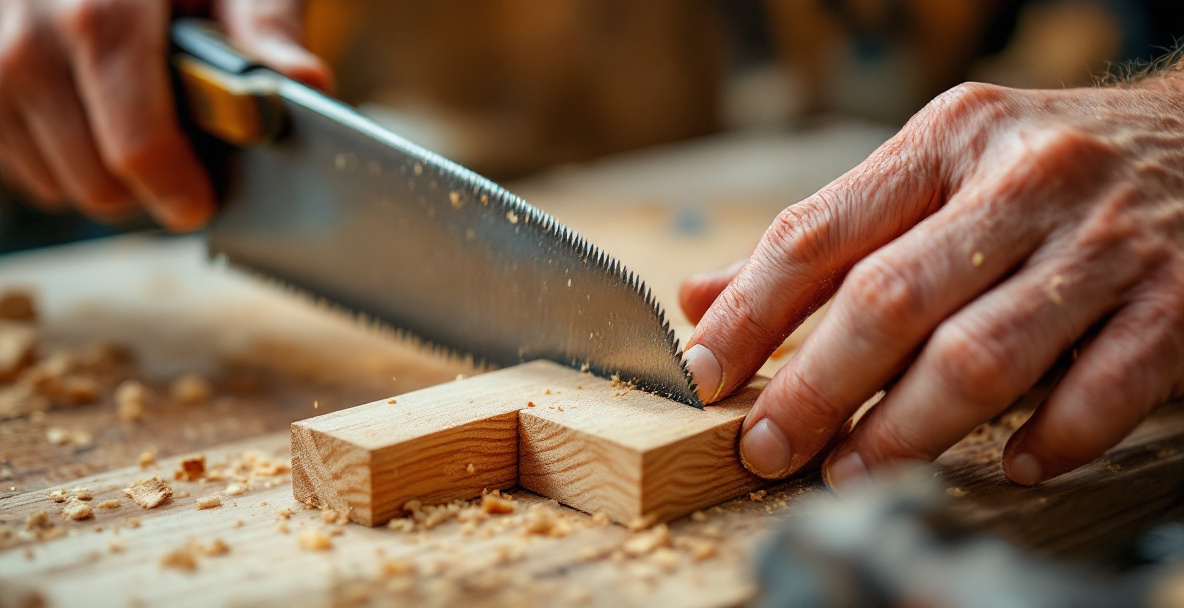
A dovetail saw is a small, stiff-bladed backsaw used to cut the angled pins and tails of a dovetail joint by hand. It has fine teeth (typically 14-20 TPI), a reinforced spine for rigidity, and is filed for rip-cutting since dovetails are cut along the grain. Used correctly, it lets you cut right to a marked line with no wandering, which is the whole game in dovetailing.
That’s the short version. The rest of this is about actually getting there — because owning a dovetail saw and using one well are two different skills, and most of the frustration beginners have with dovetails isn’t the layout, it’s the saw wandering off the line halfway through the cut.
What makes a dovetail saw different from other backsaws?
A dovetail saw is shorter, finer-toothed, and filed differently than a tenon saw or carcass saw. It’s built for precision on small, thin stock, not for speed through thick material.
Most dovetail saws run 8-10 inches long with 14-20 teeth per inch, filed rip (straight across, not angled) because you’re cutting with the grain direction of the tails and pins. A tenon saw, by comparison, might have 10-13 TPI and a longer blade meant for deeper cuts across a wider range of joint work. The spine — brass or steel — keeps the thin blade from flexing, which matters more here than on almost any other hand saw, since a flexing blade is a wandering blade.
Grip style varies: pistol-grip (closed handle) saws are common on Western-style saws, while Japanese dozuki saws use a straight handle and cut on the pull stroke instead of the push. Both work. Neither is “correct” — it’s a matter of what you learn on and stick with.
How do you choose the right dovetail saw for tight joints?
Pick a saw based on tooth count, plate thickness, and whether it’s filed rip, not on price or brand reputation. A rip-filed saw with 15-18 TPI and a thin, well-set plate will outcut an expensive saw that’s filed crosscut or has sloppy set.
Tooth count affects finish and speed: more teeth per inch gives a cleaner cut but removes material slower, which is usually the right trade for dovetails since you’re sneaking up on a fine line, not hogging off waste. Fewer teeth cuts faster but leaves a rougher kerf you’ll need to pare clean anyway.
Plate thickness matters too. Thinner plates (around 0.015-0.02 inches) leave a narrower kerf, which is useful on small or delicate work like boxes and drawers. Thicker plates track straighter in the hands of a beginner because they resist flex better, even though the cut is slightly wider.
If you’re buying secondhand — and for a tool this simple, secondhand is often the smarter move — check that the plate is straight when you sight down it, the teeth are even, and there’s no rust pitting along the cutting edge. A saw with good bones but a dull edge is an easy fix. A warped plate is not.
For reference on what a well-made dovetail saw actually looks like, it’s worth looking at a few maker pages even if you never buy from them — seeing the tooth geometry and plate thickness specs side by side teaches you what to look for secondhand. Lie-Nielsen’s dovetail saws and Badaxetoolworks are both useful for that comparison, as is Blue Spruce Toolworks’ lineup.
Setting up before you cut
A dovetail saw is only as good as the layout lines it’s following. Before the saw touches wood, your pins and tails need to be marked accurately with a square and a marking knife, not a pencil.
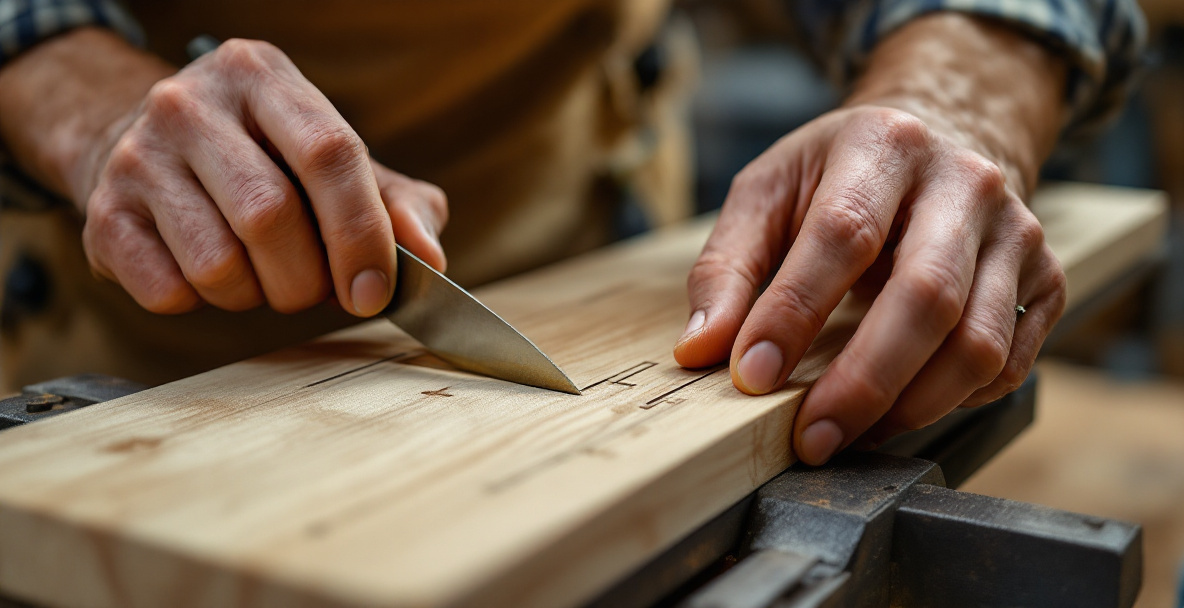
A pencil line has width and ambiguity. A knife line is a physical groove that the saw’s teeth can register into, which is a real mechanical aid, not just precision for its own sake. If you’re not yet marking joints with a knife, it’s worth sorting that out first — see our marking knife guide for how to get clean, accurate layout lines before you start sawing.
Clamp the workpiece so it doesn’t move and so you can see your line clearly from the cutting position, usually with the board angled in the vise so the far layout line is roughly vertical in your eye line. This single adjustment — tilting the work rather than tilting your body — is the single biggest fix for crooked dovetail cuts.
How do you actually use a dovetail saw to stay on the line?
Start the cut with the saw nearly flat against the wood, using your thumb knuckle as a guide, and pull back lightly once or twice to establish a shallow starter kerf before pushing forward. Most wandering happens in the first three strokes, not later in the cut.
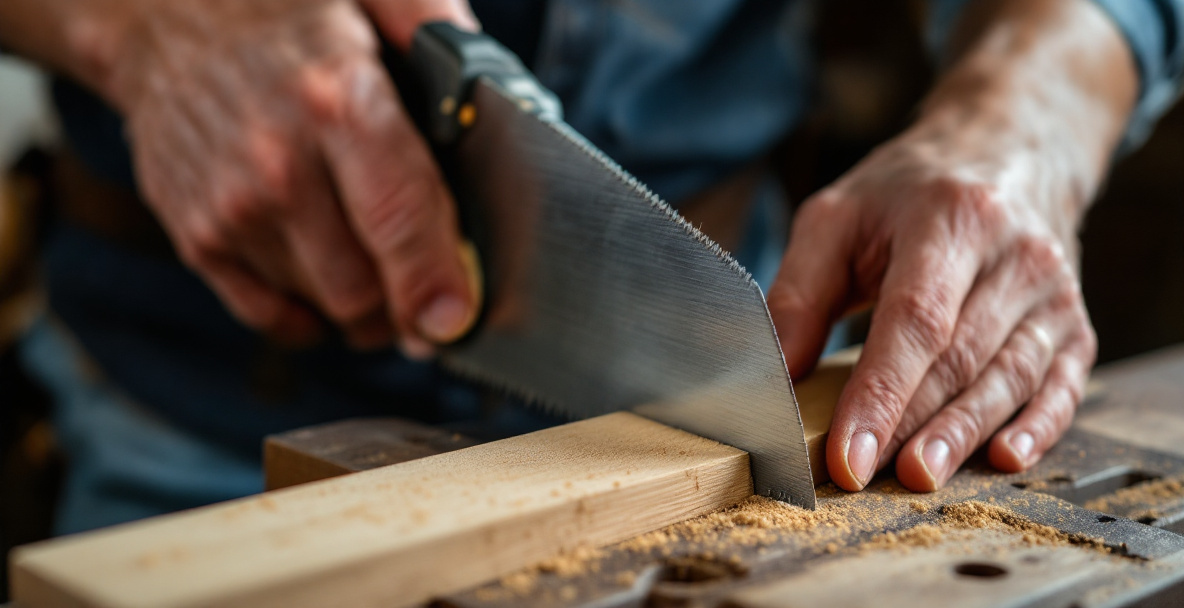
Once the kerf is established, let the saw’s weight and the teeth do the work. Grip lightly — a death grip transmits every small muscle twitch into the blade. Use the full length of the blade in long, even strokes rather than short, choppy ones; short strokes concentrate wear on a few teeth and make it easier to rock the blade off-square.
Watch the line on the far side of the board, not just the near side. A cut that looks perfect from where you’re standing can be angled badly through the thickness of the board if you’re only watching one face. Check both layout lines as you go, and if you see drift starting, correct it gradually over several strokes rather than forcing the saw sideways, which tends to bind or snap the thin plate.
Cut to the knife line and stop — don’t cut past it “to be safe.” Dovetails are fit by paring with a chisel afterward, and a saw cut that overshoots the baseline leaves a visible gap on the finished joint that no amount of paring fixes.
Common mistakes that ruin an otherwise good cut
The three most common dovetail-saw mistakes are starting the kerf too aggressively, gripping too hard, and sawing to the wrong side of the line.
Starting aggressively means pushing hard on the first stroke before a kerf exists to guide the teeth — this is what causes the saw to skate sideways right at the start. Gripping hard transmits tension up your arm and into tiny side-to-side corrections you don’t even notice you’re making. And cutting to the wrong side of the line — splitting it instead of staying just outside the waste side — is a layout discipline issue more than a sawing one, but it shows up as a saw problem because that’s where it becomes visible.
If your saw tends to pull toward one side consistently, check the set of the teeth. Uneven set (more set on one side than the other) will steer a saw in one direction no matter how good your technique is, and no amount of practice fixes a mechanically crooked saw.
Maintaining a dovetail saw so it keeps cutting straight
A dovetail saw needs occasional light sharpening, rust prevention on the plate, and protection for the teeth when it’s not in use — that’s most of what “maintenance” means for a tool this simple.
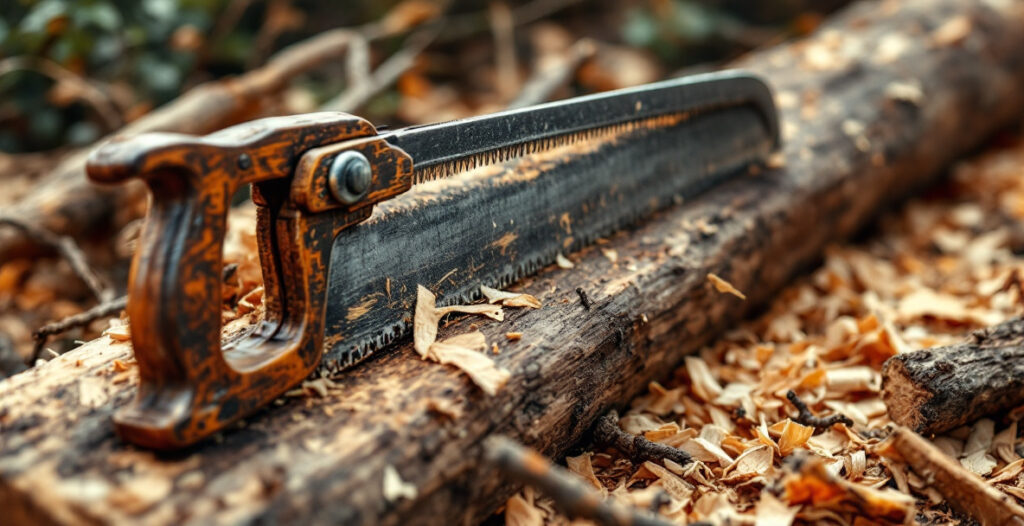
Rust is the most common issue on secondhand saws, especially ones that have sat in a damp shed or basement. A plate with surface rust can usually be brought back with light abrasive work rather than replacement; our guide on cleaning rust off tools with sanding and abrasive methods covers the process for saw plates specifically, where you want to avoid rounding over the edge while you clean the face.
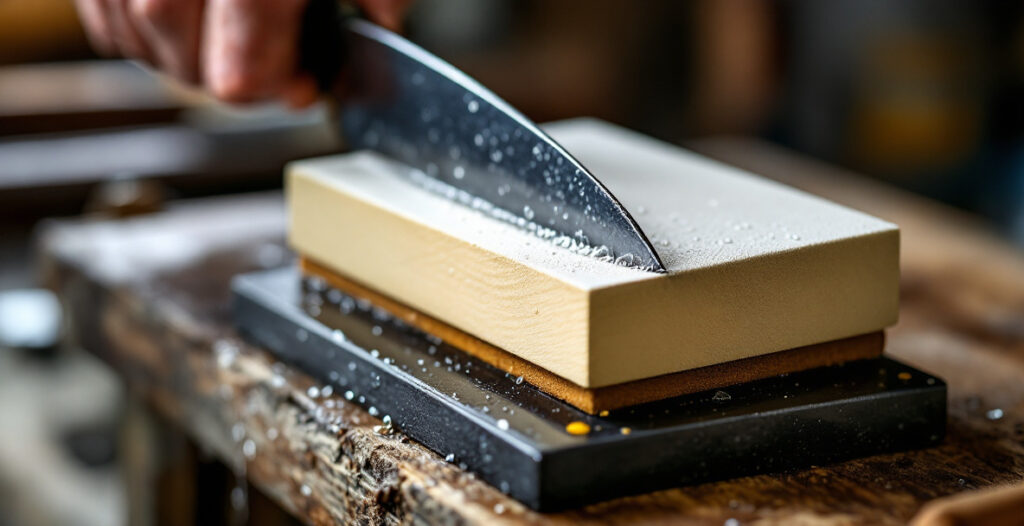
Sharpening a rip-filed dovetail saw by hand is a learnable skill but a fiddly one given the fine tooth count — many woodworkers get a batch of saws professionally sharpened once and then maintain the edge with light honing between full sharpenings, rather than filing from scratch every time. If you’re new to saw sharpening generally, it’s worth first understanding a basic sharpening setup through something more forgiving, like sharpening a chisel or axe, before attempting fine dovetail-saw teeth.
Store the saw with the teeth protected — a wooden tooth guard, a strip of foam, or simply hanging it where nothing rests against the edge. A bent or chipped tooth on a dovetail saw is disproportionately annoying given how few teeth there are to begin with.
FAQ
What TPI is best for a dovetail saw?
Most dovetail saws fall between 14 and 20 teeth per inch. For general hardwood furniture work, 15-18 TPI is a solid middle ground — fine enough for a clean cut, fast enough not to feel tedious. Reserve the higher end (18-20 TPI) for small box joints in thin stock.
Can I use a dovetail saw for other cuts?
Yes, within reason. Its short blade and rip filing make it well suited to any fine joinery cut along the grain in thin stock — small tenon cheeks, box joints, and similar work. It’s not a good substitute for a crosscut saw or a longer tenon saw on larger joints.
Do I need an expensive dovetail saw to cut good joints?
No. A secondhand saw with a straight plate, even teeth, and the correct rip filing will cut as accurately as a premium one in a beginner’s hands. The skill gap between a cheap, well-tuned saw and an expensive one is far smaller than the skill gap between a beginner and an experienced sawyer.
Why does my dovetail saw keep wandering off the line?
Usually one of three things: no starter kerf before pushing forward, too tight a grip, or uneven tooth set pulling the blade to one side. Check the set first by sighting down the teeth from the handle — if it looks lopsided, that’s likely your culprit regardless of technique.
Western pistol-grip or Japanese dozuki — which is better for dovetails?
Neither is objectively better; both cut accurately in trained hands. Dozuki saws cut on the pull stroke with a thinner kerf, which some beginners find easier to control. Pistol-grip saws cut on the push and are generally sturdier for heavier use. Pick one and build the muscle memory rather than switching back and forth.