Crib woodworking is not a project to wing. A crib holds a baby unsupervised for hours at a time, and the margin for error on joint strength, wood choice, and slat spacing is close to zero. The core safety rules are simple: use through or draw-bored mortise and tenon joints (not just glue and dowels), choose a dense, stable hardwood free of knots and finish chemicals, and keep slat gaps between 2 3/8 inches (6 cm) max, per standard crib safety guidance.
Why crib joinery needs to be stronger than normal furniture
A crib gets stressed in ways a bookshelf never does. A toddler standing and bouncing in the corner puts repeated, uneven racking force on the side rails, and that load is cyclical — it happens every night, for months, not once.
This is why a crib is a bad place to cut corners with butt joints, screws into end grain, or glue alone. You want joinery that locks mechanically, so if the glue ever fails (heat, humidity, age), the joint doesn’t just fall apart with a baby in it.
What joint type is strongest for a crib?
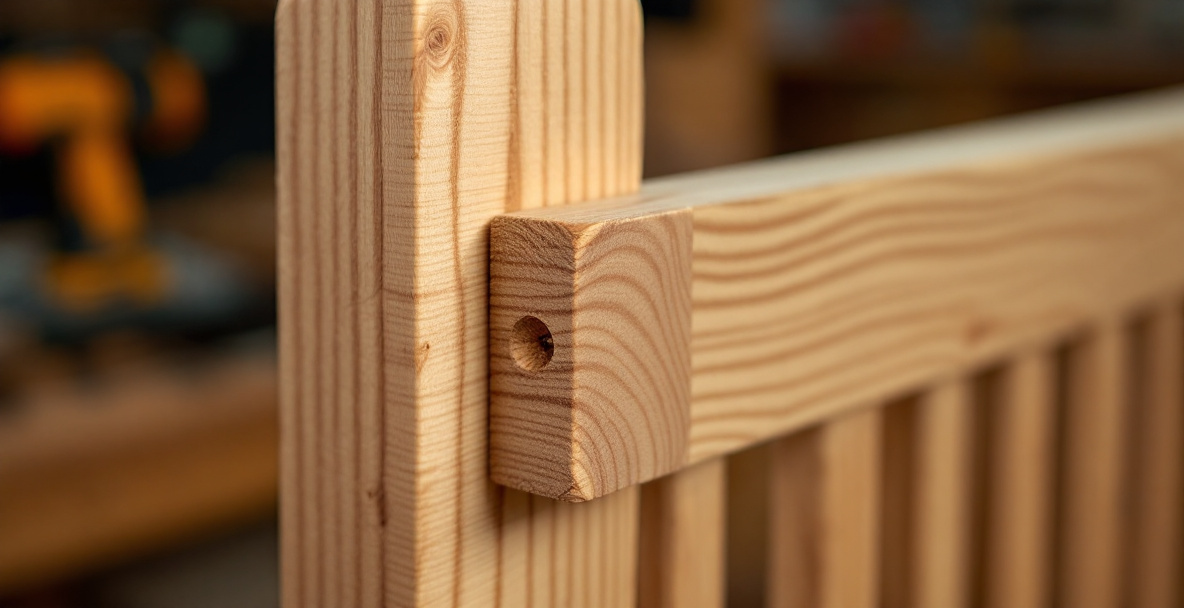
The mortise and tenon joint, ideally draw-bored with a wooden pin through the joint, is the strongest practical option for hand-tool crib building. The pin mechanically locks the tenon into the mortise even if the glue line fails later, which matters more here than in almost any other furniture piece.
Draw-boring is an old technique — you drill the mortise and tenon holes slightly offset, then drive a peg through, which pulls the joint tight without clamps. It’s slower than a glued butt joint, but it’s also the reason some 18th-century furniture is still standing. For a full walkthrough of cutting the joint itself, see how to cut a mortise by hand.
Should you glue crib joints, or rely on mechanical joinery alone?
Glue the joint and reinforce it mechanically — don’t choose one or the other. Glue gives you a rigid, gap-free bond on day one; the mechanical lock (draw-bored pin, wedge, or pinned tenon) is what keeps the joint safe for years after the glue line is old and dry.
A good PVA wood glue is fine for crib joinery as long as it’s backed by a well-fitted mortise and tenon. If you’re unsure which glue holds up over time versus which is just marketed harder, the breakdown in the guide to choosing wood glue for furniture covers open time and bond strength without the sales pitch.
What wood should you use for a crib?
Use a dense, stable hardwood with no visible knots, no bark inclusions, and no applied finish beyond a baby-safe oil or wax — maple, birch, and ash are common safe choices. Avoid softwoods like pine for load-bearing rails; they dent, splinter, and compress around hardware over time.
Knots are a hard no in crib lumber, full stop. A knot is a weak point and a potential snag or choking hazard if it loosens and falls out. Inspect every board edge-to-edge before you commit it to a rail or slat.
Does the wood need to be kiln-dried?
Yes — crib lumber should be kiln-dried to a stable moisture content, typically 6-8%, not air-dried green wood. Green or partially dried wood will keep shrinking after the crib is built, which loosens mortise and tenon joints exactly where you can’t afford slack.
If you’re new to reading moisture content and storage, it’s worth understanding the basics of wood drying before you buy lumber for a crib specifically — buying “dry enough” from a home center without checking is a common first-project mistake.
Is pine acceptable for a crib?
Pine is not recommended for the structural rails of a crib, though it’s sometimes used for non-structural trim. It’s soft enough that screws and dowel joints work loose in it faster than in a hardwood, and it dents and splinters more easily under repeated impact from a child.
If budget is the issue, look at secondhand hardwood — reclaimed furniture, pallet hardwood (not softwood pallets, which are usually pine), or offcuts from a local cabinet shop. Dense hardwood boards cost more per board foot, but a crib doesn’t need much lumber, so the total cost difference is usually smaller than people expect.
What slat spacing is actually safe?
Slat gaps must not exceed 2 3/8 inches (about 6 cm), which is the standard most crib safety regulations use to prevent a baby’s body from slipping through while the head stays trapped. This number isn’t arbitrary — it comes from infant body measurements and has been the basis of crib safety standards for decades, as outlined by the U.S. Consumer Product Safety Commission.
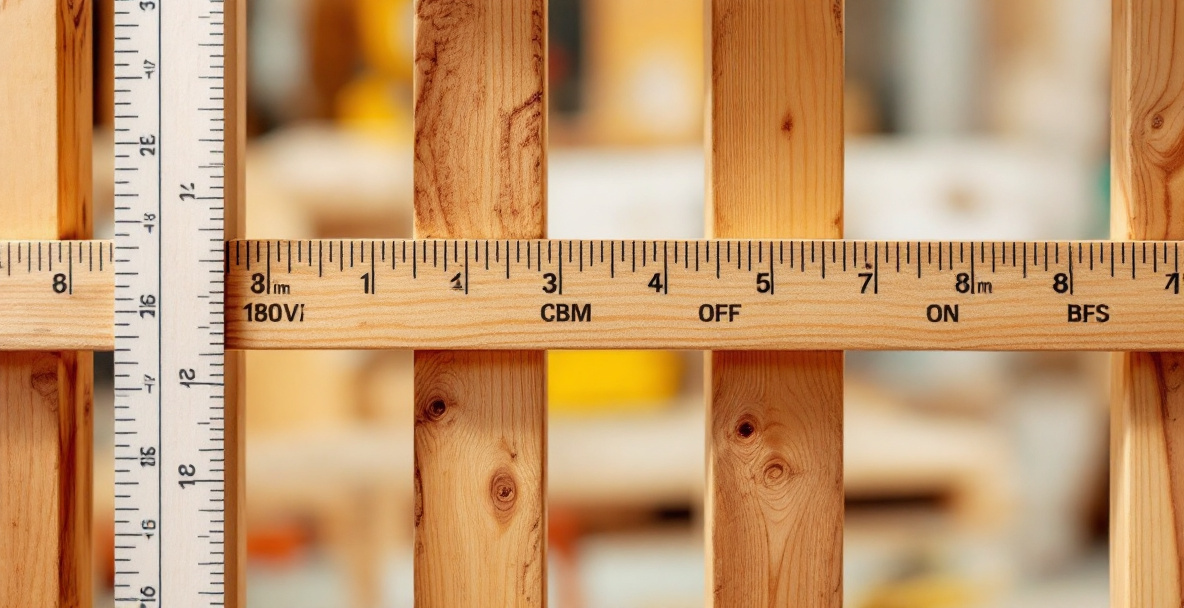
Measure the gap, not the slat. It’s easy to plan slat width and spacing on paper and then lose a few millimeters to tear-out or an uneven mortise, so check actual gaps with a ruler on the assembled side, not just your cut list.
How do you keep slat spacing consistent without power tools?
Lay out every slat position with a marking knife and a story stick before you cut a single mortise, rather than measuring each gap individually as you go. A story stick — just a scrap board with your slat positions marked on it — removes the cumulative error that creeps in when you measure twenty-plus gaps one at a time with a tape measure.
Accurate layout lines matter more here than in almost any other joint in the crib, because a 3mm error repeated across a dozen slats can push one gap past the safe limit even if your average looks fine. The marking knife guide covers how to get a crisp, repeatable line instead of a fuzzy pencil mark that shifts your cut.
Other structural safety rules worth knowing
Beyond joints, wood, and slats, a few other rules come up constantly in crib builds, and they’re easy to overlook when you’re focused on joinery.

- No drop-side rails. Drop-side cribs were banned in the US in 2011 after the moving hardware was linked to entrapment and suffocation deaths; don’t replicate that mechanism even in a one-off home build.
- Mattress fit matters as much as the frame. Gaps between mattress and frame larger than two fingers’ width are a hazard regardless of how good your joinery is.
- No corner posts above 1/16 inch proud of the end panels, since clothing can snag on them.
- Finish with oil or wax, not varnish or paint with solvents, and let it cure fully — weeks, not days — before the crib is used.
- Hardware should be countersunk and covered, since exposed screw heads or bolt ends are both a scratch hazard and something small fingers will work at over months of use.
Should you build a crib as a first woodworking project?
Building a crib as a true first project is possible but risky, and most experienced builders recommend practicing mortise and tenon joints on something lower-stakes first. The skills — precise joinery, consistent spacing, clean glue-ups — are learnable, but a crib gives you almost no room for the trial-and-error that a stool or shelf would forgive.
A reasonable path is to build a step stool or a simple crate first to get comfortable with hand-cut joinery and accurate measuring, then move to the crib once your mortises come out tight on the first try, not the third. If you do want to go straight for the crib, a full build walkthrough with the joinery steps laid out is in the guide to building a crib by hand.
What to check before you ever put a baby in a hand-built crib
Before first use, test every joint by hand — rock the frame, push on the rails from both directions, and check for any flex or creak. A crib that feels solid when empty should feel equally solid when you lean your full weight into a corner; if it doesn’t, the joint needs rework, not just more glue.
It’s also worth comparing your plan against builds other hobbyists have actually finished and used, since problems tend to show up in the comments more than the plans themselves — discussions like this crib plans thread are a useful gut check on where real builds ran into trouble. If you’re nervous about taking on a crib as your first serious project, this forum discussion among beginners weighing in on the same question is worth a read before you start.
FAQ
Is it legal to build and use a handmade crib?
There’s generally no law against building your own crib for personal use, but commercial crib safety standards (slat spacing, no drop-sides, hardware rules) exist because they reflect real, tested failure points. Treat those standards as the minimum bar, not a bureaucratic suggestion, even though you’re not selling the crib.
How strong does a crib joint need to be compared to a chair or table?
A crib joint needs to handle repeated, cyclical racking loads over months of daily use, which is harsher than the occasional stress a chair or table sees. That’s why mechanical reinforcement (draw-boring, wedged tenons) matters more for a crib than for most other furniture.
Can I use screws instead of mortise and tenon joints?
Screws alone, especially into end grain, are not a safe substitute for mortise and tenon joinery in a crib. Screws can work loose under repeated stress and don’t provide the same resistance to racking; if you use screws at all, they should reinforce a proper joint, not replace one.
What’s the minimum wood thickness for crib rails and slats?
There’s no single universal number, but rails are typically at least 3/4 inch to 1 inch thick in hardwood, and slats are usually similar in thickness with enough width to avoid flex. Thinner stock in a soft species is more likely to crack or bow under a standing child’s weight.
How long should a finish cure before a crib is used?
Oil and wax finishes should be allowed to cure for at least two to four weeks before the crib sees regular use, longer in cold or humid conditions. Curing is different from drying — a finish can feel dry to the touch within a day but still be off-gassing for weeks.