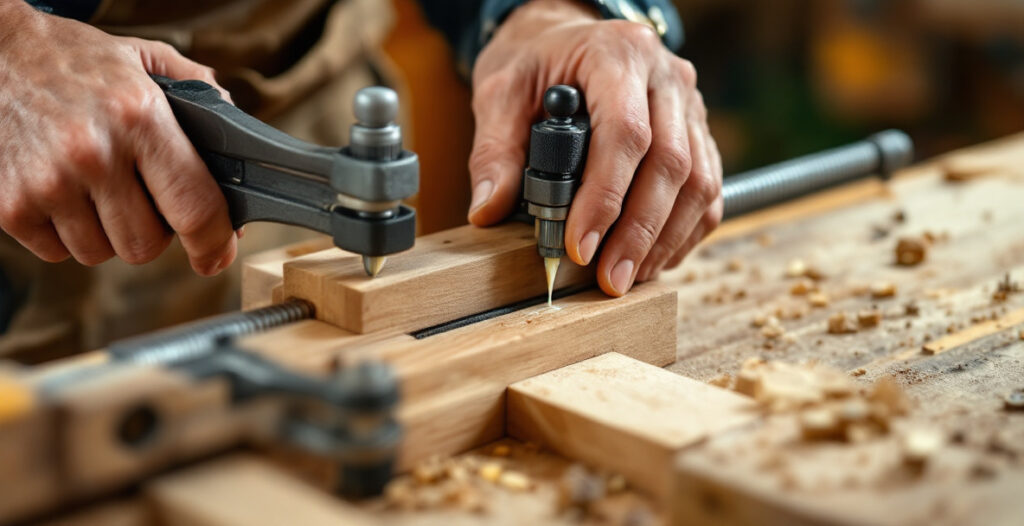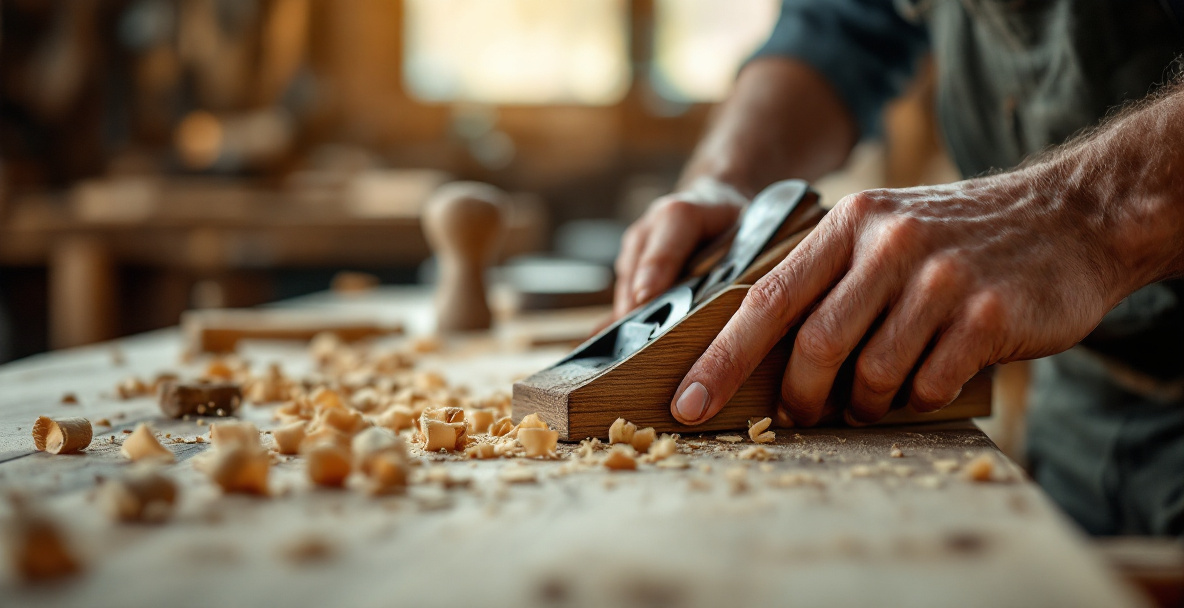
Planing wood by hand means using a hand plane — not a machine — to remove thin shavings from a board’s surface until it is flat, straight, and true. It works by riding a sharp blade across the wood at a controlled depth, checking with winding sticks or a straightedge as you go. No power, no dust extraction, no noise complaints from the neighbors. It takes longer than a machine planer, but for a single board or a small project, it is entirely realistic in a shed or garage corner.
Why plane wood by hand instead of using a machine?
You plane by hand because you don’t have a thickness planer, don’t have room for one, or don’t want to deal with the noise and dust. A benchtop planer needs infeed and outfeed clearance, dust collection, and a dedicated spot to live — none of which a shared basement or a garage corner usually has.
Hand planing also gives you more control on smaller or awkward pieces, like a single leg blank or a narrow board for a stool seat. You’re not committing a board to a machine that only does one thing. You’re removing exactly as much material as you need, exactly where you need it, and you can stop the second it looks right.
The trade-off is honest: it’s slower, it’s more physical, and it takes practice to get a board dead flat this way. If you’re flattening a stack of ten boards for a big project, a machine will beat you every time. If you’re doing one board for a stool or a small box, hand planing is not a compromise — it’s just a different, quieter way to get there.
What tools do you actually need?
At minimum, you need one hand plane, a way to hold the board steady, and a way to check flatness. Everything else is helpful but not required.
- A jack plane or jointer plane (roughly 14–24 inches long) for flattening. Longer planes bridge high and low spots better than short ones, which is exactly why they work for flattening rather than just smoothing.
- A smoothing plane (optional) for a finer final pass, though not strictly necessary if you’re planing for function rather than a glass-smooth finish.
- Winding sticks — two straight sticks of matching thickness, laid across the board to sight for twist. You can make these yourself from scrap.
- A straightedge to check for high and low spots along the length.
- Bench dogs, a planing stop, or simple wedges to hold the board so it doesn’t skate across the bench while you push.
None of this needs to be new. A secondhand jack plane from a flea market or an old toolbox, cleaned up and sharpened, will flatten wood just as well as a new one costing five times more. Our guide to using a hand plane covers setup and basic technique if you’re starting from zero.
Does the blade need to be sharp before you start?
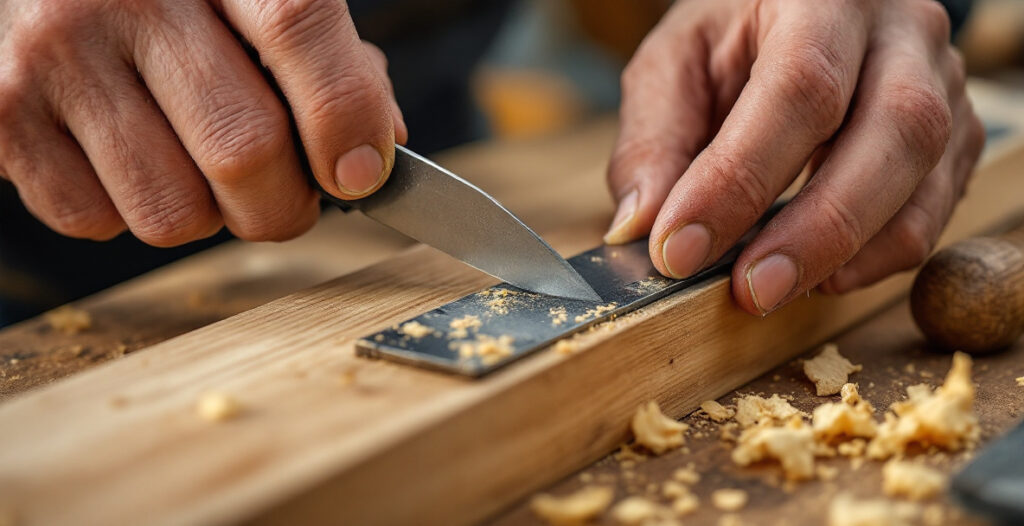
Yes — a dull blade will not flatten a board, it will tear it up. Planing wood relies entirely on a clean, controlled cut, and a dull edge crushes fibers instead of slicing them, leaving a rough, torn surface no amount of extra passes will fix.
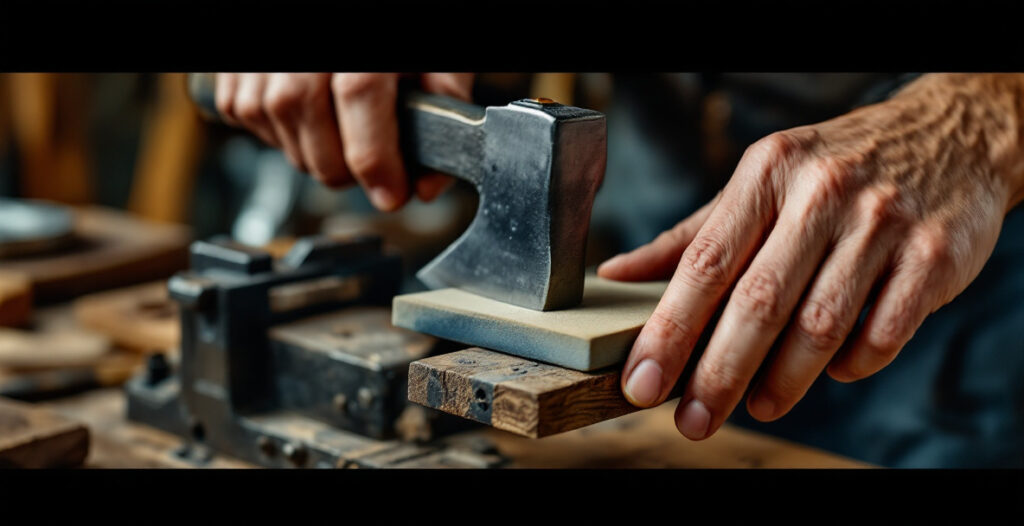
If your plane is chattering, skipping, or leaving fuzzy patches instead of clean shavings, the blade is dull before you touch the wood again. Sharpening doesn’t require an expensive jig setup — a flat stone or even sandpaper on glass will get a usable edge. Our guide to sharpening a hand plane blade walks through doing this with basic, affordable tools.
How to flatten a board with a hand plane, step by step
Flattening by hand follows a fixed order: check the board, remove the worst of the twist and cup, flatten one face, then bring the opposite face and edges square to it. Skipping the checking step is the most common reason boards end up flat but wrong — flat in isolation, but not square to anything else.
1. Check the board for twist, cup, and bow
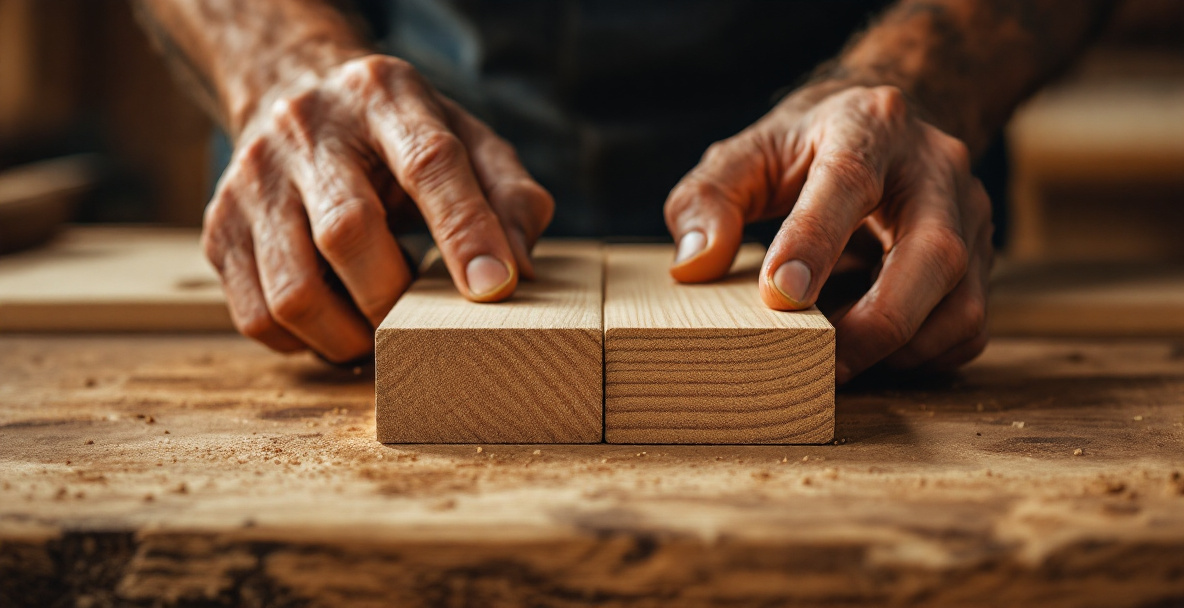
Set the board on the bench and lay the winding sticks across it, one near each end. Sight down the length of the board over the top of both sticks. If the sticks appear to lean in different directions, the board has twist. Also check with a straightedge along the length and across the width for bow and cup.
This step tells you where the high spots actually are, rather than guessing. Mark the high corners in pencil — that’s where your first strokes need to focus.
2. Plane diagonally to knock down the high spots
Work the plane diagonally across the board, corner to corner, focusing on the marked high areas first. Diagonal strokes cut more aggressively and level uneven areas faster than planing straight along the grain.
Take full-length shavings where possible. Short, choppy strokes tend to leave a wavy surface instead of a flat one, because you’re not registering the full length of the plane’s sole against the board.
3. Switch to straight strokes along the grain
Once the worst of the twist is gone, switch to strokes running with the grain, from one end of the board to the other. Recheck with the winding sticks and straightedge often — every few passes, not just at the end.
This is where patience matters more than force. A board that looks flat after five minutes often isn’t; it just looks even because your eye is tired of checking.
4. Flatten the second face to a consistent thickness
Once one face is flat, use a marking gauge set to your target thickness to scribe a line around the board’s edges, referencing off the flat face. Plane the second face down to that line the same way — diagonal first, then with the grain — checking flatness the whole time.
5. Square the edges to the faces
With both faces flat, plane the edges square to them using a try square to check as you go. A board that is flat on both faces but has edges that aren’t square to those faces will still cause problems in joinery later, particularly if you’re cutting mortise and tenon joints that rely on square reference faces.
How long does hand planing a board actually take?
For a rough, warped board roughly 3 feet long, expect somewhere between 20 and 45 minutes to get one face genuinely flat, depending on how twisted the board is and how sharp your blade stays. A board that’s only slightly out will go much faster; a badly cupped or twisted board will take longer and may not be worth the effort at all.
If a board needs more than about a quarter-inch of material removed to get flat, it’s often faster and less frustrating to start with a straighter board instead. Hand planing works best correcting moderate distortion, not rescuing badly warped stock.
Common mistakes when planing wood by hand
Most flattening problems come down to three things: a dull blade, skipping the checking step, and rushing the process. Each one compounds the others — a dull blade makes checking harder to interpret, and rushing means you stop checking altogether.
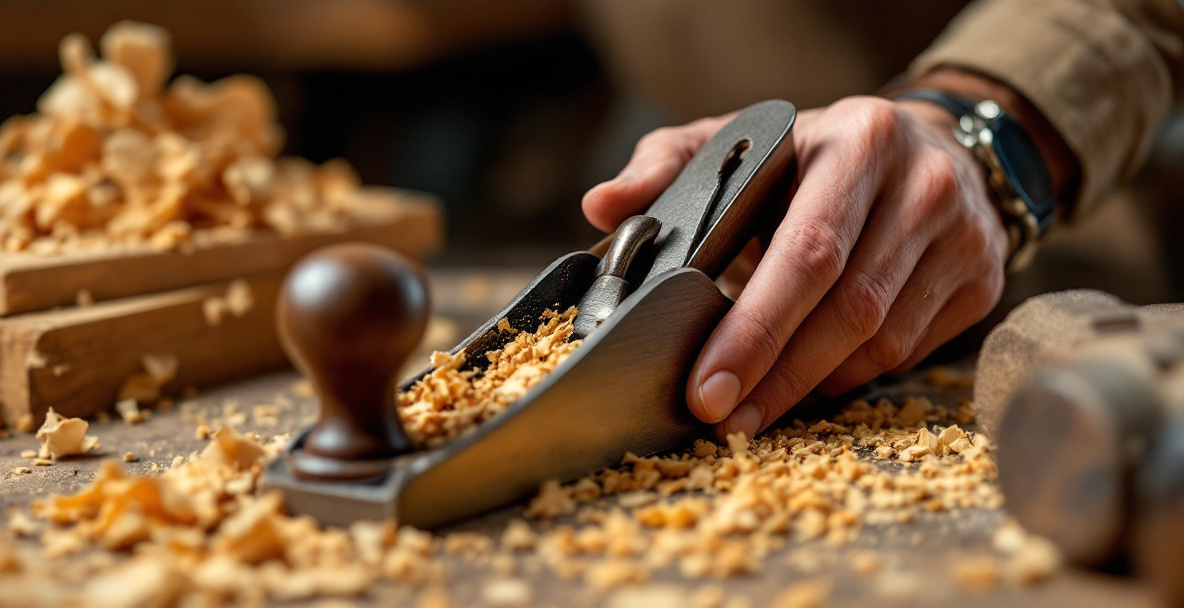
- Planing without checking first. You end up removing wood from the wrong spots, sometimes making the twist worse.
- Ignoring grain direction. Planing against the grain tears the surface and makes flattening harder, not easier. If the plane starts chattering or lifting chunks, reverse your direction.
- Using too fine a cut for rough flattening. A very shallow cut is fine for smoothing but painfully slow for taking down high spots. Open the mouth of the plane and take a thicker shaving for the early passes.
- Not securing the board. If it shifts under the plane, you’ll fight the wood the entire time instead of cutting cleanly.
Planing wood versus other flattening methods
A hand plane is the standard tool for this job, but it’s not the only historical option — a scrub plane, a jack plane with a curved blade, or even a drawknife followed by a plane can all remove material fast on rough stock. According to the general history of the tool, the plane has been used to flatten and smooth wood for thousands of years, long before any motorized alternative existed, which is part of why the technique still works reliably today — nothing about it depends on modern equipment (Wikipedia).
If you do eventually have access to a machine planer for a bigger batch of boards, the underlying goal is the same — even material removal down to a flat, consistent surface — just achieved with a motor instead of your arm, as covered in general planer-use guides like this one from Instructables. Hand planing isn’t a lesser version of that process; it’s the same goal reached with a slower, quieter tool.
Frequently asked questions
Can you flatten a board by hand without a jointer plane?
Yes, though a jack plane (around 14 inches) is the practical minimum. Shorter smoothing planes can flatten small boards but struggle on longer ones because they follow the board’s existing dips rather than bridging over them.
How do you know when a board is actually flat?
Check with a straightedge along the length, across the width, and diagonally corner to corner. If light doesn’t show under the straightedge anywhere, and winding sticks show no twist, the board is flat.
Is planing wood by hand worth it for a beginner?
Yes, for single boards and small projects like stools, boxes, or crate panels. It’s slower than a machine but requires no dedicated shop space, no dust collection, and lets you learn to read grain and flatness directly, which pays off in every other hand-tool skill later.
What’s the difference between planing and sanding?
Planing removes wood in thin, continuous shavings and actually corrects flatness and shape. Sanding only removes surface texture — it will not fix a twisted or cupped board, no matter how long you sand it.
Can green or partly dried wood be planed flat?
It can, but it will move again as it dries further, undoing some of your work. For anything requiring lasting flatness, let the wood reach a stable moisture level before final flattening passes.