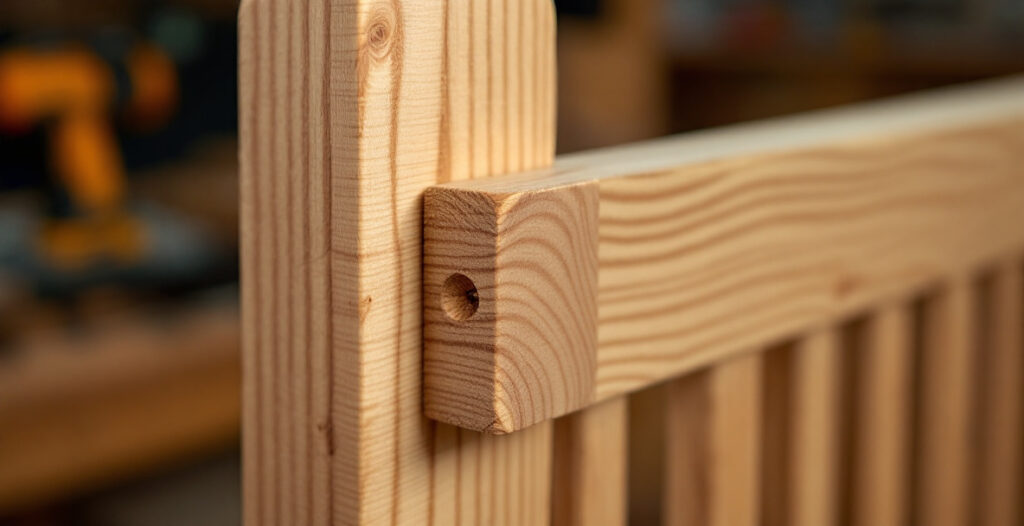
Sliding dovetails are cut by hand with a marking gauge, a backsaw, and a chisel: you mark the socket and the matching tapered tail, saw and chop out the waste, then pare the walls until the tail slides in with hand pressure and locks tight at the end. No router, no dado stack, no jig. It takes longer than the power-tool version, but the joint itself is identical in function — and arguably easier to fit precisely when you can feel the cut as you go.
What is a sliding dovetail joint used for?
A sliding dovetail is a trapezoid-shaped slot (the socket) cut across one board, into which a matching trapezoid tongue (the tail) on another board slides and locks. Unlike a through dovetail, it resists pulling apart in one direction while still allowing assembly from the end or, with a stopped version, from the face.
It’s the joint behind fixed shelves in a bookcase side, drawer dividers, breadboard ends on tabletops, and cabinet partitions. Anywhere you need a shelf or divider to stay locked into a side panel without screws or visible fasteners, a sliding dovetail does the job. It’s mechanically strong because the taper wedges tighter the more weight pulls down on it.
Can you really cut sliding dovetails without power tools?
Yes. Sliding dovetails predate the router by a couple of centuries, and the hand-cut version is arguably more forgiving because you can test-fit and adjust as you go rather than committing to a single router pass. The tradeoff is time: expect 30-60 minutes per joint once you’ve done a few, versus a few minutes with a router and dado jig.
What you lose in speed you gain in control. A slightly tight hand-cut socket can be pared a shaving at a time until it’s right. A router cut that’s 1mm too wide is just wrong, and you start over or shim it.
Tools you need
You do not need a dedicated dovetail plane or a specialty set to cut this joint. A short list of basic chisels and layout tools covers it.
- A marking gauge (or a marking knife and a combination square)
- A backsaw — a tenon saw or dovetail saw both work
- Bevel-edge chisels in two or three widths, sharp
- A mallet
- A sliding bevel gauge, set to roughly 7-10 degrees
- A router plane or a wide chisel for cleaning the socket floor, if you’re cutting a stopped (blind) joint
If your chisels are dull, stop here and sharpen first. A dull chisel tears the tail’s end grain and turns a precision joint into a sloppy one. If you’re still assembling a basic kit, our guide to essential starter hand tools covers what’s actually worth owning on a tight budget.
Do you need a dovetail saw specifically?
No, but it helps. A dovetail saw has a thinner kerf and finer teeth than a general tenon saw, which means less waste to pare away and a cleaner line on the tail’s sloped edges. A tenon saw will cut the joint fine; it just leaves slightly more cleanup work. If you’re choosing your first one, see our guide to picking and using a dovetail saw.
Setting the dovetail angle
Most sliding dovetails use an angle between 1:6 and 1:8 (roughly 7-10 degrees of taper on each side). Set your sliding bevel to this once and use it for both the socket and the tail — consistency matters more than the exact number.
A steeper angle (closer to 1:6) grips harder but is more fragile at the tail’s edges, since the wood there is thinner and more likely to snap off. A shallower angle (1:8 or more) is stronger but easier to slide out if the fit isn’t snug. For furniture-scale joints — shelves, dividers — 1:7 is a safe middle ground.
Step-by-step: cutting the socket
The socket is the trapezoid groove, usually cut into a side panel or carcass wall. Cut it before the tail, since it’s easier to pare a tail down to fit a fixed socket than the reverse.
- Mark the socket width with a marking gauge or knife, squared across the board. Mark both the near and far edges so you can connect them cleanly.
- Mark the depth — typically one-third of the board’s thickness — on both edges.
- Angle one wall using your sliding bevel, transferring the taper onto the face so one side of the socket leans and the other stays square (or both lean, for a double-tapered socket — the single-taper version is easier for beginners).
- Saw the straight (unsloped) wall down to depth with your backsaw, staying just inside the line.
- Chisel the sloped wall in thin paring cuts, checking the angle against your bevel gauge frequently.
- Remove the waste between the two walls with a chisel, working from both edges toward the middle to avoid splitting out the far side.
- Flatten the socket floor with a router plane or a chisel laid flat, checking with a straightedge.
A marking knife gives a cleaner, more accurate line than a pencil here, which matters because every subsequent cut references that line. If layout accuracy has been your weak point on past joints, it’s worth reading our marking knife guide before you start.
How deep should the socket be?
As a rule of thumb, cut the socket to about one-third the thickness of the board holding it. Deeper weakens the board you’re cutting into; shallower doesn’t give the tail enough bearing surface to resist racking. On a ¾-inch (19mm) panel, that’s roughly ¼ inch (6mm) deep.
Step-by-step: cutting the tail
The tail is the tapered tongue on the end (or edge) of the second board, sized to match the socket you just cut.
- Mark the tail’s width and taper directly from the socket itself where possible — hold the two boards together and trace the socket’s angle onto the tail board’s end. This avoids compounding measurement errors.
- Mark the shoulder line across the face, squared, at the depth matching the socket.
- Saw the cheeks — the two long tapered faces — down to the shoulder line, working carefully since these cuts define the fit.
- Saw or chisel the shoulders to remove the waste on either side of the tail.
- Test-fit by sliding the tail into the socket from the end. It should go in with firm hand pressure, not a mallet, and lock without wobble at full depth.
- Pare thin shavings off the high spots if it’s too tight, checking fit after every pass.
Go slow on the final fit. It is much easier to remove another shaving than to put one back. Most beginners ruin a sliding dovetail by rushing the last 10% and taking one cut too many.
What if the fit is too loose?
A loose sliding dovetail can’t be glued back to tight — the taper means a gap anywhere shows up as play throughout the joint. Your options are to re-cut the tail from a slightly oversized blank, or to plane a thin shim onto one cheek of the tail and re-fit. Neither is quick, which is exactly why test-fitting often during cutting beats discovering the problem at the end.
If you’re cutting the tail on the end of a board, make sure the board is flat and square first — an out-of-true board will throw off every measurement downstream. Our hand-planing guide covers getting a board flat before you start marking joints on it.
Should you glue a sliding dovetail?
Usually, yes, at least partially. The mechanical lock resists pulling apart, but glue adds rigidity and stops seasonal wood movement from working the joint loose over time. Many woodworkers glue only the front few inches of a long sliding dovetail (like a shelf into a bookcase side) and leave the rest dry, so the board can expand and contract across its width without splitting.
A standard PVA wood glue works fine for this joint in interior furniture; our honest comparison of wood glues explains which type suits which situation if you’re unsure.
Common mistakes when cutting sliding dovetails by hand
Most failed sliding dovetails come down to one of three things: an inconsistent taper angle between the socket and tail, a socket cut too deep for the board, or rushing the final fit and overshooting. All three are avoidable by slowing down and test-fitting constantly rather than cutting to a measurement and hoping.
A less obvious mistake is cutting the tail first. It’s tempting because the tail looks like the “main” piece, but a socket is much harder to adjust after the fact than a tail. Always cut the socket first, then fit the tail to it.
For a close look at sawing technique on longer boards, where keeping a straight, consistent cut over distance gets harder, this walkthrough is worth watching: Youtube. Popular Woodworking also has a step-by-step written breakdown that covers marking and paring in more detail than fits here.
FAQ
How long does it take to cut a sliding dovetail by hand?
For a first attempt, expect an hour or more including setup and test-fitting. With practice, most woodworkers get a single joint down to 30-45 minutes, socket and tail combined.
Is a sliding dovetail stronger than a dado joint?
Yes, in the direction the taper locks against. A plain dado (a square-sided groove) only resists downward load; it has nothing stopping the shelf from being pulled straight out. A sliding dovetail’s taper mechanically prevents that, which is why it’s preferred for shelves that carry weight or furniture that gets moved.
Can I cut a sliding dovetail with only one chisel?
You can, but two widths make it faster and cleaner — a wider chisel for bulk waste removal and a narrower one for cleaning into corners. One good bevel-edge chisel, sharpened well, will still get the job done on smaller joints.
Do I need a router plane for this joint?
Only for stopped (blind) sockets, where you can’t saw all the way through and need to flatten the floor by hand. For through sockets cut from edge to edge, a wide chisel laid flat works fine instead.
What wood is easiest to practice sliding dovetails on?
A straight-grained softwood like pine is the easiest first material — it pares cleanly and shows mistakes without punishing them the way a hard, interlocked-grain hardwood would. Save hardwood for once your angles and fit are consistent.