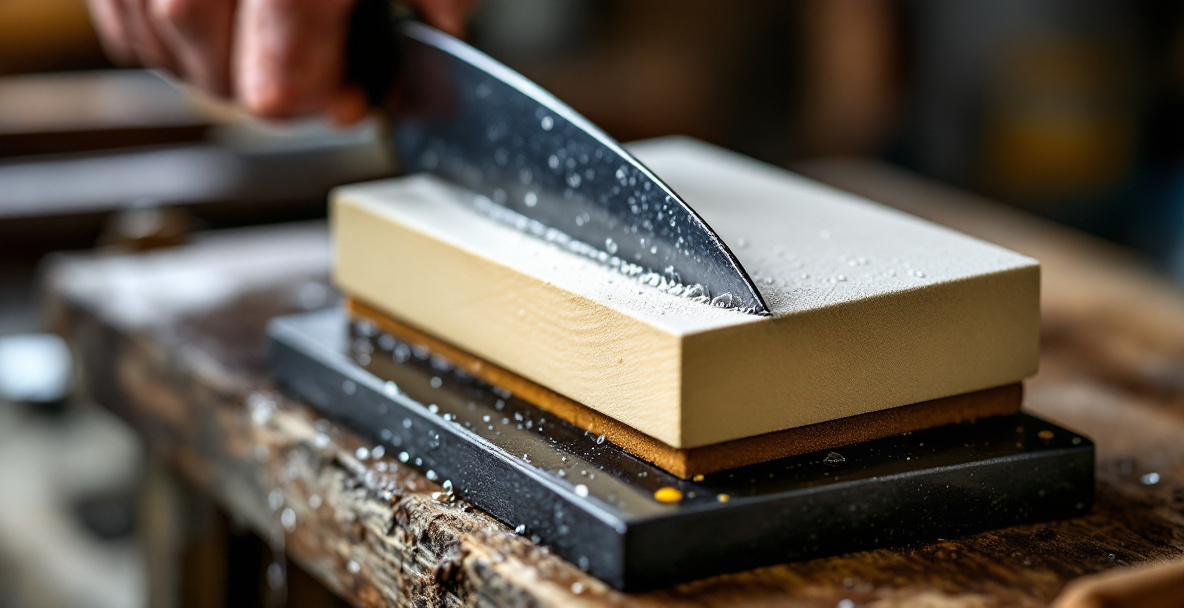
A sharpening stone for chisels does not need to cost much to work well. A single combination waterstone — something like 1000/6000 grit — run around $25-$45 secondhand or new from a budget brand, will get a chisel sharp enough to shave end grain cleanly. You do not need a stone holder, a honing guide, a strop, or a three-stone progression to start. You need one stone, flat, and some water.
That answer holds whether you’re sharpening a $5 flea-market chisel or a vintage one you cleaned the rust off last weekend. What changes the price is convenience, speed, and how long the stone lasts — not whether the edge gets sharp.
What’s actually the best cheap sharpening stone for chisels?
For a tight budget, a combination waterstone with two grits on one block — coarse on one side, fine on the other — is the best value. You get a repair grit and a finishing grit without buying two separate stones.
Look for something around 1000 grit on the coarse side and 6000 grit (or close to it) on the fine side. The 1000 grit removes nicks and resets the bevel angle; the 6000 grit polishes the edge to a working sharpness. You won’t get a mirror finish, but you don’t need one to cut wood — you need an edge that’s even and free of burrs.
Oilstones (the old Carborundum or India stones) are another cheap route, especially secondhand. They cut slower than waterstones but need no soaking and don’t dish as fast. If you find one at a flea market or in a box of a relative’s old tools, it’s worth checking the surface for flatness before assuming it’s useless.
Ceramic stones are a third option worth mentioning, mostly to rule out. They’re durable and need no soaking, but cheap ceramic stones cut frustratingly slowly for shaping work, and the good ones cost more than a combination waterstone of equivalent usefulness. Unless you find one free or very cheap secondhand, they’re not where your first sharpening dollars should go.
Waterstones vs. oilstones: which is cheaper and better for a beginner?
Waterstones are generally cheaper to buy new and cut faster, but they wear down and need flattening more often. Oilstones last longer without flattening but cut more slowly and cost more if bought new.
For a beginner on a budget, a waterstone is usually the better first purchase — it gives faster feedback, so you can tell quickly whether your technique is working. Oilstones reward patience you probably haven’t built yet. If you already own an oilstone from an old tool chest, though, there’s no reason to replace it just because waterstones are more talked about online.
One practical note: waterstones need a few minutes of soaking before use (check the packaging — some combination stones are splash-and-go rather than full-soak), while oilstones just need a few drops of honing oil wiped on before each session. Neither habit is hard to build, but if you’re the type who sharpens on impulse mid-project, the oilstone’s lower prep time might matter more than its slower cut.
Do you need a diamond stone, or is that overkill for a beginner?
Diamond stones are not necessary for a beginner sharpening chisels on a budget. They’re flat forever, which is their real advantage, but that advantage matters more once you own several stones and need consistency between them — not when you’re learning on one.
Diamond plates run more expensive than waterstones of similar size, and a cheap one can have an uneven or patchy diamond coating that wears unevenly. If you’re choosing your first stone, a decent waterstone will teach you just as much about sharpening and cost less doing it. Save the diamond plate for later, when you need it to flatten your waterstone rather than replace it.
How many grits do you actually need to start?
You need two working grits: one around 1000 for shaping and repair, one around 6000-8000 for finishing. Anything beyond that — a 220 for heavy repair, a 10000 for polishing — is refinement, not requirement.
A combination stone covers both in one purchase. If your chisel already has a reasonably intact edge (no chips, no rounded-over bevel), you may not even need the coarse side often — most routine touch-ups happen entirely on the fine grit, just to restore sharpness between uses.
What if your chisel is already damaged or badly rusted?
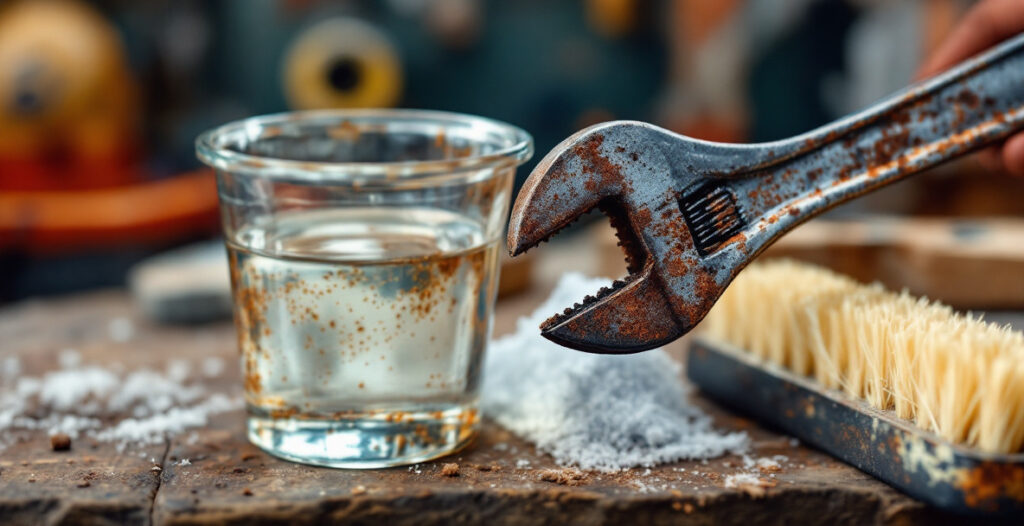
If the edge is chipped or the bevel is uneven, start on the coarse grit and work the whole bevel flat before moving to fine grit — skipping this step just polishes a bad edge instead of fixing it. If the chisel is rusted rather than just dull, deal with the rust before you touch a stone, since grinding through rust pitting wastes your stone and your patience. A good first move on an old secondhand chisel is a vinegar soak to remove the rust before you ever put it to a stone.
Secondhand stones: worth the risk?
Secondhand sharpening stones are usually a good buy, as long as you check two things: flatness and glazing. A dished or glazed stone needs extra work before it sharpens anything well, but that work is cheap compared to buying new.
To check flatness, lay a straightedge or a steel ruler across the stone’s face. Any visible gap means it’s dished from years of use in the middle — common, and fixable with a flattening stone or even wet-dry sandpaper on glass. Glazing shows up as a shiny, slick surface instead of a slightly matte one; it means the stone’s abrasive particles are clogged with swarf and need to be refreshed by light lapping. Neither problem makes a stone worthless. Both are reasons to knock a few dollars off the asking price.
Old oilstones found loose — no box, no brand visible — are often perfectly usable once cleaned. A quick scrub and a flattening pass is usually all that’s needed before the stone is back in service.
It’s also worth sniffing out what you’re buying before you commit. A stone soaked in old, rancid honing oil can be cleaned with mineral spirits or a degreaser and a stiff brush, so don’t pass one up just because it looks grimy. What’s harder to fix is a stone that’s been dropped and cracked through — check the edges and corners for hairline fractures, since a cracked stone can split further under normal pressure and isn’t worth even a bargain price.
Oilstone, waterstone, or a flattening stone — what do you actually need to buy first?
If you’re buying exactly one thing, buy a combination waterstone. It’s the cheapest path to a working, repeatable sharpening setup, and it doubles as both your repair and finishing grit in one object.
You do not need a flattening stone on day one. You can flatten a waterstone with a cheap sheet of 220-grit wet-dry sandpaper taped to a flat piece of glass or tile — a method that costs a couple of dollars instead of another $20-$30 stone. Buy a dedicated flattening stone later, once you’re sharpening often enough that convenience is worth the price.
A honing guide is optional too. Freehand sharpening is a skill worth learning regardless, since it works anywhere and costs nothing beyond the stone itself. If you want more detail on getting a consistent edge once your stone is sorted, the technique overlaps closely with sharpening a hand plane blade, which uses the same bevel-and-polish approach.
How much should you actually spend?
A workable chisel-sharpening setup — one combination waterstone, nothing else — should cost somewhere between $20 and $45. That’s enough to sharpen every chisel you own, repeatedly, for years, as long as you flatten the stone occasionally and don’t let it dry out and crack.
Spending more buys convenience: faster-cutting stones, dedicated flattening plates, honing guides, finer polishing grits. None of it buys a sharper edge than careful technique on a cheap stone already provides. If you’re deciding where to put a limited tool budget, a $30 stone and a chisel you already own will outperform a $150 stone used carelessly.
A few habits also stretch the life of a budget stone far beyond what the price tag suggests. Store it dry when not in use, rather than leaving it soaking indefinitely, to avoid cracking in cold weather. Keep it away from direct sun or a hot car trunk, which can dry out and warp some stones over time. And wipe swarf off the surface after each session instead of letting it cake and harden — a clogged stone cuts slower and glazes faster, which just means more flattening work down the line for no benefit.
For reference on technique once you have a stone in hand, this walkthrough on sharpening with waterstones covers the bevel angle and stroke pattern clearly enough to follow without prior experience.
Frequently Asked Questions
Can I sharpen a chisel without any stone at all?
Not well, no. You can maintain an edge briefly with a leather strop and compound, but that only refines an edge that’s already close to sharp — it won’t fix a dull or chipped one. At some point you need an abrasive surface flatter and coarser than leather, which means a stone of some kind.
What grit should I finish a chisel on?
Somewhere around 6000-8000 grit is enough for genuinely sharp, usable woodworking edges. Finer grits like 10000 or 12000 give a more polished bevel but make a smaller practical difference than people assume — most of the cutting performance comes from the edge being burr-free, not mirror-finished.
How often does a cheap waterstone need flattening?
Check it every few sharpening sessions by eye and straightedge. Soft waterstones dish faster than hard ones, and a stone used mostly in the center — which is how most people sharpen — will dish there first. Flattening takes a few minutes and should become a routine step, not an occasional emergency fix.
Is an oilstone or waterstone better for a secondhand chisel with pitting?
Either works, but a coarser stone (or a coarse diamond plate, if you have one) will get through pitting faster than a fine waterstone will. If the pitting is heavy, it’s often worth removing the worst of the rust first with an abrasive or soaking method, then finishing on your regular sharpening stone rather than grinding away pitting entirely on the stone itself.
Do I need a honing guide to use a budget sharpening stone?
No. A honing guide helps hold a consistent angle while you’re still learning, but it’s not required. Plenty of woodworkers sharpen freehand their entire working life. If you’re unsure whether to buy one, try freehand first — it costs nothing and some people never feel the need to add the guide at all.