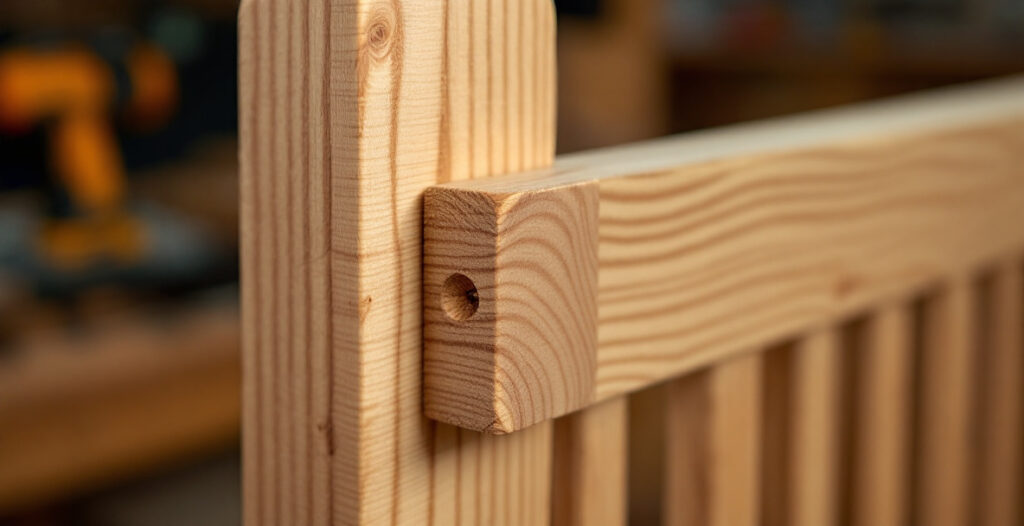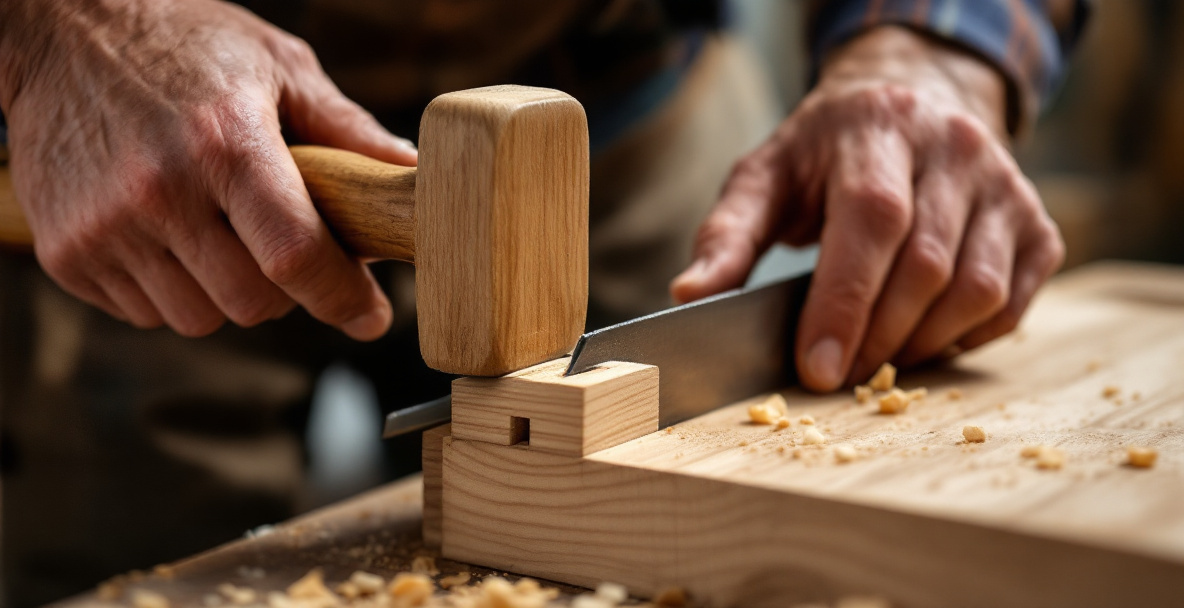
A mortise is a rectangular hole cut into a piece of wood, sized to receive a matching tenon and form a mortise and tenon joint — one of the oldest and strongest ways to join two pieces of wood at an angle, usually 90 degrees. You can cut one by hand with nothing more than a chisel, a mallet, and a marking gauge. It takes longer than a router jig, but it’s quieter, cheaper, and doesn’t require any power at all.
This guide covers the whole process: laying out the mortise, chopping it, and cleaning it up so a tenon actually fits. No jigs, no drill press, no shortcuts that assume equipment you don’t have.
What Tools Do You Actually Need?
You need a mortise chisel (or a firmer chisel if that’s what you own), a wooden or steel mallet, a marking gauge, and a square. That’s it. Everything else is optional.
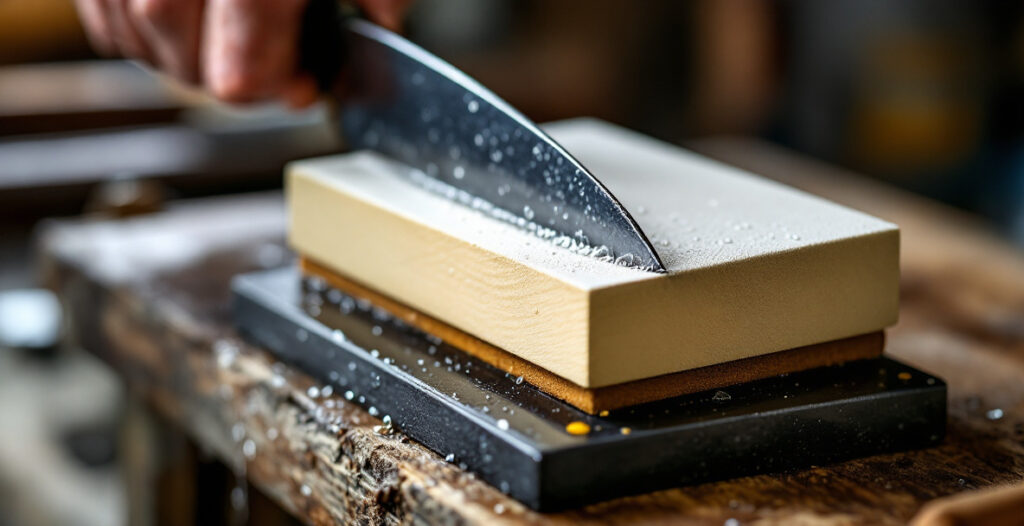
A dedicated mortise chisel has thick, straight sides and can take heavy mallet blows without twisting in the cut — it’s the right tool for the job if you’re doing this often. But if you’re just starting out and only own a set of bench chisels, a sturdy firmer chisel close to the width of your mortise will do the work fine. The main thing is that the chisel is sharp. A dull chisel in a mortise doesn’t cut, it crushes, and crushed wood fibers make a sloppy, weak joint no matter how carefully you laid it out.
For layout, a marking gauge is worth having over a pencil. It scores a fine line into the wood fibers rather than sitting on top of them, which gives you a real edge to register your chisel against. If you don’t have one yet, a marking knife paired with a square gets you most of the way there.
Laying Out the Mortise Correctly
Getting the mortise the right size and in the right place matters more than the chopping technique itself — a joint cut slightly rough but laid out accurately will still hold and look fine once assembled. A joint laid out carelessly will never sit right, no matter how clean the chisel work is.
Start by deciding the mortise width. As a rule of thumb, make it one-third the thickness of the mortised piece. On a 3/4-inch thick leg, that’s a 1/4-inch mortise, which conveniently matches a common chisel size — this is not a coincidence, it’s why chisels come in those widths.
Set your marking gauge to that width, centered on the piece, and scribe both lines down the length of where the mortise will sit. Then mark the length of the mortise across the grain with a square and knife line. Go over every line a second time to make sure it’s deep enough to feel with a fingernail — a faint line disappears the moment you start chopping near it.
How Deep Should a Mortise Be?
A mortise should be roughly two-thirds the depth of the piece it’s cut into, unless the joint is a through-mortise that goes all the way to the other side. On a typical table leg or stool leg, that usually lands somewhere between 1 and 1.5 inches deep, which is plenty for the tenon to hold real glue surface without weakening the leg.
Through-mortises, which pass completely through the wood, are stronger and easier to clean out because you’re chopping from both faces toward the middle. They’re also more visible, since the tenon end shows on the far side. For most furniture — stools, chairs, table frames — a stopped (blind) mortise is the standard choice and the one this guide focuses on.
How to Chop a Mortise by Hand Step by Step
Chopping a mortise means removing the waste between your marked lines in a series of controlled chisel cuts, working from the center outward, until you reach the marked depth. It’s a repetitive process, not a single dramatic cut, and rushing it is the most common way to blow out the sides.
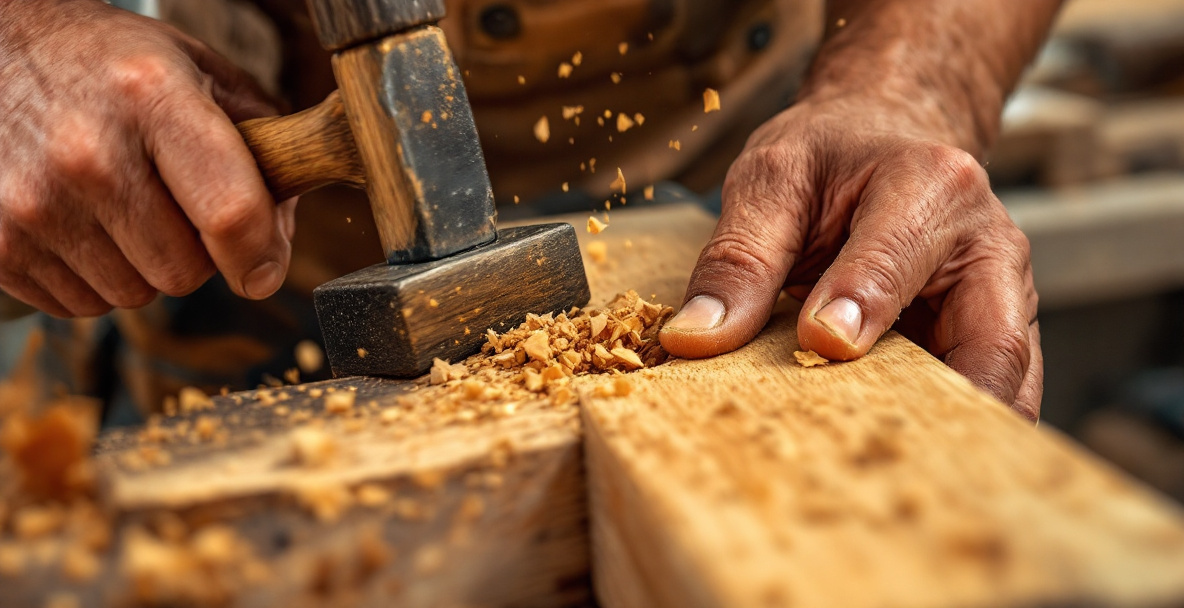
Here’s the sequence that works reliably:
- Start in the middle, not the ends. Set the chisel bevel-down, about 1/8 inch in from center, and give it a firm mallet strike straight down. This first cut acts as a stop for the chips that follow.
- Work backward in a line of overlapping cuts. Step the chisel back about 1/8 inch each time and strike again, walking toward one end but stopping short of your knife line by a couple millimeters.
- Lever out the waste. After three or four cuts, angle the chisel back into the last cut and pry the chip loose. It should pop out in a rough curl or chunk.
- Repeat toward the other end, same spacing, same rhythm.
- Pare back to the knife lines. Once the bulk is out, turn the chisel bevel-side to the wall and slice down vertically right against each end line to square it up.
- Deepen in passes. Don’t try to hit full depth in one go. Clear the middle, pare the ends, then repeat the whole sequence again 1/4 inch deeper, checking depth with the chisel edge against your gauge line.
Keep the chisel vertical. Tilting it even slightly rocks the mortise walls out of square, and a tenon won’t seat flush in a mortise with bowed sides.
What if the Chisel Wanders or the Sides Come Out Rough?
A wandering chisel is almost always a sharpness or grain problem, not a technique problem — a keen edge tracks straight down through the wood, a dull one gets pushed sideways by whatever grain it meets. If your sides are coming out ragged, stop and check the edge on your thumbnail before blaming your technique.
Rough walls can also come from taking too much depth per pass. Thin, repeated passes leave a cleaner wall than one aggressive plunge, because the chisel has less resistance fighting it off a straight line. If you’re chopping in tough, interlocked grain, work from both directions in short sessions rather than pushing straight through — the wood tells you when it’s fighting back.
Fitting the Tenon to the Mortise
The tenon should slide into the mortise with light hand pressure and stop only when it’s fully seated — not need to be hammered in, and not wobble loose. Getting there usually means cutting the tenon slightly oversized on purpose and paring it down in small increments until it fits.

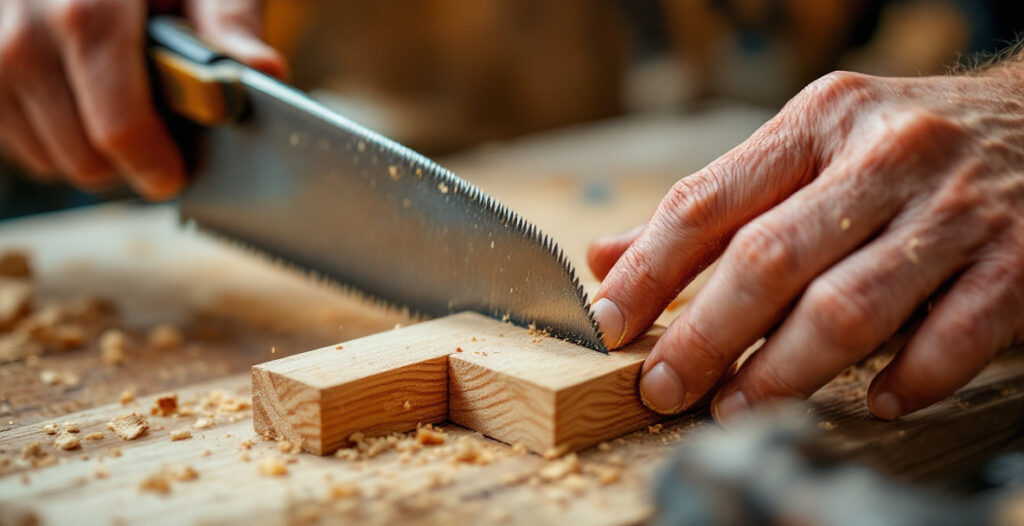
Cut the tenon cheeks with a saw, staying just outside your layout lines. Test the fit in the mortise every time before removing more material — the goal is a snug, even friction fit across the whole depth, not just at the entrance. A tenon that only fits tight at the opening and then goes loose deeper in has usually developed a taper somewhere along the saw cut, which is worth checking with a straightedge.
If the joint is glued, a fit that goes in with firm hand pressure and clamps up flush is ideal — glue fills small gaps but doesn’t make up for a joint that’s genuinely loose. According to Wikipedia, mortise and tenon construction predates written history and remains one of the strongest woodworking joints specifically because of that close mechanical fit combined with glue surface — not glue alone.
Common Mortise Mistakes to Avoid
Most bad mortises fail for one of a small number of reasons, and nearly all of them trace back to layout or sharpness rather than raw chiseling skill.
- Cutting to the line instead of stopping short of it. Chop close, then pare to the exact line as a final step — chopping straight to the line risks blowing past it.
- Losing the vertical. Check chisel angle from the side, not just from above, every few strikes.
- Skipping the depth checks. A mortise that’s too deep in one spot and shallow in another causes the tenon shoulder to sit unevenly against the joint face.
- Using a dull chisel to save sharpening time. It costs more time in the long run through crushed fibers and wandering cuts. If you haven’t sharpened in a while, it’s worth doing before you start — see the guide to sharpening a hand plane blade for the same basic bevel technique applied to chisels.
None of these mistakes are exotic. They’re the same handful of errors repeated by nearly everyone learning this joint, which is also why they’re easy to fix once you know to look for them.
Frequently Asked Questions
Can you cut a mortise without a mortise chisel?
Yes. A standard bench or firmer chisel close to your intended mortise width will cut a mortise fine, as long as it’s sharp and thick enough not to flex under mallet blows. Mortise chisels just make the job faster and are worth buying secondhand once you’re doing this joint regularly.
How wide should a mortise chisel be?
Match the chisel width to roughly one-third the thickness of the piece being mortised. Common widths — 1/4 inch, 5/16 inch, 3/8 inch — cover most furniture-scale joints like stool and table legs.
Why does my tenon fit tight at first and then feel loose?
This usually means the tenon has a slight taper from an uneven saw cut, or the mortise walls aren’t perfectly parallel from a wandering chisel. Check both with a straightedge before assuming the wood itself is the problem.
Is a through-mortise stronger than a stopped mortise?
A through-mortise generally holds more glue surface and can be wedged from the far side for extra strength, which is why it’s common on trestle tables and Windsor-style furniture. For most everyday furniture joints, a well-fitted stopped mortise is plenty strong.
Do I need to glue a mortise and tenon joint?
Most mortise and tenon joints are glued for permanent strength, though a very tight, well-fitted joint can hold mechanically on its own for a short time during dry-assembly. For anything load-bearing or permanent, glue the joint — see the guide to choosing wood glue for which type suits furniture work.