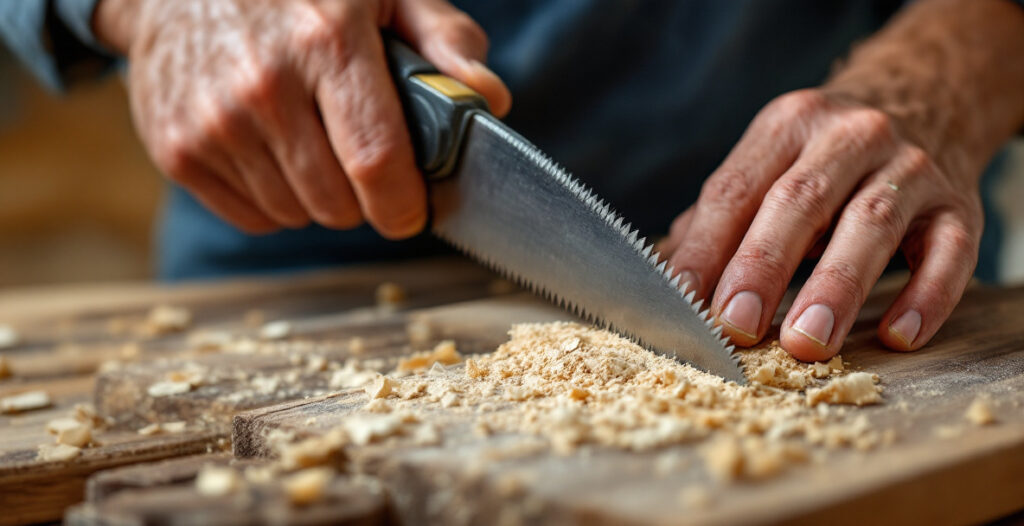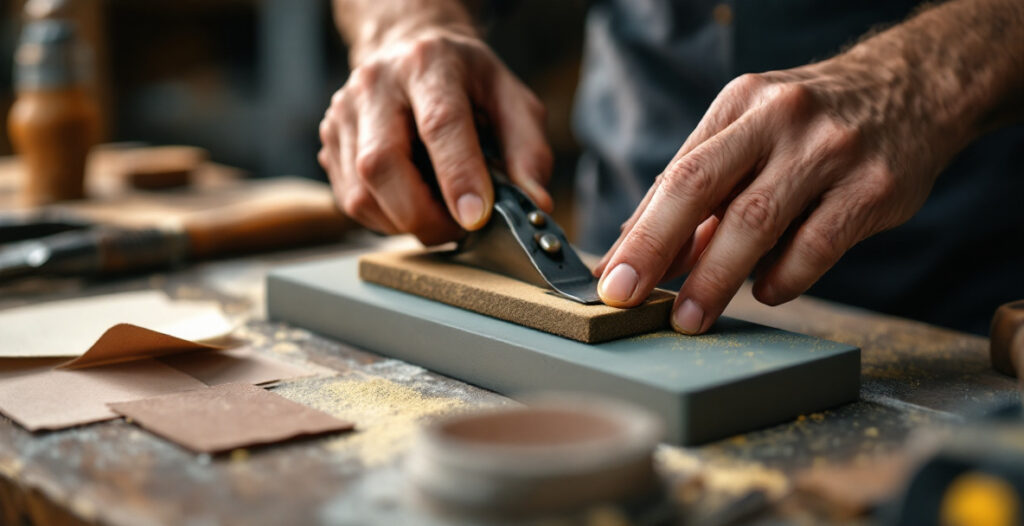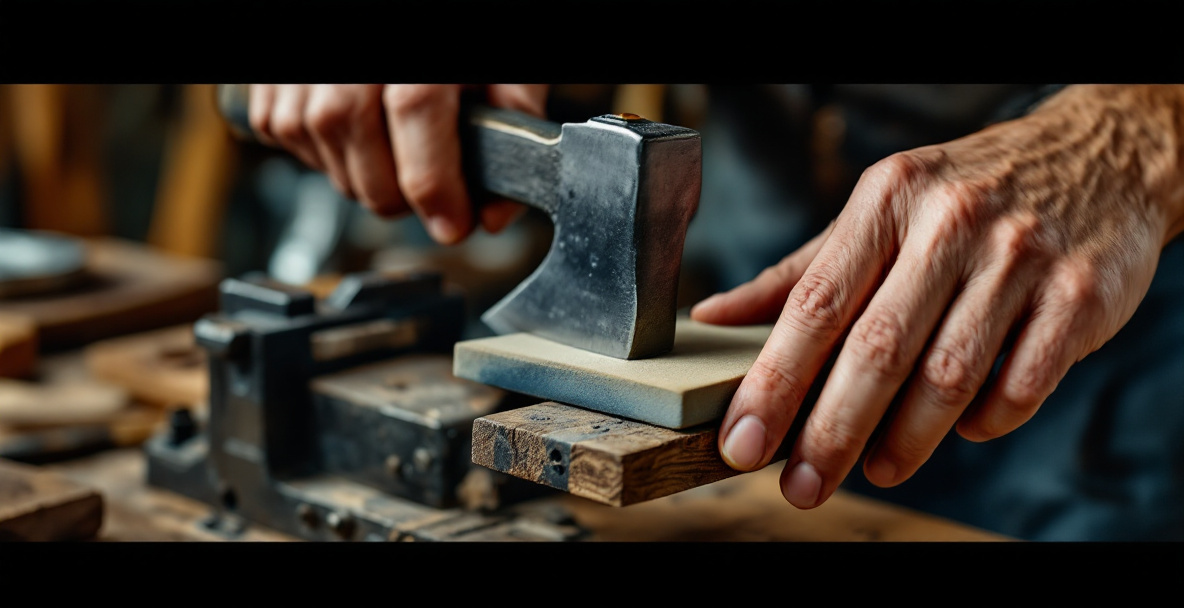
Sharpening an axe by hand means grinding a smooth, even bevel on both sides of the edge with a file, then refining that edge with a whetstone or puck until it can shave hair or slice paper cleanly. It takes a file, a sharpening stone, a way to hold the axe steady, and about 20-30 minutes for a tool that’s merely dull. No power tools are needed, and none are recommended for a bevel you plan to keep using for years.
This guide assumes you’re working with an axe you actually use — for splitting kindling, felling small trees, or general green woodworking — not a display piece. If your axe is chipped, rolled, or badly out of shape, that’s a slightly bigger job, covered further down.
Why sharpen an axe by hand instead of with a grinder?
A bench grinder removes metal fast, which is exactly the problem. It’s easy to overheat the edge, drawing the temper out of the steel and leaving a soft spot that dulls again within minutes of use. A file and stone remove metal slowly enough that you stay in control the whole time.
Hand sharpening also suits the Backwood Crafting situation: no workshop, no grinder, no dust extraction, just a vice or a stump and some hand tools. It’s the same logic that applies to sharpening a chisel or a plane blade — slower, but nothing to plug in and nothing to ruin if your attention slips for a second.
There’s also the matter of shape. Axes aren’t ground flat like a chisel; they have a convex bevel that’s easy to distort with a machine and straightforward to maintain by hand once you know what you’re feeling for.
What you need to sharpen an axe
You don’t need a specialist kit. A basic setup covers nearly every axe you’ll come across:
- A flat mill file, 8-10 inches, for reshaping and removing nicks
- A round or “chainsaw” file if your axe has a strong convex curve near the edge
- A combination sharpening stone (coarse/fine) or a puck stone
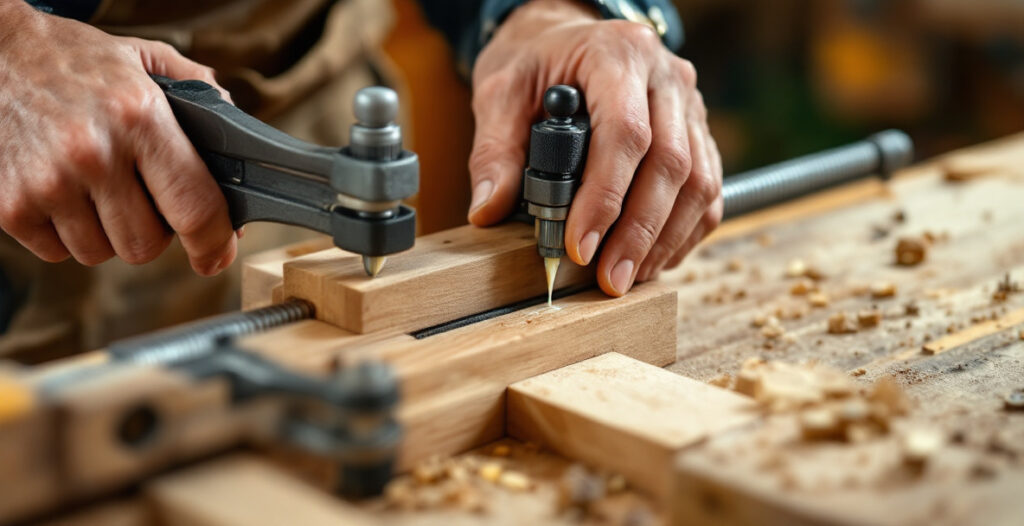
- A vice, or a way to brace the axe head firmly (a notched block works)
- Light oil or water for the stone, depending on its type
- Leather gloves and eye protection
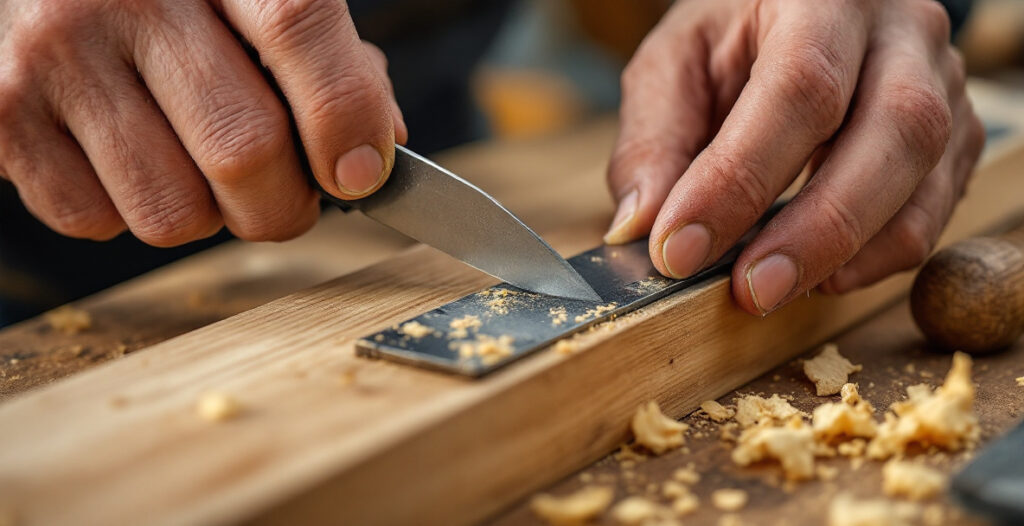
Secondhand files and stones work fine and are often the more sensible buy — a used file still cuts steel just as well as a new one, and axe sharpening doesn’t demand precision machining. If you’re assembling a small hand-tool kit generally, the same reasoning applies to most of what you’d need on a bench; see the guide on sharpening a hand plane blade for the overlap in tools.
How to sharpen an axe: step-by-step
The process is the same whether you’re touching up a slightly dull edge or rebuilding one that’s chipped and uneven. What changes is how long each step takes.
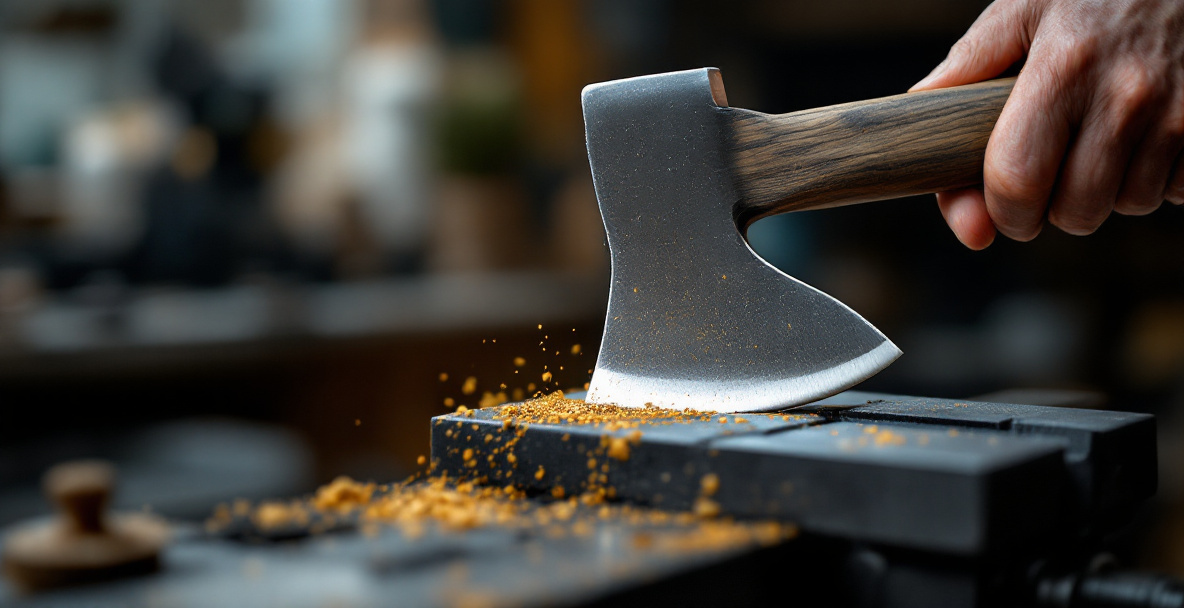
1. Secure the axe head
Clamp the axe head in a vice with the edge facing up and away from your body, or brace it firmly against a stump with the bit exposed. The head must not move while you file — a wobbling axe is how files skate and knuckles get cut.
2. File the bevel to shape
Hold the file at the same angle as the existing bevel — typically 20-30 degrees per side for a general-purpose axe — and push it away from the edge in one direction only. Don’t saw back and forth; a file cuts on the push stroke and dulls itself dragging back over the edge.
Work one side until you can feel a slight burr (a thin curl of raised metal) along the opposite edge, then flip the axe and do the same on the other side. This burr is your signal that you’ve filed enough to reach the true edge, not just polished the existing bevel. The USDA Forest Service’s technical guide on ax maintenance describes this same burr-based approach for judging when to switch sides during filing, which is a useful check if you’re doing this for the first time.
3. Even out the bevel
Step back after a few passes on each side and look at the edge in good light. It should be an even, unbroken curve from cheek to edge, with no flat spots or dips. Uneven pressure with the file is the most common beginner mistake — it creates a wavy edge that never holds well no matter how much stoning follows.
4. Move to the stone
Once the shape is right, switch to your sharpening stone. Use the coarse side first, working in small circles along the bevel, keeping the same angle you filed. Alternate sides every 10-15 circles so you don’t overdevelop one side.
5. Refine with the fine side
Switch to the fine grit and repeat the same circular motion with lighter pressure. This is where the edge actually gets sharp — the file and coarse stone do the shaping, the fine stone does the cutting. Continue until the burr from filing is gone and the edge feels uniformly smooth when you run a fingernail lightly across it (not along it).
6. Strop for a final polish
A few passes on a leather strop, or even a folded piece of cardboard, removes any last microscopic burr and leaves a cleaner edge. This step is optional for a splitting axe but worth doing for anything used in green woodworking, where a cleaner cut matters more.
How do you know when an axe is sharp enough?
A properly sharpened axe should shave the hair off your forearm or slice cleanly through a sheet of paper held at an angle, without tearing. If it skids off the paper or just crushes the hair instead of cutting it, it needs more time on the stone.
For splitting axes, don’t chase a razor edge. A slightly less refined edge with more metal behind it resists chipping in knotty wood better than a fine, thin one. For carving or felling axes used in green woodworking, a sharper, thinner edge is worth the extra time, since you’re aiming for clean, controlled cuts rather than brute splitting force.
Common mistakes when sharpening an axe by hand
Most sharpening problems come down to inconsistency, not lack of skill. A few show up more often than the rest.
Changing the angle mid-stroke. This rounds over the bevel instead of keeping it flat, and it’s the single biggest reason a homemade edge won’t hold up. Keep your elbow and wrist locked in one position and let your whole arm move, rather than flexing the wrist.
Filing dry with no burr check. Skipping the burr check means you can’t actually tell when you’ve reached the edge on one side, so you either stop too early or grind away more metal than you need to. Woodworkers Institute’s sharpening notes make the same point — the burr is the reliable signal, not how long you’ve been filing.
Overheating on a power tool. Even a light touch on a bench grinder can discolor the edge in seconds, and once the temper is drawn, no amount of stoning brings the hardness back. If you don’t have a grinder, you haven’t lost anything — hand filing was always the safer route anyway.
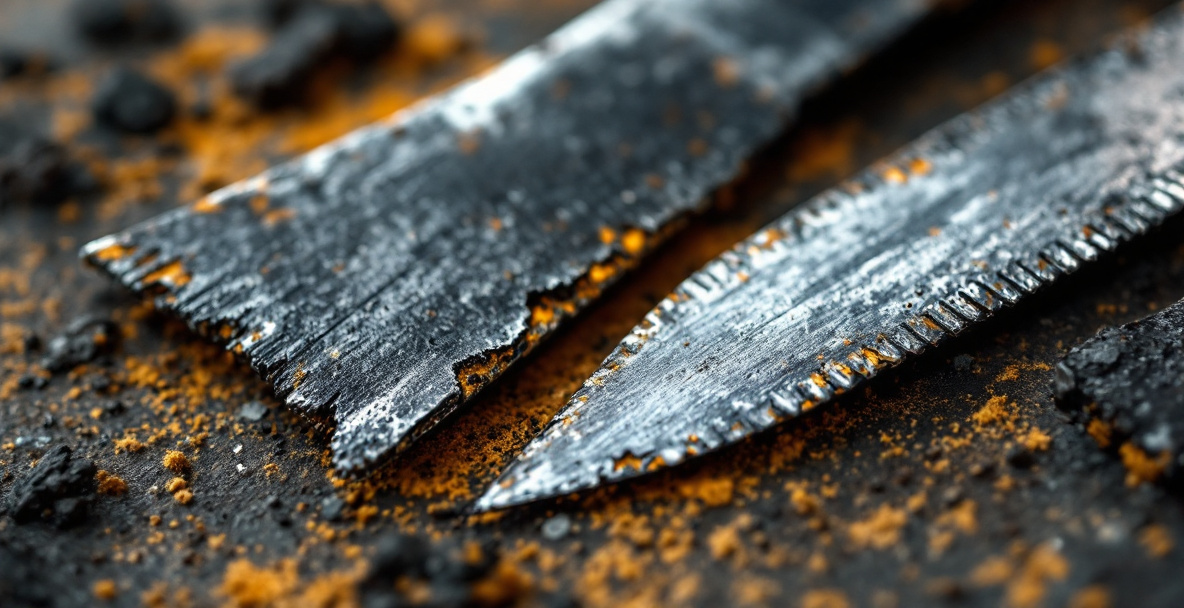
Ignoring a chipped edge. A small chip needs to be filed out entirely before you move to the stone, even if that means removing more metal than feels comfortable. Stoning around a chip just polishes the damage instead of removing it.
How often should you sharpen an axe?
A light touch-up with just the stone, skipping the file, keeps most axes working well after every few sessions of use — this takes five minutes and should become routine rather than an occasional chore. Full filing is only needed when the edge is visibly dull, chipped, or rolled, which for occasional use might be once or twice a season.
Storage matters as much as sharpening. A dry axe head with a light coat of oil holds an edge far longer than one left damp in a shed, which is really a wood-storage problem wearing an axe-sharpening disguise. Outdoor Life’s guide on axe care covers this alongside the sharpening steps themselves, if you want a second source to compare technique against.
FAQ
Can you sharpen an axe with just a stone, no file?
Yes, if the edge is only slightly dull and not chipped or rolled. A stone alone maintains an existing bevel; it just can’t reshape one, so a badly damaged edge will still need the file first.
What angle should an axe be sharpened at?
Most general-purpose and splitting axes sit around 25-30 degrees per side. Axes meant for finer carving or green woodworking work better closer to 20 degrees, since a thinner edge cuts cleaner even though it’s more prone to chipping in hard or knotty wood.
Is a puck stone better than a flat stone for axes?
A puck (a round, often two-sided stone) is easier to use on a curved axe bevel because you can follow the convex shape with a circular motion. A flat stone works too, but it’s more suited to flat blades like chisels or plane irons.
Why does my axe go dull so fast after sharpening?
Usually it’s one of three things: the edge was left too thin for the wood you’re splitting, it’s being stored damp and picking up light rust, or it’s hitting the ground or knots during use. Check storage first — it’s the easiest fix and the most commonly overlooked one.
Do I need oil on the stone, or is water fine?
That depends on the stone itself, not the axe. Oilstones need oil to float away metal particles and stay effective; water stones need water for the same reason. Using the wrong lubricant, or none at all, clogs the stone’s surface and makes it cut more slowly over time.