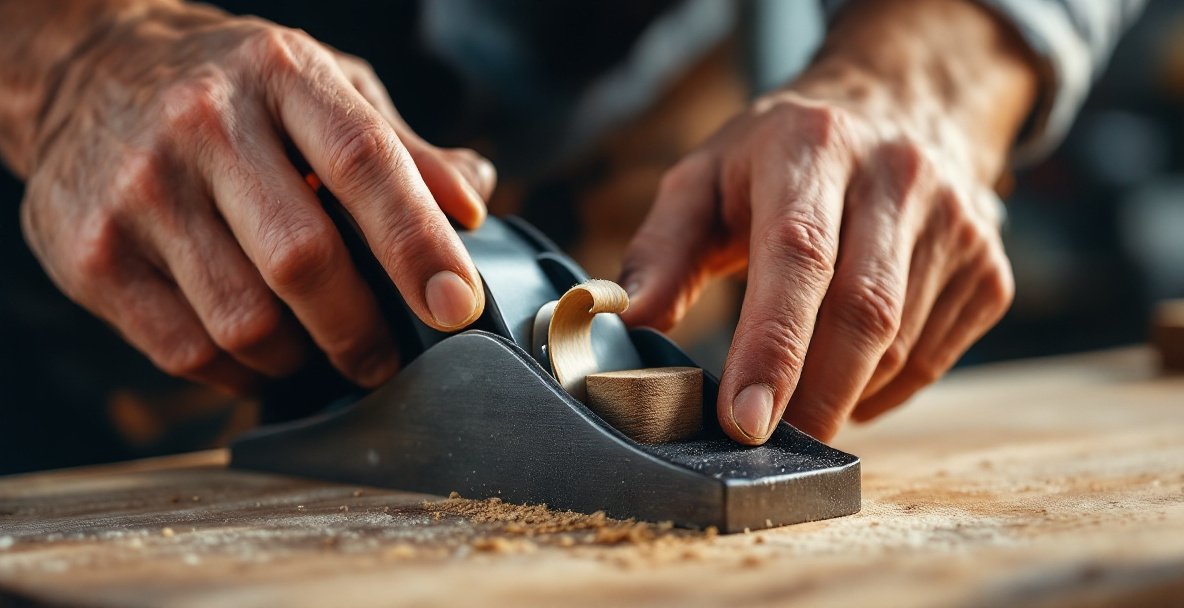
A hand plane shaves thin layers off wood to flatten, smooth, or square a surface. To use one: check the blade is sharp, set it for a thin cut, hold the plane flat against the wood, and push forward with steady pressure along the grain, not against it. Most beginner problems — chatter, gouging, tear-out — come from a dull blade or a cut set too thick, not from bad technique.
That’s really it. Everything below is about making that simple motion actually work in practice, because a plane with a dull blade or a bad setup will fight you no matter how good your form is.
What is a hand plane actually for?
A hand plane flattens, smooths, and squares wood by removing thin shavings with a fixed blade set into a body. It does the job a thickness planer or belt sander does in a powered shop, just slower and quieter.
For small-space woodworking, that trade-off is often a win. No dust extraction, no 240V outlet, no noise complaints from whoever’s on the other side of the shed wall. You’re trading speed for control, silence, and a much smaller footprint — a single bench plane takes up less room than a coffee mug.
The most useful plane for a beginner is a No. 4 (or “smoothing plane”) — general size, general purpose, good for most flattening and smoothing jobs you’ll meet in furniture building. If you only own one plane, this is the one to own.
How do you get a hand plane ready to use?
A plane straight out of the box, or straight off a secondhand tool table, will not cut well. It needs three things sorted before it touches wood: a sharp blade, a flat sole, and a correctly set chip breaker.
Sharpening the blade
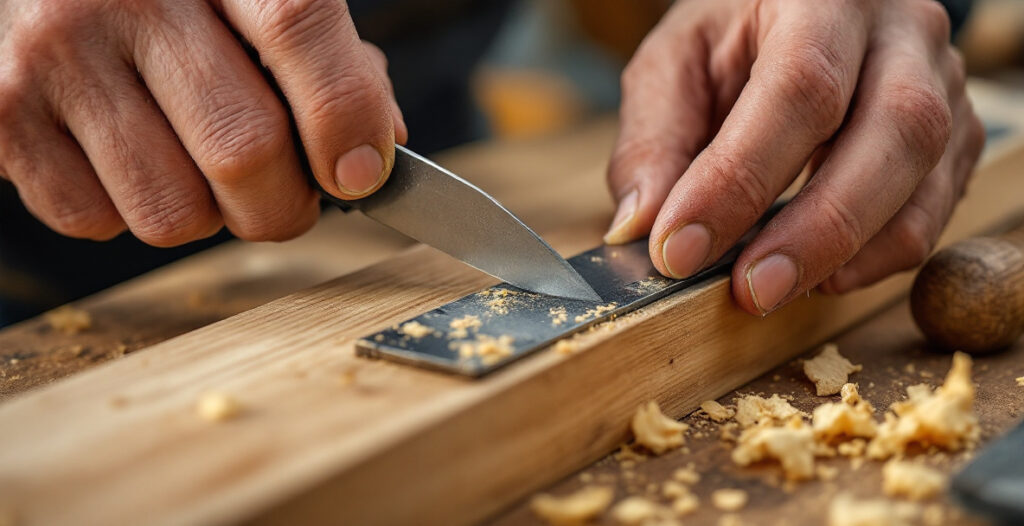
The blade (or “iron”) needs a genuinely sharp edge — not “sharp enough,” actually sharp, capable of shaving hair off your arm without dragging. Most beginner frustration with planes traces back to this one step being skipped or half-done.
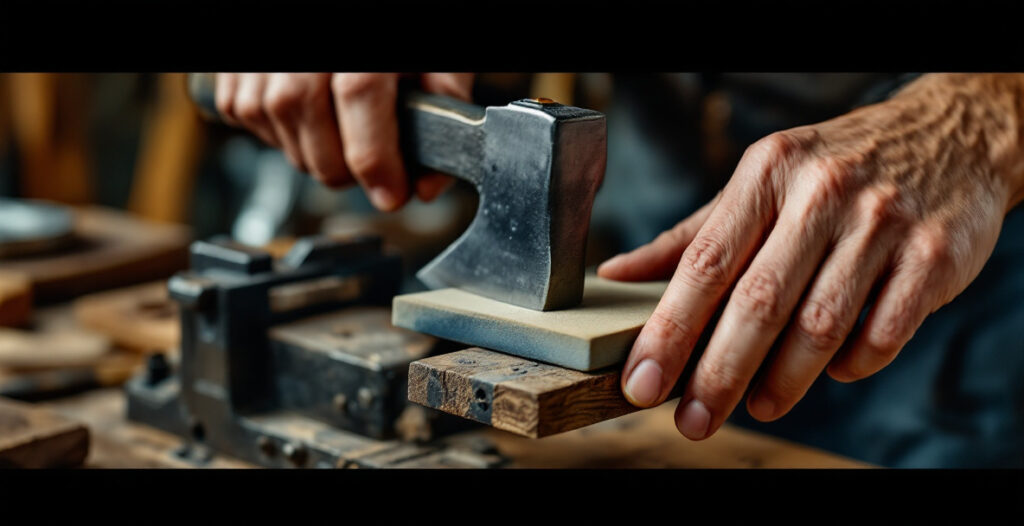
You don’t need a full sharpening station to get there. A couple of sheets of wet-dry sandpaper on a flat surface, or a cheap set of stones, will sharpen a plane iron to a working edge. What matters is a consistent angle and enough patience to actually reach a sharp result rather than stopping halfway.
Flattening the sole and checking the frog
The sole (bottom) of the plane needs to be reasonably flat, and the frog (the part the blade sits against) needs to be seated evenly, or the blade will chatter instead of cutting cleanly. This matters more on older secondhand planes than new ones, since decades of use and storage can warp a sole slightly.
You don’t need machinist-level flatness for furniture work. Close enough to sit evenly on a flat board is usually close enough to plane. If you want a full walkthrough of checking and correcting this, this step-by-step tuning guide covers the process in more depth than fits here.
Setting the chip breaker and blade depth
The chip breaker sits just behind the cutting edge and controls how the shaving curls away instead of splitting ahead of the cut. Set it back roughly 1/16 inch (about 1.5mm) from the edge for general work — closer for fine finishing cuts, further back for rougher stock removal.
Blade depth is set by feel, not a measurement. Turn the depth adjustment knob until the blade barely protrudes past the sole, then take a test shaving. Adjust from there until the shaving comes off in a thin, even ribbon rather than a thick curl or nothing at all. This short setup demonstration shows the adjustment process in real time, which is honestly easier to watch than to read.
How do you actually plane a piece of wood?
Set the workpiece flat and secure it so it can’t slide when you push into it — a bench vise, holdfasts, or even a simple stop block will do. Stand square to the work with your weight over your front foot, and push the plane forward in one continuous stroke, keeping it flat against the surface the entire pass.
A few things separate a clean pass from a mess:
- Read the grain direction first. Planing “with the grain” means the wood fibers rise toward you as you push — plane against that direction and the blade will dig in and tear chunks out instead of shaving cleanly.
- Keep even pressure front-to-back. Push down on the front knob at the start of the stroke and the rear handle at the end, so the plane doesn’t dip and round over the edges of the board.
- Take full-length strokes. Short, choppy strokes leave ridges. One smooth pass end-to-end, repeated, gives a flatter result than lots of short ones.
- Check your progress with a straightedge or by sighting down the board, not by eye alone — wood that looks flat from one angle can be rocking on a hidden bow.
If the plane is skipping, chattering, or refusing to bite at all, that’s almost always the blade — either too dull, or backed off too far. Re-sharpen before assuming your technique is the problem.
Planing end grain vs. face grain
Face grain (the long flat side of a board) planes differently from end grain (the cut ends), and beginners often try the same approach on both. End grain fibers stand straight up rather than lying flat, so they need a sharper blade, a finer cut, and often a skewed (angled) push to shear through cleanly instead of crushing.
If end grain keeps splintering no matter what you do, try a slight sideways skew to your push, and back off the depth of cut even further than you would for face grain.
What’s the difference between a jack plane, smoothing plane, and jointer plane?
These three cover almost everything a beginner will ever need, and the difference is mostly length and job, not skill level required.
- Smoothing plane (No. 3–4): short, general-purpose, good for final surface smoothing and most everyday work. This is the one to buy first.
- Jack plane (No. 5): longer, used for initial flattening and removing more material faster before switching to a smoothing plane for the final pass.
- Jointer plane (No. 7–8): the longest common bench plane, built specifically for flattening long edges dead straight — mostly useful once you’re gluing boards edge-to-edge for wider panels.
For someone building their first small furniture pieces, a single smoothing plane is enough to start. The others earn their space on the shelf later, once a specific job actually needs them.
Should you buy a new or secondhand hand plane?
Secondhand is almost always the better value for a beginner, provided the tool isn’t damaged beyond repair. Old cast-iron planes were made in huge numbers for decades, and most that survive in usable condition just need cleaning, sharpening, and the tuning steps covered above — not replacement.
What to check before buying secondhand: the sole shouldn’t be cracked or badly pitted with rust, the adjustment mechanisms should still turn, and the blade should have enough length left for future sharpenings (a blade ground down to a stub isn’t worth the money, however cheap). Everything else — surface rust, a rough handle, a missing screw — is fixable in an afternoon.
Buying new isn’t a mistake either; it just costs more for a tool that will still need tuning before its first real use. If space and budget are already tight, which they usually are in this kind of workshop, secondhand tools stretch further and work exactly as well once set up properly.
If you’re just getting your bearings on what a small hand-tool setup actually needs beyond the plane itself, the site’s about page lays out the philosophy behind working this way — no power tools, no dedicated workshop, just what fits in a shed or garage corner.
Frequently Asked Questions
Do I need more than one hand plane to start woodworking?
No. A single smoothing plane (No. 3 or No. 4) handles the majority of beginner tasks — smoothing surfaces, cleaning up edges, and light flattening. Add a jack or jointer plane later only when a specific project calls for it.
Why does my hand plane leave ridges or lines in the wood?
Ridges usually mean the blade edge isn’t straight across, or one corner is set slightly deeper than the other. Re-sharpen with even pressure across the full width of the blade, and check the edge against a straightedge before reinstalling it.
How often does a plane blade need sharpening?
It depends on the wood and how much you’re planing, but as a rough guide, expect to touch up the edge every 20–30 minutes of active use on hardwood, less often on softwood. A blade that starts requiring more pushing effort than before is telling you it’s due.
Can a hand plane replace a power planer entirely?
For small furniture pieces, stools, and similar projects, yes — it just takes longer. For processing large volumes of rough lumber quickly, a power planer will always be faster; a hand plane trades that speed for quiet, low cost, and no need for a dedicated power setup.
Is it worth restoring a rusty old plane instead of buying new?
Usually, yes. Surface rust and a rough finish are cosmetic problems, not functional ones. As long as the sole isn’t cracked and the adjuster mechanisms still move, an old plane restored over a weekend will perform the same as a new one at a fraction of the cost.