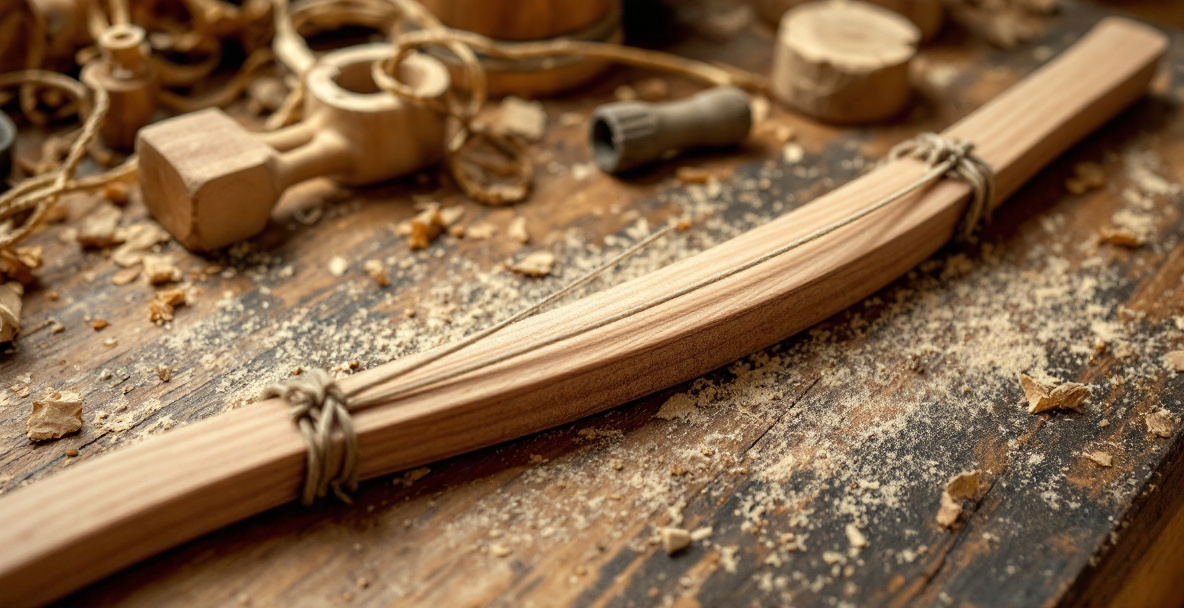
A drawing bow is a simple shop-made tool — a thin, flexible strip of wood held under tension by a cord — used to draw and mark smooth, fair curves directly onto a workpiece. Green woodworkers and chairmakers use it to lay out curved seat edges, bow saw arms, and bent frame components before cutting, because it produces a natural, even arc instead of a curve pieced together from a compass or a stiff template. It costs almost nothing to make and takes about twenty minutes.
What exactly is a drawing bow?
A drawing bow is two parts: a springy stick and a length of cord. Bend the stick, tie the cord between its two ends to hold that bend, and you have a tool that traces a smooth arc wherever you set it against your work. Slide the cord along the stick’s length or swap the tension and the curve changes shape.
It’s the same principle as a longbow, minus the arrows. That’s genuinely where the name comes from — some builders even call it a “bow” for exactly that reason, and older shop notes sometimes describe it alongside actual archery bows made for drawing curves rather than shooting anything. The tool has been used informally by chairmakers, boatbuilders, and green woodworkers for generations, mostly because nobody ever needed to buy one — you make it from offcuts.
Why not just use a compass or French curve?
Because neither one gives you a curve that follows the natural bend of wood or matches an ergonomic shape like a chair seat. A compass only draws circular arcs, and a French curve template locks you into someone else’s fixed shapes. A drawing bow flexes to fit the actual curve you need, on the actual workpiece, at the actual size you’re building.
This matters more than it sounds. A seat front, a bow-back chair spindle rail, or a rocker’s curved rail all need long, gentle, continuous arcs — not a series of short straight facets that only look curved from a distance. A stiff wooden strip under tension naturally forms that kind of arc because wood resists bending unevenly, and the resulting curve is what furniture makers call “fair” — no flat spots, no sudden kinks.
There’s also a practical shop reason to prefer it: a compass and a French curve both take up drawer space and only ever give you the shapes they were built or bought for. A drawing bow, by contrast, stores flat, weighs almost nothing, and reshapes itself to whatever the current project needs. For a green woodworker working mostly from offcuts and hand tools anyway, it fits the way the rest of the kit is built — cheap, adjustable, and made rather than bought.
How do you make a drawing bow?
You need one thin, flexible strip of straight-grained wood and a length of cord — that’s the whole tool. Ash, hickory, or a thin strip of oak all work well because they bend without snapping. A strip roughly 3 feet long, a quarter-inch thick, and an inch wide is a reasonable starting size for chair-sized work.
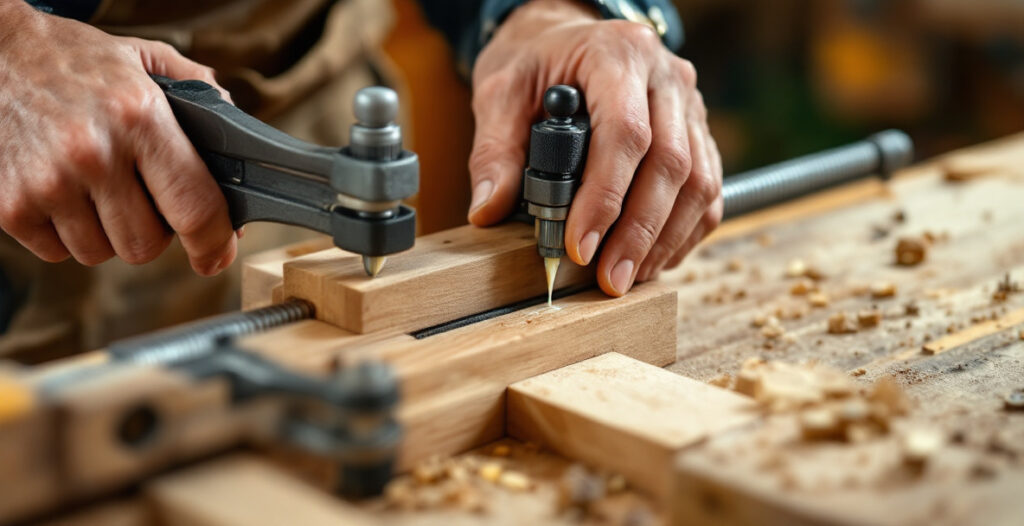
Drill or notch a small hole near each end of the strip. Tie one end of the cord off, bend the strip into the arc you want, and tie the other end so the cord holds that bend under tension. That’s it — no glue, no hardware, no finish required.
If you’d rather see the process worked through step by step on an actual strip of wood, Popularwoodworking walks through it with photos, and there’s also a short video demonstration of a Youtube that shows how the tension adjusts the curve in real time.
Once the two holes are drilled, sand or ease their edges slightly before threading the cord — a sharp-edged hole can fray or eventually cut through the cord after repeated tensioning. Some makers also round over the strip’s own edges lightly with a block plane or sandpaper, mostly so it’s comfortable to handle and doesn’t leave splinters behind when you’re holding it against a workpiece for several minutes at a time while you fine-tune the curve.
What wood should you use for the bow strip?
Straight-grained, springy hardwood is what you want — the strip has to flex repeatedly without cracking or taking a permanent set. Ash and hickory are the traditional choices because they’re tough and elastic; a straight-grained offcut of oak will also do the job if that’s what you’ve got lying around.
Avoid anything knotty or with grain that runs off at an angle partway down the strip — that’s exactly where it’ll snap under tension. If you’re already sorting through offcuts for a build, the same instincts that go into picking wood for outdoor furniture — checking grain direction, avoiding weak spots — apply here too, just at a much smaller scale.
Thickness matters as much as species. Too thick and the strip won’t bend enough to give you a useful curve without enormous cord tension; too thin and it’ll either snap or give you a curve so soft it barely differs from a straight line. A quarter-inch thickness is a reasonable middle ground for chair-sized work, but it’s worth planing a test strip down gradually and flexing it by hand until it feels springy without straining — that hand-feel test is more reliable than any fixed measurement.
How do you actually use a drawing bow to mark a curve?
Set the bowed strip against your workpiece with the two tied ends resting on the wood where you want the curve to start and end, then adjust the tension until the arc looks right, and trace along the strip’s edge with a pencil. The whole process takes seconds once the bow is made.
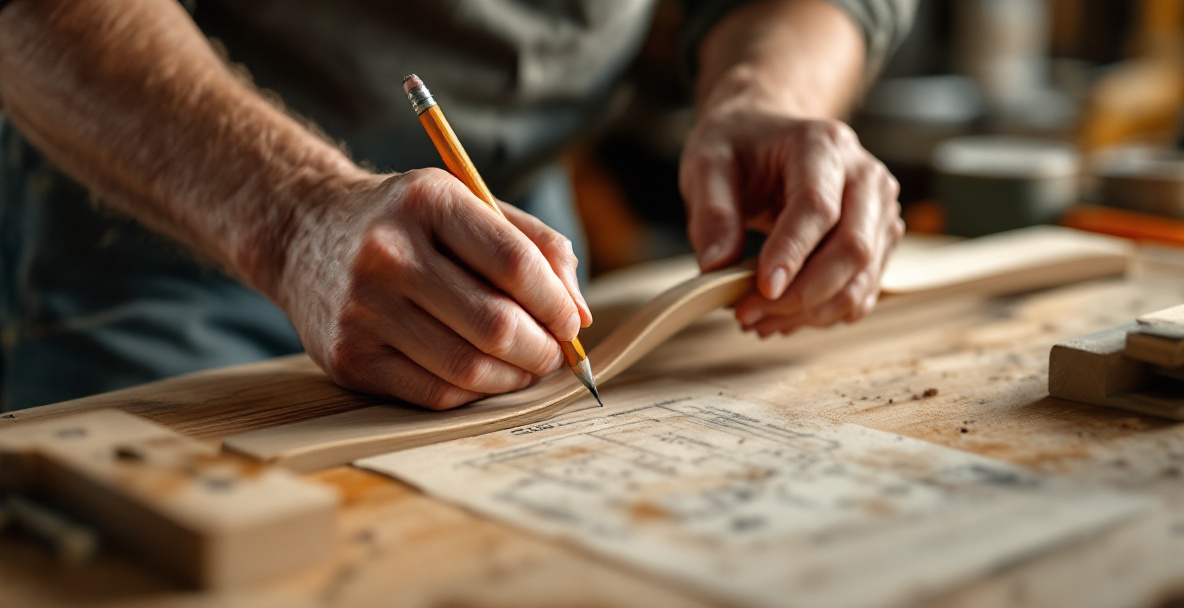
Because the cord tension is adjustable, you can flatten the curve for a subtle seat contour or tighten it for a sharper bend, all with the same tool. This is the real advantage over a fixed template: one drawing bow covers a whole range of curves instead of just one.
It helps to have a second pair of hands, or a couple of clamps, when marking a longer curve — one person holds the bow steady against the workpiece while the other traces, since even a small shift in the strip’s position mid-line will show up as a kink in the finished cut. If you’re working alone, light clamps or a helper block at each end can hold the tied ends in place while you trace freehand down the middle.
Can you use it for more than one curve size?
Yes — that’s the main reason it beats a fixed template. Loosen or tighten the cord and the same strip produces a shallower or deeper arc, so one drawing bow can lay out a chair seat’s front edge, a backrest’s sweep, and a smaller bent-frame piece, all without building three separate templates.
Some woodworkers keep two or three bows of different strip lengths and stiffness on hand for a full chair build — a longer, thicker strip for wide seat curves, and a shorter, thinner one for tight bends on smaller frame parts. It’s a cheap thing to have a few of, since each one costs almost nothing beyond a scrap of wood and a bit of cord.
Where do drawing bows fit into hand tool woodworking?
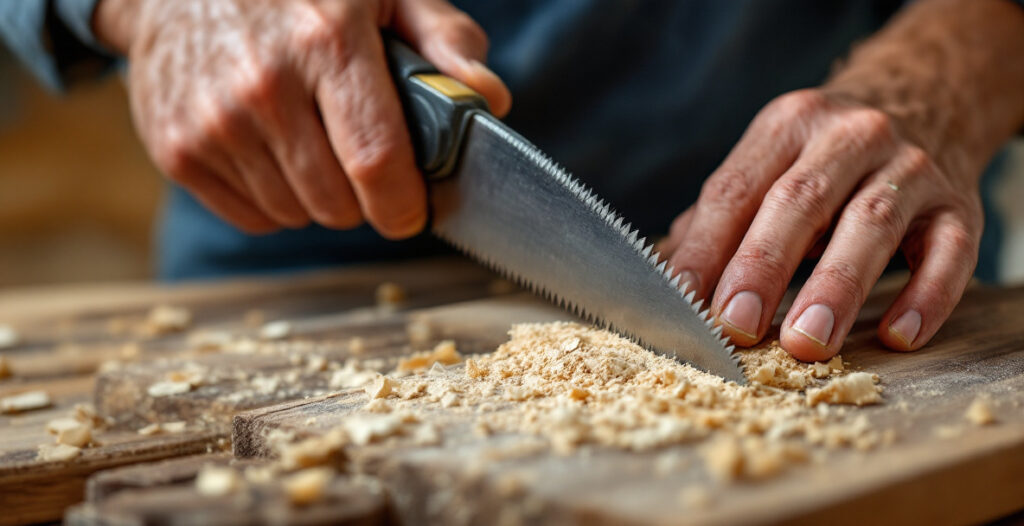
Drawing bows fit at the layout stage, before any cutting happens — you use one to mark the curve, then cut to that line with a saw suited to curved work. For most hand-tool builders, that means following up with a coping saw or a bow saw, since neither needs a bandsaw or jigsaw to follow a marked arc cleanly.
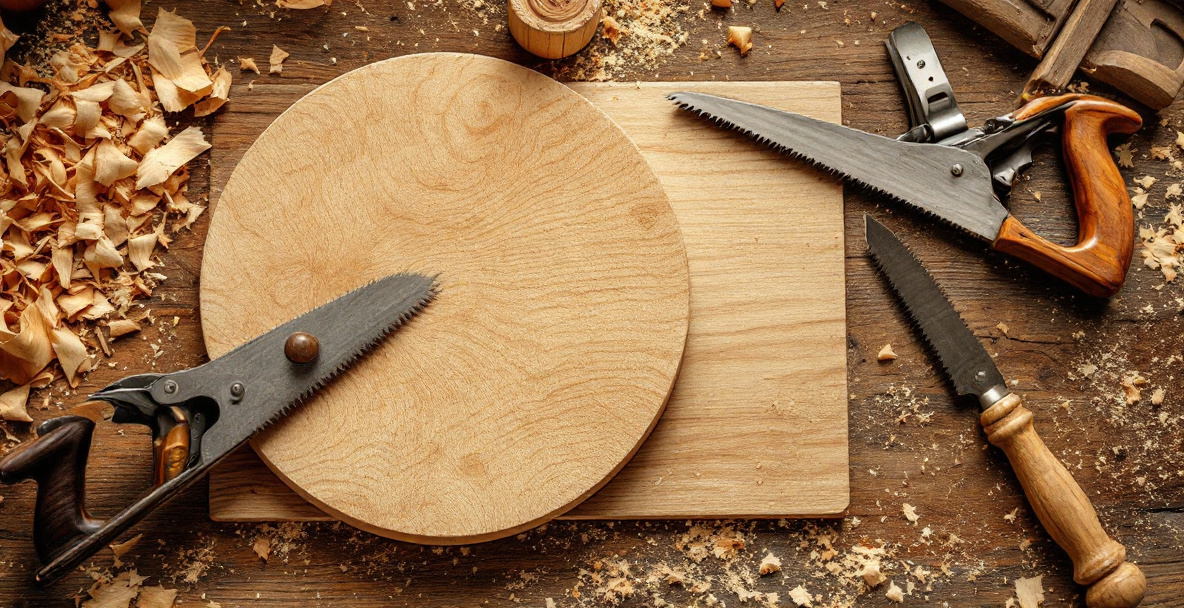
Once you’ve got the curve marked, our guide to using a coping saw covers the technique for cutting tight curves and corners without tearing out the line you just drew. After the rough curve is cut, a hand plane — worked carefully across the grain — is usually what brings the edge down to the final marked line; our beginner’s guide to using a hand plane covers that stage.
There’s no shortcut version of this that skips the layout step. A curve cut freehand without a marked line almost always drifts, and a drifted curve on a chair seat is uncomfortable, not just ugly. The bow is cheap insurance against that.
Do you need a drawing bow if you don’t build chairs?
Not really — if your projects are mostly straight-lined boxes, crates, or flat-panel furniture, a drawing bow won’t come up much. It earns its keep specifically on curved work: chair seats, bent backrests, curved stretchers, and similar shapes where a long, even arc matters.
If you’re building something like a simple wooden crate, you’re unlikely to need one at all. But the moment a project calls for a seat edge, a curved rail, or any shape that needs to look and feel continuous rather than faceted, it’s worth the twenty minutes it takes to make one.
FAQ
Is a drawing bow the same as a drawknife?
No. A drawknife is a cutting tool with two handles and a blade, used to shave wood away in long strokes. A drawing bow doesn’t cut anything — it’s strictly for marking a curved line before you cut it with something else, like a coping saw or bow saw.
What cord should I use for a drawing bow?
Any strong, non-stretchy cord works — thin nylon cord, waxed twine, or even a stiff length of paracord. The main requirement is that it holds tension without slipping loose while you’re marking, since a cord that stretches under load will let the curve sag mid-use.
Can a drawing bow break while in use?
Yes, if the wood strip has a weak spot, a knot, or grain running off at an angle. That’s why picking a clean, straight-grained offcut matters more than the exact species — a short strip snapping under tension isn’t dangerous, but it’s annoying enough to redo the whole tool.
How long does a drawing bow last?
Indefinitely, if it’s not being flexed to its limit constantly — it’s just a stick and a cord. Some woodworkers keep the same one for years, only replacing the strip if it eventually takes a permanent bend or cracks near the tie-off holes.
Is there a standard size for a drawing bow?
No single standard size — it depends on what you’re marking. A roughly 3-foot strip suits most chair-sized curves, but there’s nothing wrong with making a shorter, stiffer one for small bent-frame pieces or a longer one for wider work like a bench seat.