Wood filler is for repairs you’ll paint or finish over before the piece ever gets used — it hardens fully and sands flush, making it the right choice for nail holes, gouges, and structural gaps. Wood putty stays soft and pliable, made to patch finished wood after the fact, usually on trim or flooring that’s already sealed. If you’re repairing furniture before finishing it, use filler. If you’re patching something already stained or sealed, use putty.
That’s the short version. The longer version depends on what stage your project is at, what the flaw actually is, and whether the repair needs to take stain the same way the surrounding wood does.
What’s the actual difference between wood filler and wood putty?
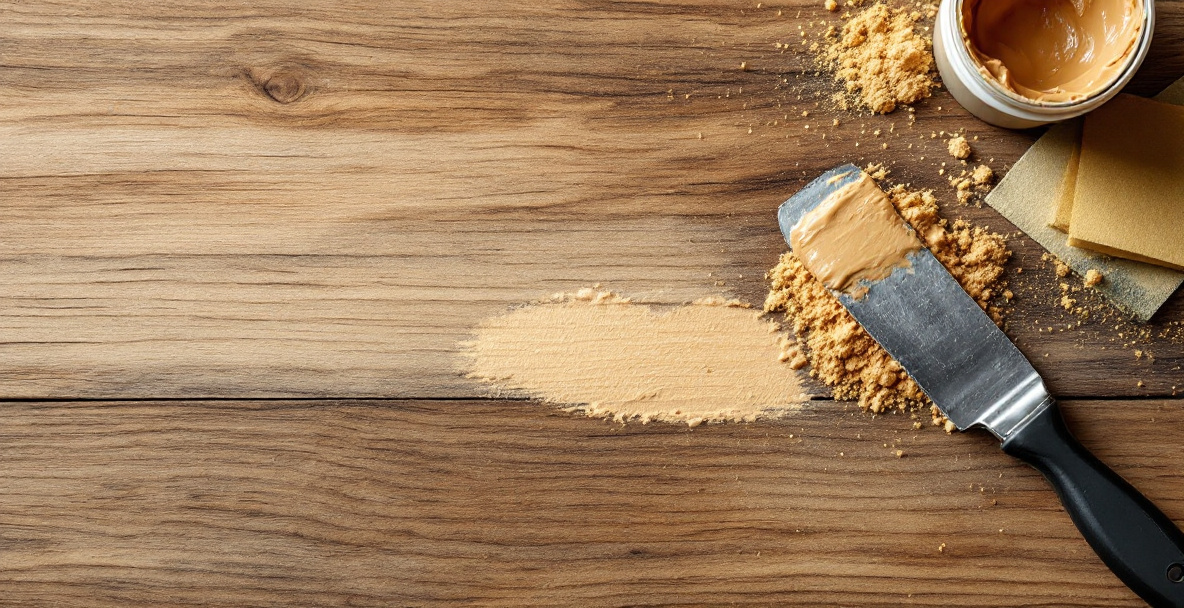
Wood filler is typically a wood-fiber or cellulose-based paste that dries hard through solvent evaporation or a chemical reaction, depending on the product. Once cured, it can be sanded, planed, and finished just like the wood around it. Wood putty, by contrast, is oil- or petroleum-based and never fully hardens — it stays slightly flexible so it can expand and contract with the wood instead of cracking out.
This difference in chemistry is the whole story. Filler is a permanent, structural patch. Putty is a cosmetic, removable one. Family Handyman lays this out plainly: filler is for repairs made before finishing, putty for repairs made after.
Does wood filler actually harden like wood?
Yes, most wood fillers cure to a hardness close to the surrounding wood, which is why they can be sanded, drilled, and even cut through without crumbling. Two-part epoxy fillers go further — they cure rock-hard and can take a screw or support real load, which makes them useful for repairing rotted or split sections on furniture you intend to keep using.
Standard water-based or solvent-based fillers are softer than epoxy but still sand smooth and hold a finish. They shrink slightly as they dry, so deep gouges often need a second pass once the first layer has cured.
How long does each one actually take to cure or set?
Water-based wood fillers are usually workable within 15 to 30 minutes and sandable within a few hours, though full cure — the point where shrinkage has stopped and the patch is at its final hardness — can take a full day on deep fills. Solvent-based fillers often cure faster on the surface but stay soft underneath longer, which is why manufacturers recommend building up deep repairs in thin layers rather than packing one thick application into a hole. Epoxy fillers follow their own timeline entirely: most set up in 20 to 30 minutes once mixed and reach full hardness within 24 hours, regardless of how deep the repair is, since the cure is a chemical reaction rather than evaporation.
Putty doesn’t cure in the same sense at all. It’s ready to use straight from the tub or stick and stays workable indefinitely, which is both its advantage and its limitation — there’s no waiting, but there’s also no point at which it becomes a permanent, load-bearing patch the way cured filler does.
When should you use wood filler instead of putty?
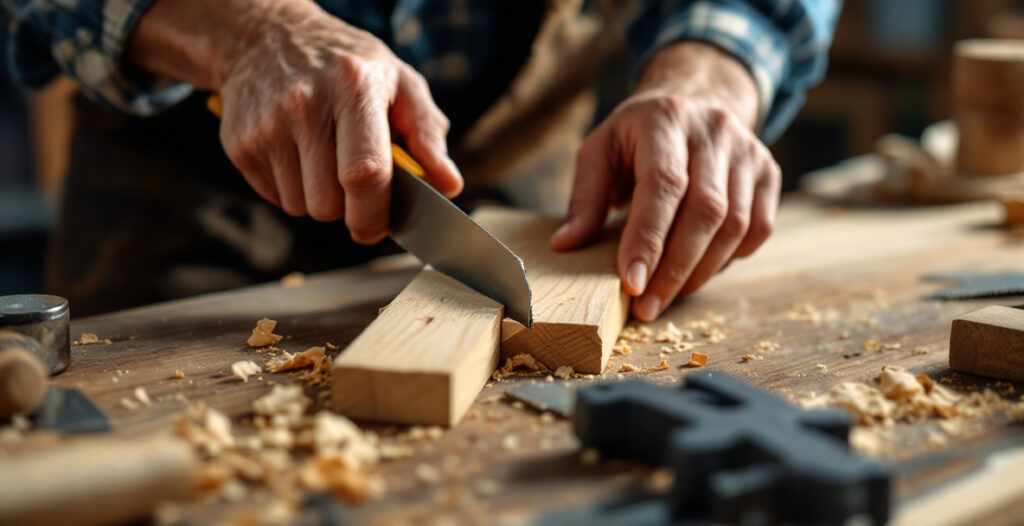
Use wood filler whenever you’re repairing wood before applying a finish — stain, paint, oil, or shellac. This covers almost everything you’d do in a small shop: filling nail and screw holes, patching tear-out from a dull plane iron, closing gaps in a mortise and tenon joint that didn’t come together tight, or smoothing over a knot that blew out while shaping.
If you’ve ever had tear-out ruin an otherwise clean board, filler is usually the fix, not a trip back to the lumber pile. Press it into the damaged grain, let it cure fully, then plane or sand it flush before you finish the piece.
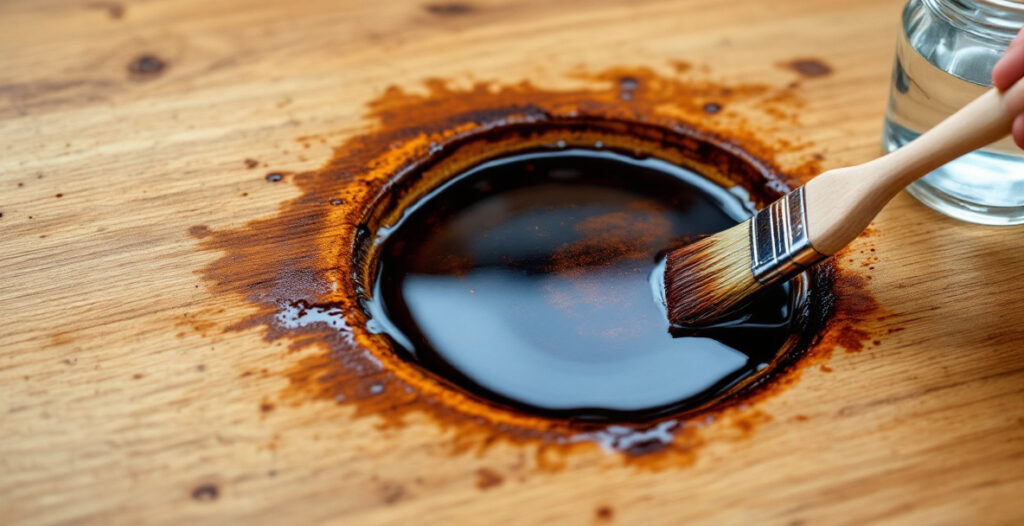
Filler also takes stain — though unevenly. Most fillers absorb stain differently than the surrounding wood, leaving a visible patch even when the color is close. If the repair will be visible on a stained piece, test the filler on scrap first, or choose a filler tinted to match before you commit it to the actual project.
When should you use wood putty instead of filler?
Use wood putty only on wood that’s already finished — sealed, stained, painted, or varnished — where you need to hide a small flaw without redoing the finish. It’s common on trim, flooring, and furniture that’s already in service and picked up a scratch, chip, or small gouge.
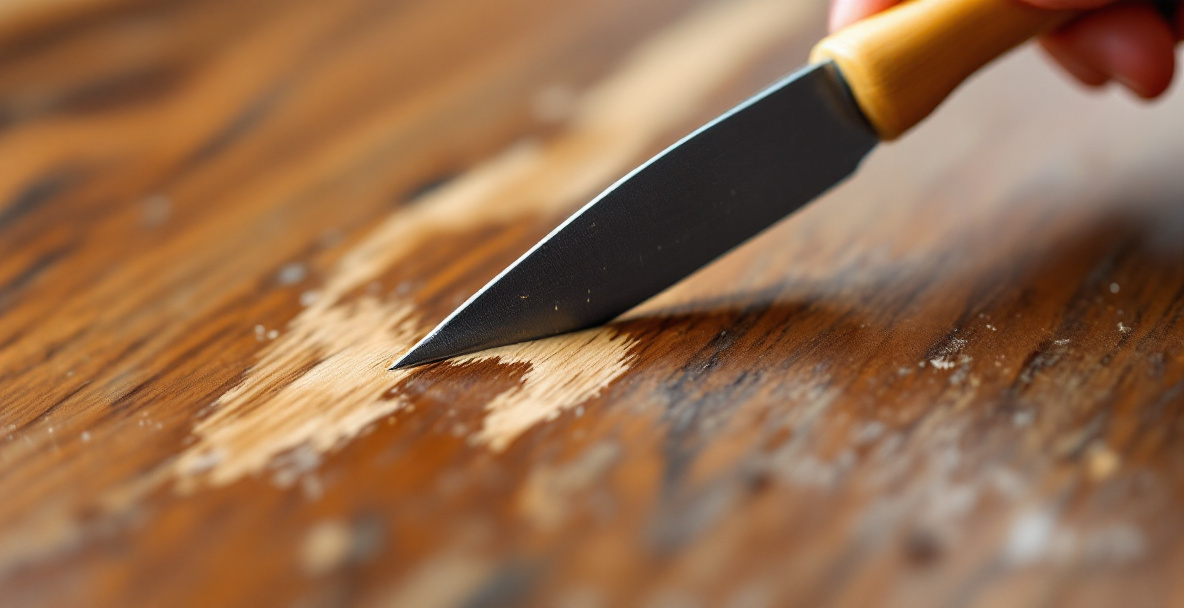
Putty is pressed into the flaw with a putty knife and wiped level; no sanding, no curing time, no clamping. Because it never fully hardens, it can be removed and reapplied later if the patch shrinks or falls out — something filler can’t do once it’s cured. That makes putty a maintenance product more than a repair product.
Can you sand or stain wood putty?
No, not reliably. Because putty stays soft, sanding it tends to smear rather than cut, and it won’t absorb stain evenly the way cured filler or raw wood does. If a repair needs to be sanded flush or match stained wood convincingly, that’s a sign you need filler, not putty, even if the flaw looks small.
Some oil-based putties are sold pre-tinted to match common wood tones specifically because they can’t take stain afterward. That’s worth knowing before you buy — check the label for color-matching rather than assuming you can stain your way out of a mismatch later.
Wood filler vs wood putty: a quick side-by-side
- Cures hard vs stays soft: filler hardens permanently; putty stays pliable indefinitely.
- Used before vs after finishing: filler goes on bare wood before stain or paint; putty goes on wood that’s already finished.
- Sandable vs not: filler sands flush with the surrounding surface; putty does not sand cleanly.
- Structural vs cosmetic: filler (especially epoxy types) can support light structural repair; putty is purely cosmetic.
- Permanent vs reversible: filler is a one-time repair; putty can be reworked or replaced later.
- Indoor vs outdoor use: most standard fillers are rated for interior use only, while exterior-grade fillers and some putties are formulated to resist moisture and temperature swings on outdoor furniture or trim.
ProTool Reviews and the woodworking forum thread at Family Woodworking both land on the same rule of thumb independently: match the product to the finishing stage, not to how big the hole looks.
Fixing furniture flaws with hand tools, not just fillers
Filler and putty solve surface problems, but they can’t fix a joint that’s loose, a board that’s cupped, or a gap that’s there because the joinery itself didn’t close properly. Before reaching for a tub of filler, it’s worth checking whether the flaw is cosmetic or structural.
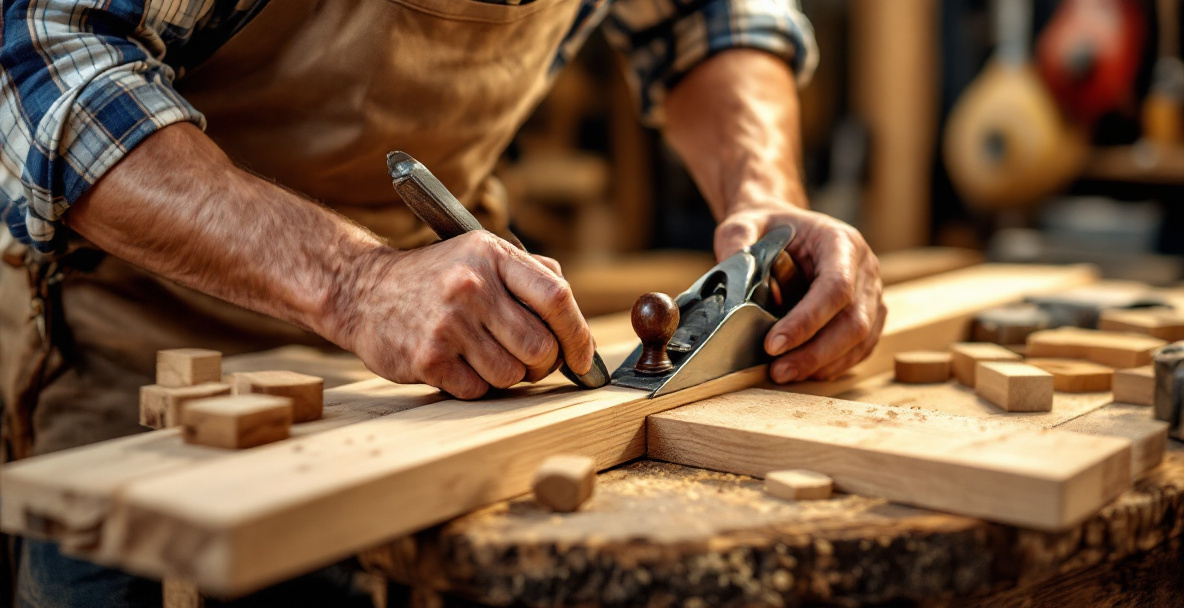
A mortise and tenon joint cut slightly loose, for example, can sometimes be tightened with a thin wood shim and glue rather than papered over with filler that will eventually crack out under load. Filler is a finish-stage tool, not a joinery fix — if the piece will see real use, structural problems deserve a structural solution first.
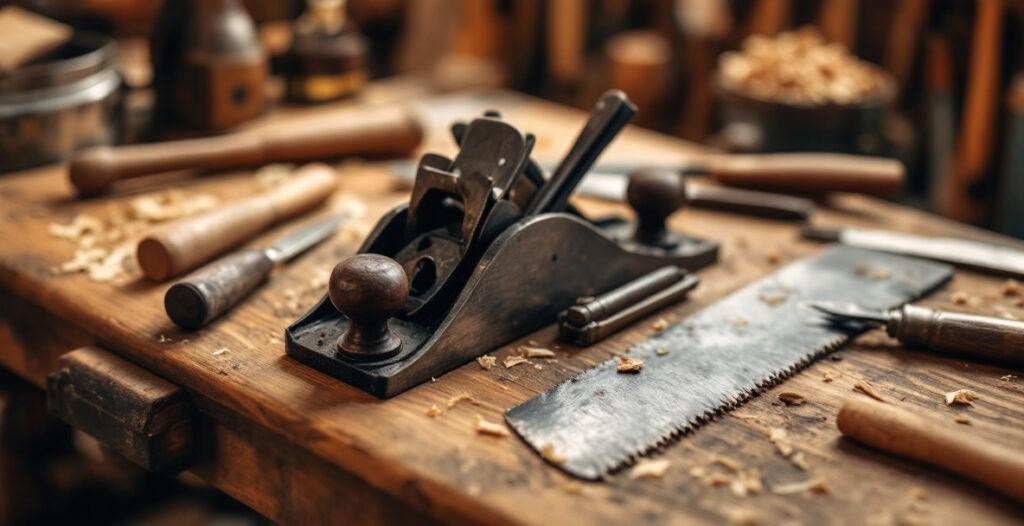
Likewise, if gouges keep showing up on the same board, the cause is often a dull or poorly set hand plane rather than bad luck. Fixing the tool prevents the next repair instead of just patching the last one.
How do you choose which one to use on a specific piece?
Ask two questions: is the wood already finished, and does the repair need to take stain or paint the same way the wood around it does? If the wood is bare or about to be finished, use filler. If the wood is already sealed and you just need to hide a ding, use putty.
A practical example: a secondhand chair with a chipped stretcher that’s already varnished calls for putty — a quick, reversible patch that doesn’t require stripping the finish. A new stool top with a chiseled-out knot, built before any finish goes on, calls for filler, sanded flush and finished as one surface. Trying to use putty on the stool top would leave a soft spot that never takes stain evenly; using filler on the finished chair would mean stripping and refinishing the whole stretcher just to blend one patch.
Does it matter whether the wood will be painted or stained?
Yes, more than almost any other factor. Paint hides filler repairs almost completely, since paint sits on top of the surface rather than soaking into the grain. Stain, on the other hand, reacts with wood fiber directly, which is why filled repairs often show through as a slightly different shade even after sanding.
If a piece is headed for paint, filler is forgiving — color mismatch barely matters. If it’s headed for stain or an oil finish, test the filler and the stain together on an offcut first, because that’s the only way to know if the patch will actually disappear.
What tools do you actually need for each type of repair?
For filler, keep a flexible putty knife for pressing it into the hole, a stiffer scraper for leveling it flush, and graduated sandpaper grits (starting around 120 and working up to 220) for the final smoothing pass before finish goes on. A small artist’s brush is useful for feathering tinted filler into surrounding grain so the patch blends rather than sitting as an obvious blob. For epoxy repairs, a mixing palette and a stir stick are worth having on hand since working time is short once the two parts combine.
For putty, the tool list is shorter: a putty knife for application and a clean rag for wiping away excess before it sets against the surrounding finish. Because putty doesn’t need sanding, there’s no need for abrasives at all — in fact, sanding is the one thing to avoid, since it tends to drag rather than cut cleanly.
Frequently Asked Questions
Can you use wood filler and wood putty on the same project?
Yes. It’s common to use filler on bare-wood repairs before finishing, then keep a small tube of putty on hand for touch-ups once the piece is in use and picks up the occasional scratch or ding over time.
Does wood filler shrink as it dries?
Most water- or solvent-based fillers shrink slightly while curing, which is why deep holes often need a second, thinner application after the first coat has fully hardened and been sanded back.
Is epoxy wood filler better than standard wood filler?
For structural repairs — rotted sections, split joints, load-bearing patches — yes, epoxy filler cures harder and holds up better. For simple cosmetic holes like nail or screw holes, standard filler is cheaper and sands more easily.
Will wood putty eventually fall out of a repair?
It can, since it never fully hardens and relies on staying pressed into the gap rather than bonding structurally. This is exactly why putty suits small, low-stress cosmetic flaws rather than joints or anything bearing weight.
Can you paint over wood putty?
Most oil-based putties can be painted over once they’ve set up on the surface, but check the specific product — some stay tacky and will cause paint to peel or stay soft if painted too soon.