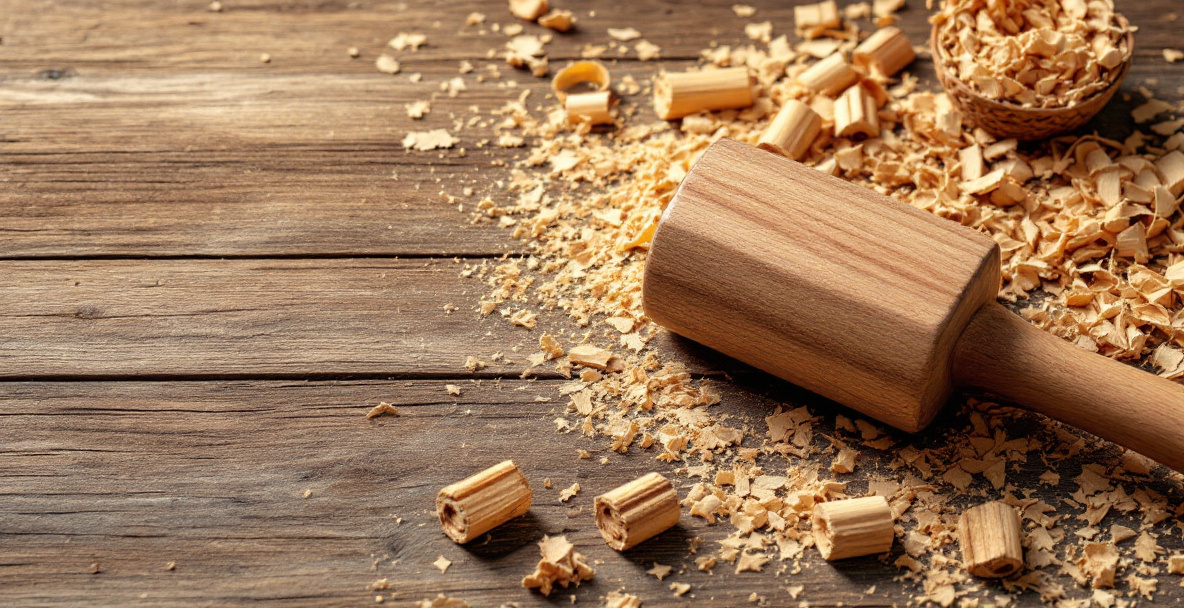
A woodworking mallet from scrap wood needs just two pieces: a dense hardwood head (oak, beech, hard maple, or ash) and a handle cut from the same or a tougher species. Rough out the head to roughly 4 inches long by 2.5 inches square, cut a mortise through it at an angle, shape a tapered handle, and drive the handle through from the striking face so the head wedges tighter with every hit. No glue is strictly required if the taper is cut well.
This is one of the few tools worth making rather than buying, because the design is forgiving, the material cost is zero if you’ve got offcuts lying around, and a mallet you’ve shaped yourself tends to fit your hand better than anything off a shelf anyway.
Why Build a Woodworking Mallet Instead of Buying One?
Building your own mallet costs nothing but an hour or two and a couple of scraps, and it teaches you a through-mortise joint you’ll use again on real furniture. A bought mallet works fine too — there’s no virtue in making one if you’d rather spend the weekend on the project the mallet is for.
But if you’re already cutting mortises for a stool or a bed frame, practicing the same joint on a disposable offcut before you commit to the real workpiece is just good sense. Mess up a mallet mortise and you’ve lost a scrap of oak. Mess up the same joint on a bed leg and you’ve lost an evening.
What Wood Should You Use for a Mallet?
Use the densest, driest scrap you have — oak, beech, hard maple, hornbeam, or ash are all good choices because they resist splitting under repeated impact. Softwoods like pine will work for a while but compress and mushroom at the striking face much faster.
Offcuts are ideal here. A mallet head only needs to be about 4 inches long, so a chunk cut from the waste end of a leg blank or a reclaimed stair tread is plenty. Grain orientation matters more than species for the handle: pick a piece with straight, unbroken grain running the full length, since a knot or grain runout is where the handle will eventually snap. For more on picking wood that holds up to stress and knocking around, see our guide to choosing wood for outdoor furniture, which covers the same density and grain logic even though that guide’s focus is weather resistance rather than impact resistance.
Avoid wood that’s still wet. A head cut from green timber will shrink around the handle as it dries, which sounds like a win but usually just cracks the head instead. If your only scrap is green, let it sit somewhere dry for a few weeks first, or cut it oversized and let it check before final shaping.
Can You Use Pine or Softwood for a Mallet Head?
You can, but it won’t last as long. Pine is soft enough that the striking face will peen over and mushroom within a few dozen mortise-chopping sessions, and eventually it splits along the grain where the handle passes through. It’s a fine choice if this is a one-off tool for a single project and you don’t have hardwood scrap on hand — just expect to remake it sooner.
Cutting the Mallet Head
The head is a rectangular block, typically 4 inches long, 2.5 to 3 inches wide, and 1.5 to 2 inches thick, with the mortise cut through the narrow dimension at a slight taper. The taper — usually 5 to 10 degrees off square — is what locks the handle in place without glue, because the head gets pulled tighter onto the wedge-shaped handle every time it strikes something.
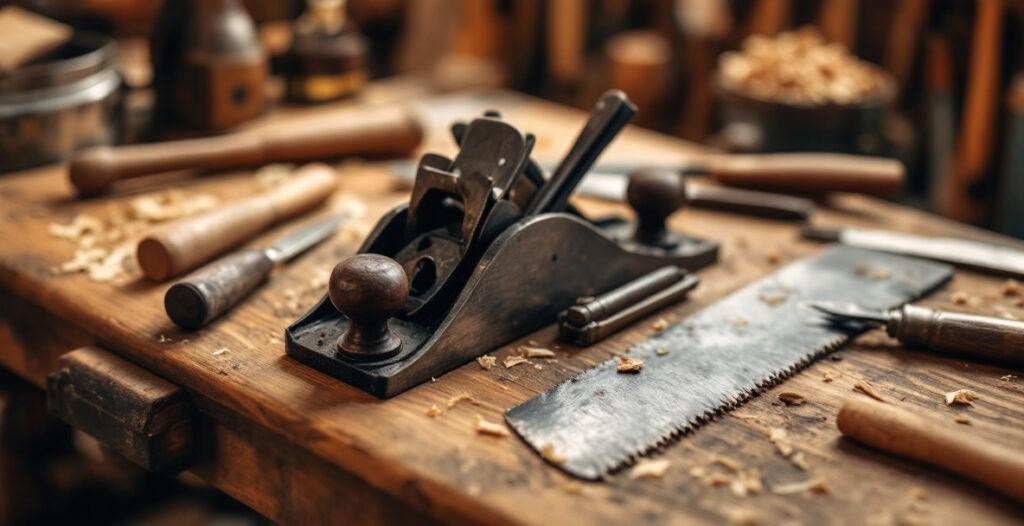
Square the block up first using a hand plane, checking the faces with a square as you go. Our guide to planing wood by hand covers the basic technique if you haven’t flattened stock this way before — it’s the same process whether you’re squaring a mallet head or a tabletop, just on a much smaller scale.
Mark the mortise location on both faces using a marking knife rather than a pencil, since a knife line gives you a crisp edge to register your chisel against. Our marking knife guide explains why this matters for any joint where accuracy counts. The mortise should sit roughly in the middle of the block’s length, angled so the handle will flare slightly toward the striking face.
How Do You Cut the Mortise for the Handle?
Bore or chop a hole through the head slightly narrower than your handle’s widest point, then pare the sides at an angle so the mortise is noticeably larger on the striking-face side than on the handle-entry side. This creates the taper that wedges the handle tight.
Start by drilling a series of holes through the waste if you have a brace and bit, or chop it out entirely with a chisel if you don’t. Work from both faces toward the middle to keep the hole roughly centered. Once the hole is through, pare the walls to create the angled taper — a few degrees is enough. If you’ve already read our guide on how to cut a mortise by hand, the process here is identical; a mallet mortise is just smaller and doesn’t need to be perfectly square-walled, since the taper is the whole point.
Shaping the Handle
The handle should be roughly 10 to 12 inches long, oval or octagonal in cross-section for grip, and tapered so it’s wider at the top than where it meets your hand. Rip or resaw a blank slightly oversized, then plane it down by hand, checking the fit against the mortise as you go rather than planning the exact dimensions in advance.
Start square, then knock the corners off with a plane or spokeshave to make an octagon, then round further if you want. Leave the top end — the part that will protrude through the striking face — noticeably fatter than the mortise opening. That extra width is what gets wedged tight as you drive the handle home.
Dry-fit often. Push the handle into the mortise from the underside and tap it gently; it should go in snug and stop well before it’s flush. Keep shaving the tapered end down a little at a time until the handle, when driven firmly, seats with its widest point just proud of the striking face.
Does the Handle Need to Be Glued In?
No — if the taper is cut correctly, the handle wedges itself tighter with every strike and doesn’t need glue. This is the traditional approach and it’s genuinely self-tightening: the harder you use the mallet, the more firmly the head seats.
That said, a dab of glue won’t hurt if you want extra peace of mind, particularly while you’re still learning to judge the taper by eye. For advice on which adhesive actually holds up under the kind of repeated shock a mallet takes, see our overview of woodworking glue types.
Finishing and Final Assembly
Drive the handle into the mortise from the bottom of the head, striking the handle’s base against a bench or block of wood until the wide top end seats firmly against the inside of the striking face. You’ll feel it stop suddenly once it’s fully wedged — don’t force it further.
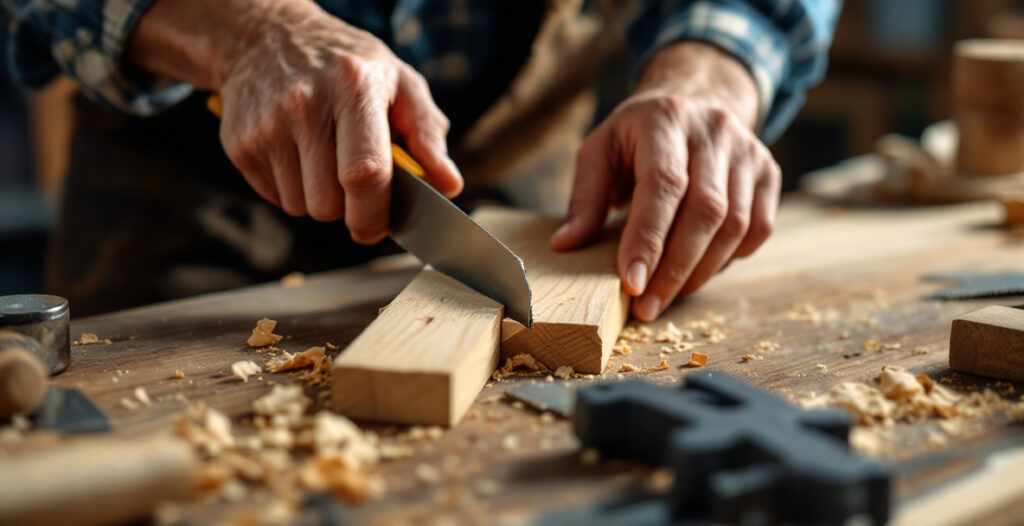
Trim the protruding tip flush with a saw or chisel if it sticks out much, then round over the top edges slightly so there’s no sharp corner to split off under use. Some makers cut a shallow saw kerf into the top of the handle before driving it in, then tap a thin wooden wedge into that kerf once seated — it’s an extra belt-and-braces step, not strictly necessary, but it does make the joint essentially permanent.
A finish is optional. A light coat of oil keeps the wood from drying out and cracking over time, but skip anything glossy or built-up, since a mallet gets knocked around and a delicate finish will just chip. If you want more on hand-applied finishes generally, our shellac guide covers a simple wipe-on approach, though plain oil is the more common choice for a tool that’s going to take abuse rather than sit on display.
Alternative Mallet Designs
A through-wedged head and tapered handle is the most common design, but it’s not the only one. Some makers glue up a laminated head from several thin boards instead of carving one from a single block, which uses smaller offcuts and avoids hunting for a single chunk of thick stock. Others shape a round, turned head on a lathe, though that assumes access to a lathe most readers of this site don’t have.
A short video walkthrough of the build, including a laminated variation, is worth watching if you’d rather see the process than read it — this mallet-building overview covers the basics clearly, and a 731woodworks lays out the trade-offs between a solid head, a laminated head, and a turned head if you want to weigh options before cutting anything.
Whichever version you build, the goal is the same: a tool heavy enough to drive a chisel without bouncing, soft enough on the striking face that it won’t mar your chisel handles the way a steel hammer would, and cheap enough that losing or breaking it is a non-event.
Frequently Asked Questions
How heavy should a woodworking mallet be?
Most hand-tool mallets weigh between 16 and 24 ounces, depending on head size and wood density. Heavier isn’t automatically better — a mallet that’s too heavy tires your arm out over a long mortising session, while one that’s too light makes you swing harder than you should have to.
What’s the difference between a mallet and a hammer in woodworking?
A mallet has a wide, relatively soft striking face, usually hardwood or sometimes rubber, designed to drive chisels and assemble joints without denting the wood or damaging tool handles. A hammer has a small, hard steel face meant for driving nails, and using one on a chisel handle will eventually split it.
Can I make a mallet without power tools?
Yes — this is a straightforward hand-tool project. A saw to rough out the blanks, a chisel or brace and bit for the mortise, and a plane or spokeshave for the handle are all you need. It’s a good first mortise-and-tenon-style project precisely because the stakes are low.
How long does it take to build a mallet from scrap?
Most people can rough out and assemble a basic mallet in two to three hours, spread over an evening or a weekend afternoon. The slowest part is usually fitting the taper of the handle to the mortise, since that’s done by repeated test-fitting rather than one precise cut.
What if my scrap wood isn’t fully dry?
Avoid it if you can, since a wet head will shrink and crack around the handle as it dries. If dry scrap isn’t available, let the wood sit indoors for several weeks before building, or accept that you may need to remake the mallet once it’s fully seasoned.