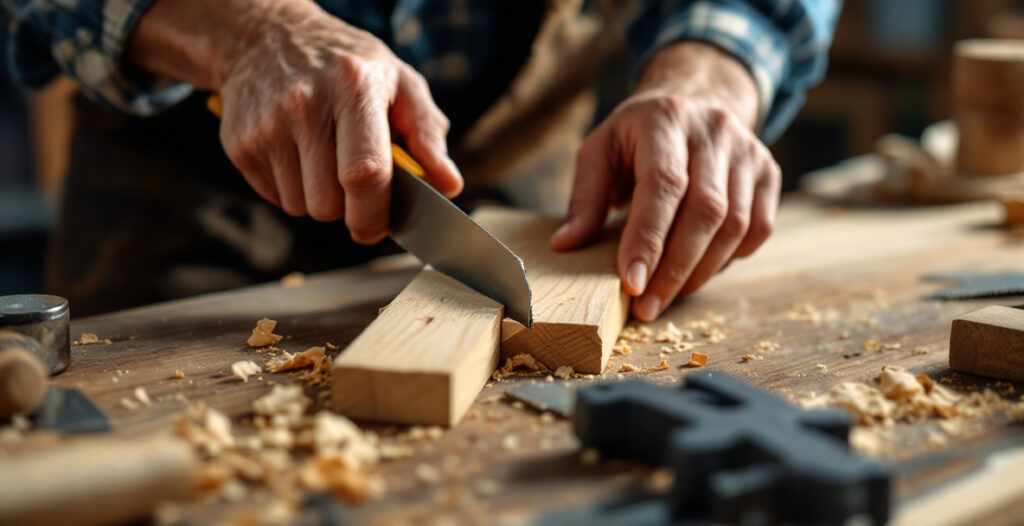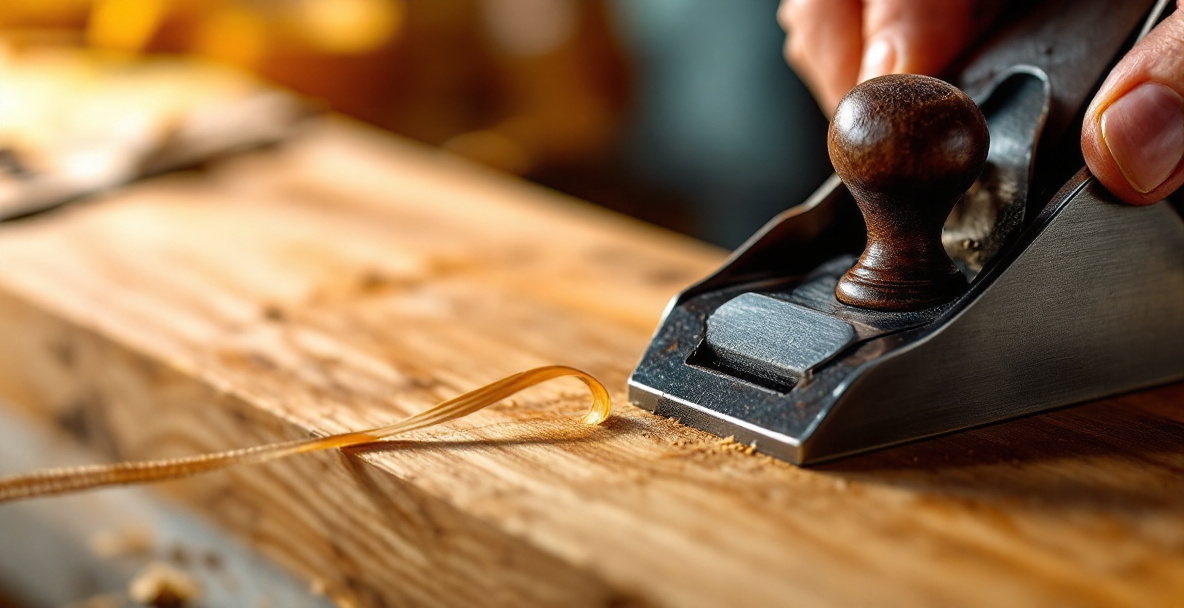
Tear-out, squeak, and uneven shavings almost always trace back to one of three things: a dull or poorly set blade, grain direction, or a plane that isn’t sitting flat on the wood. To plane wood by hand without these problems, check the edge for sharpness first, read the grain before you start, and make sure your sole pressure is even from push to pull. Fix those three and most planing faults disappear within a few strokes.
That’s the short version. The rest of this is about diagnosing which of those three is actually your problem, because they look similar on the surface but need different fixes.
Why does my hand plane leave tear-out?
Tear-out happens when the blade lifts wood fibers faster than they can shear cleanly, usually because it’s cutting against the grain or taking too thick a shaving. The fibers tear out in small divots instead of curling off in a ribbon, leaving a rough, pitted patch instead of a smooth one.
The first thing to check is grain direction. Run your fingers along the board — if it feels smoother one way than the other, plane in the direction that feels smoother, which is usually the direction the grain runs “uphill” to downhill rather than against it. Tear-out often shows up right where the grain direction reverses, such as around knots or swirling figure, and no amount of sharpening fixes that on its own.
The second cause is shaving thickness. A blade set too deep rips rather than slices. Back off the depth adjustment until shavings come off tissue-thin and curl rather than snap. If you’re still tearing out at a thin setting, the blade is dull, not misadjusted — which brings us to the most common cause of all.
Is my plane blade actually sharp enough?
Most “my plane won’t work” problems are sharpness problems disguised as something else. A blade that looks fine under normal light can still be too dull to shear fibers cleanly, especially in figured or dense hardwood. If you haven’t sharpened in a while, assume that’s the issue before you blame technique.
A properly sharpened edge should catch on your thumbnail without sliding, and shavings should come off almost silently, not with a scraping or tearing sound. If your edge fails that test, sharpening — not more pressure, not a different angle of attack — is the fix. We’ve covered the full process in our guide on sharpening a hand plane blade, including doing it with basic secondhand gear rather than a honing jig and stones you don’t own.
Does a higher cutting angle help with tear-out?
Sometimes, yes. Standard bench planes cut at a 45-degree angle, which works fine on straight-grained wood but struggles on reversing or figured grain no matter how sharp the blade is. If you’re repeatedly fighting tear-out on the same type of board, consider a plane with a higher effective cutting angle — a bevel-up smoother with a steep micro-bevel, or a dedicated high-angle frog, can shear fibers that a standard-angle blade tears instead.
You don’t need to buy a new tool to test this theory. Try taking a few passes with a very light shaving depth and a freshly honed edge first, since a steeper angle is a workaround for difficult grain, not a substitute for sharpness. Many woodworkers reach for a card scraper on the worst patches of reversing grain rather than fighting it with a plane at all — it won’t flatten a board on its own, but it cleans up the last trace of tear-out a plane leaves behind.
What causes a hand plane to squeak?
Squeaking almost always comes from friction between the sole and the wood, not from anything wrong with the blade. Dry or resinous wood, a dirty sole, or a plane body that’s picked up rust or old varnish residue will all cause drag that sounds like a squeak or a faint shriek as you push.
Wax is the easiest fix. A light coat of paraffin or candle wax rubbed on the sole reduces friction immediately and should be part of your normal setup, not a one-time repair. If waxing doesn’t solve it, check the sole itself for rust spots or pitting — a rough sole drags even with wax on it.
If your plane has been sitting unused or came secondhand, rust is a likely culprit even if it looks minor. Fine surface rust roughens the sole just enough to cause drag. Our guide on removing rust from tools covers several methods beyond the basic vinegar soak, depending on how bad the corrosion is.
Could it be the frog or blade seating, not the sole?
Yes — a loosely seated blade or frog can vibrate against the body and produce a squeak or chatter that sounds like friction but isn’t. Tap the blade gently with a mallet to check it’s seated firmly against the frog, and make sure the lever cap is tightened enough to hold everything rigid without over-tightening and distorting the cap itself.
Chatter marks — small, regular ridges across the shaving or the wood surface — are a giveaway that something is vibrating rather than dragging. If you see ridges instead of a smooth strip, it’s a seating or tightness issue, not a wax issue.
Why are my shavings uneven in thickness?
Uneven shavings — thick on one side, paper-thin or absent on the other — mean the blade isn’t projecting evenly across the mouth. This is almost always a lateral adjustment problem: the blade is tilted slightly in the throat, so one corner cuts deeper than the other.
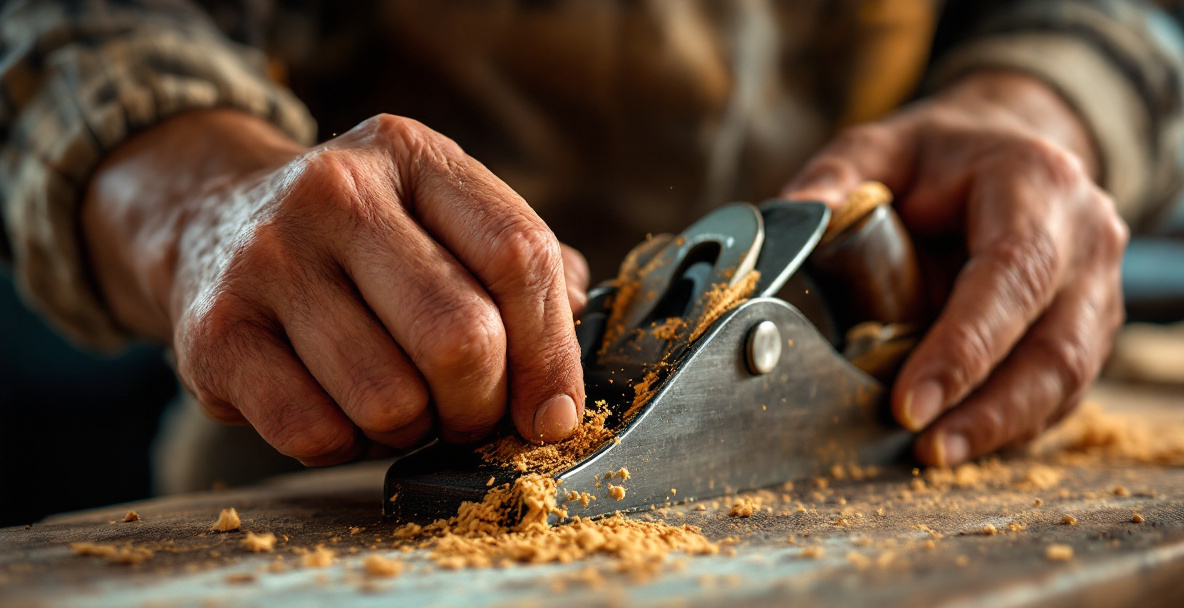
Most bench planes have a lateral adjustment lever right behind the blade depth knob. Take a shaving, look at which side is thicker, and nudge the lever toward the thin side until the shaving comes off even in width and thickness across its whole strip. This takes a few test passes to dial in — don’t expect it in one adjustment.
A second cause is pressure distribution while you’re pushing the plane. If you lean your weight toward the front at the start of a stroke and the back at the end, you’ll round over the ends of the board and take uneven shavings even with a perfectly set blade. Keep even pressure front-to-back through the whole stroke, shifting your weight gradually rather than abruptly, and the shavings should come off consistent for the full length of the pass.
How do I know if the sole is flat?
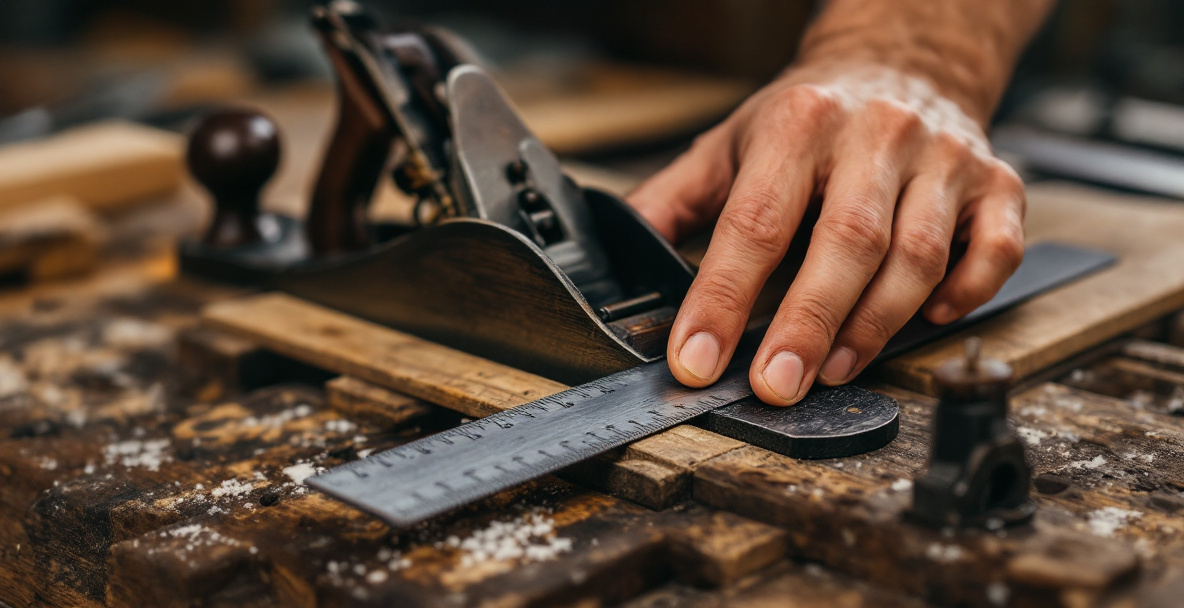
A sole that isn’t flat will cause uneven shavings no matter how well the blade is adjusted, because the plane rocks slightly as it crosses the board. Check it with a straightedge laid along the sole — any visible gap of light means a low spot or a warp.
This is less common on quality planes but shows up often on cheap secondhand finds that have been dropped or stored badly. Minor flatness issues can be lapped out on sandpaper stuck to a flat surface, but if the sole is badly warped, it may be cheaper to find a better secondhand plane than to fight one. Honest advice: not every old plane is worth saving.
How do you flatten a board using hand tools?
Flattening is the end goal of most of this troubleshooting — a board isn’t truly flat until shavings come off evenly across its full width with no tear-out and no chatter. If you’re still working through the basic sequence of flattening a rough board from scratch, our full guide on planing wood by hand walks through the winding sticks, diagonal passes, and final smoothing strokes in order.
If you’re newer to the plane itself and haven’t settled on a stance, grip, and stroke pattern yet, it’s worth stepping back to the fundamentals in our guide on how to use a hand plane before chasing these specific faults — a lot of tear-out and unevenness traces back to inconsistent stroke technique rather than tool setup.
It’s also worth watching the motion itself rather than just reading about it. This short demonstration on Youtube shows the stance and stroke in action, which can make the “even pressure front-to-back” advice above click faster than text alone.
Does the type of wood change how it planes?
Yes — grain density and figure change how forgiving a board is to plane. Soft, straight-grained woods like pine shave easily with less risk of tear-out, while dense hardwoods or boards with swirling grain (curly maple, some oak) punish a dull blade or an against-the-grain stroke far more severely.
If you’re choosing wood for a project and want something easier to practice planing technique on before tackling your “good” furniture wood, straight-grained softwood is the forgiving choice. Save the harder, more figured stock for once your blade is reliably sharp and your stroke is consistent.
Moisture content matters too, and it’s easy to overlook. Wood that’s too wet feels soft and planes with a slightly soggy, dragging sensation, and shavings can come off damp and clumped rather than curling cleanly. Wood that’s too dry, especially reclaimed or old stock, can be brittle and more prone to chipping out at the edges rather than shearing. If a board behaves oddly compared to everything else you’ve planed, check whether it’s unusually wet or kiln-dried past the point other boards in the same batch were, rather than assuming your technique has suddenly gotten worse.
Frequently asked questions
Why is my hand plane skipping over the wood without cutting?
This usually means the blade isn’t projecting far enough past the sole, or it’s retracted too far after you adjusted it to stop tear-out. Advance the depth adjustment in small increments until you get a thin, continuous shaving rather than no cut at all.
Can a dull blade cause squeaking as well as tear-out?
Not directly — squeaking is a friction issue between the sole and wood, while dullness is a cutting issue. But a dull blade forces you to push harder, which increases friction and can make an existing squeak more noticeable even though sharpening won’t fix the squeak itself.
How often should I sharpen while planing a large board?
For most softwoods, a single sharpening should get you through one board’s worth of flattening. Dense hardwoods, resinous wood, or wood with embedded grit (common in reclaimed or outdoor-stored timber) can dull an edge within minutes, so check your shavings regularly rather than waiting for visible dullness.
Is it normal for shavings to vary slightly across a long board?
Some variation is normal on long boards with changing grain, but shavings shouldn’t be inconsistent by a large margin from one end to the other. Consistent thin-to-thick variation across the whole length points to lateral blade adjustment; isolated rough patches point to local grain reversal.