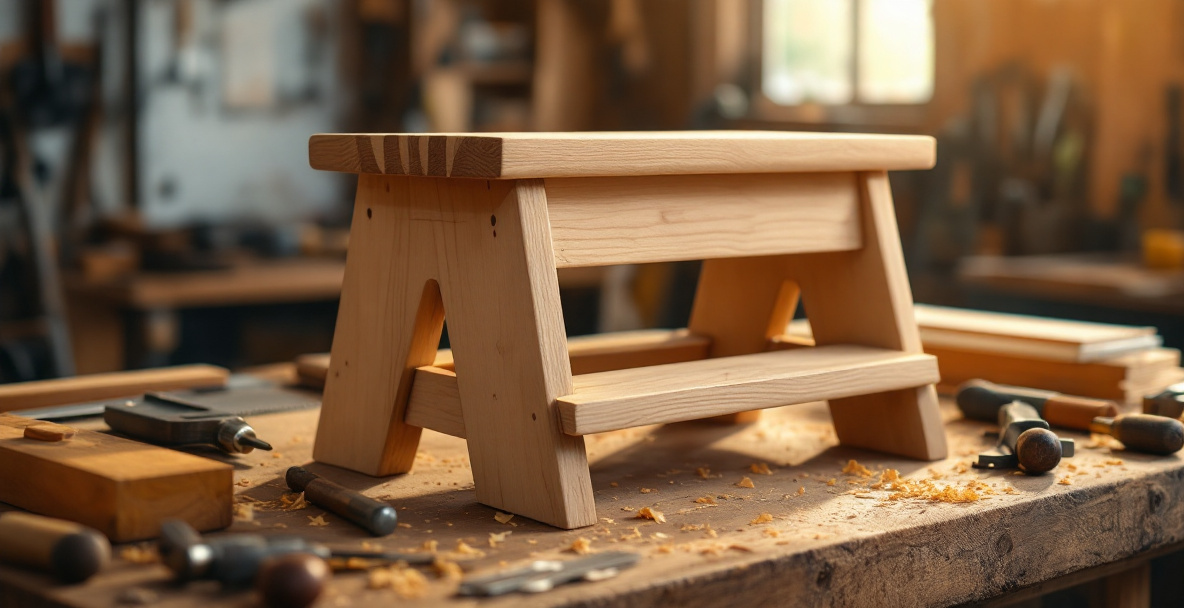
A step stool is one of the best small projects for building real joinery skills without needing a workshop full of machines. You need a top, two sides, a stretcher or two, and a way to join them that will hold a person’s weight — traditionally through-tenons or dado joints cut entirely by hand. The whole build fits on a bench in a shed or garage corner and can be done over a weekend with a saw, chisel, and plane.
This isn’t a project that needs a router table or a pile of clamps. It’s the kind of build hand-tool woodworking was doing long before any of that existed, and it’s still the right way to make one today.
What tools do you actually need?
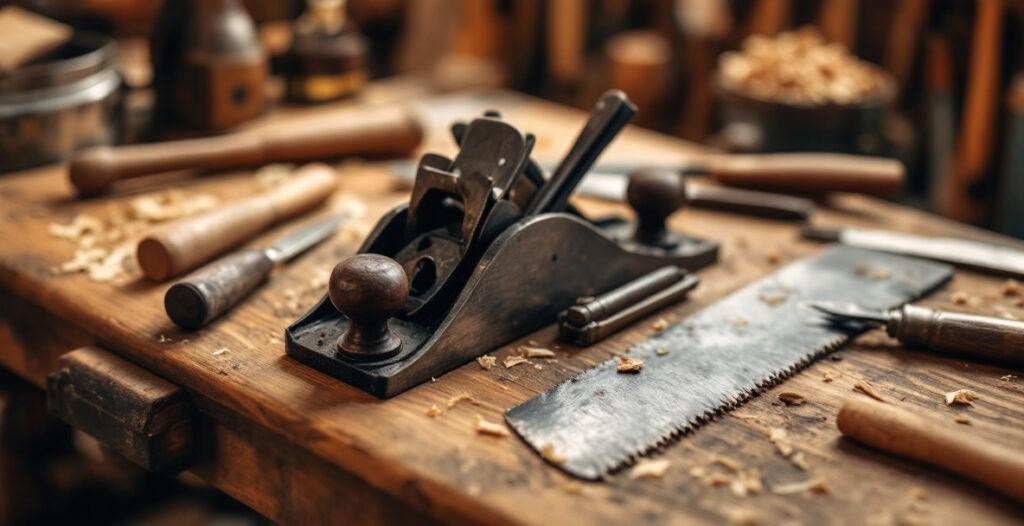
You need a backsaw for the joints, a chisel or two, a hand plane, a marking gauge, and a marking knife. That’s the full list for a solid step stool — nothing else is required, though a coping saw makes cutting the foot cutouts easier.
If you’re working secondhand, look for a used backsaw with reasonably straight teeth and a chisel in the 1/2″ or 3/4″ range. Both clean up fine with basic sharpening. A marking knife will get you tighter joinery layout lines than a pencil ever will, which matters more on a small stool than people expect — there’s no room to hide a sloppy line on a piece this size.
Choosing the right wood for a step stool
Pine, poplar, or any straight-grained hardwood scrap works well for a step stool, since the parts are small and the stress is mostly straightforward compression and shear, not the racking a chair takes. Avoid anything knotty or twisted near the top, where you’ll be standing.
A step stool doesn’t need premium material. This is a good project for using up offcuts from a bigger build, as long as the top piece — the part you’ll actually stand on — is free of knots and cracks. If you’re buying new stock, a single 1×10 board 3 to 4 feet long is usually enough for the whole thing, top, sides, and stretcher included.
How thick should the wood be?
3/4-inch stock is standard for a step stool top and sides, and it’s strong enough for adult weight when the joints are cut well. Thinner stock (1/2 inch) can work for lighter-duty stools but leaves less material for the joinery, which is where a stool actually fails if it’s going to fail.
How to build a step stool: layout and dimensions
A typical step stool is around 12 inches tall, with a top roughly 12×10 inches and two side panels shaped to give it a stable, slightly flared stance. There’s no single correct size — build it to the height you actually need, usually one or two steps up from the floor.
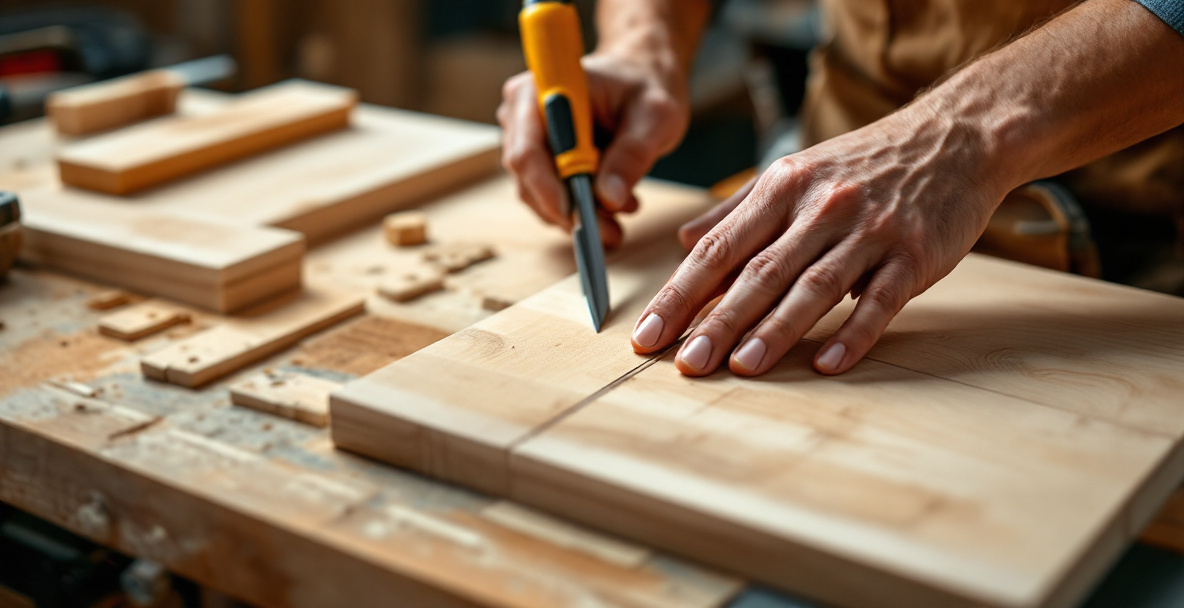
Start by cutting your three main pieces to rough length: the top, and two side panels. Leave them slightly oversized and plane them to final dimension afterward — it’s much easier to plane a board flat before it’s joined than after.
Mark your joint locations with a marking gauge and knife before you cut anything. A gauge set to a consistent depth keeps both sides matching, which matters more here than on bigger furniture because any mismatch is immediately visible at eye level.
Laying out the foot cutouts
Most step stools have an arched or notched cutout at the base of each side panel, both for looks and to keep the stool from rocking on an uneven floor. A simple curve drawn freehand or with a drawing bow works fine — you don’t need a compass or template for a stool this size.
Cut the curve with a coping saw, staying just outside your line, then clean up to the line with a chisel or rasp. This is forgiving work; a slightly uneven curve on a stool foot is not something anyone will notice once it’s finished.
Cutting the joints by hand
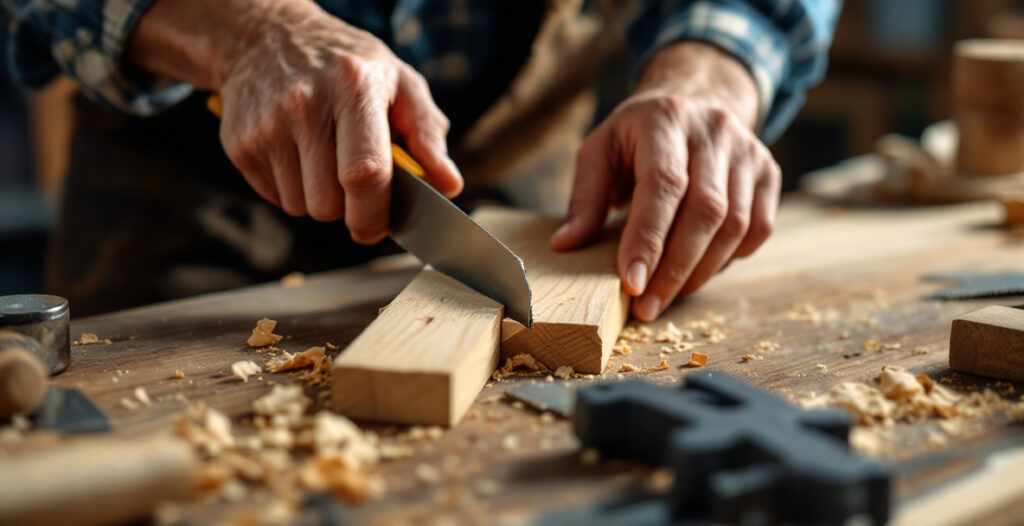
Dado joints — a flat-bottomed groove that the top sits into — are the simplest strong option for a step stool built with hand tools, and they don’t require the tenon layout that mortise-and-tenon work does. Cut the dado walls with a backsaw, then remove the waste with a chisel, working from both edges toward the middle.
For a stronger, more traditional build, a through-tenon on the top, wedged from above, is nearly impossible to pull apart once glued and wedged, and it’s a good introduction to the same joinery principles used in bigger furniture. It takes longer to cut than a dado, but it’s not a harder joint conceptually — just a chisel-and-saw exercise repeated on four smaller tenons instead of two large ones.
Either way, dry-fit every joint before glue. A joint that needs to be forced together with a mallet on the dry fit will usually split the wood once glue swells the fibers further.
Do you need glue, or will joinery alone hold?
Glue is still worth using even on well-cut joints, because a step stool takes repeated shock loading — someone stepping up and down — that a dry joint will loosen over time. A dado or through-tenon joint holds mechanically, but wood glue adds a margin that matters on something people stand on.
Reach for a glue rated for general furniture work rather than anything specialty; a step stool doesn’t need waterproof glue unless it’s going to live outside. If you’re unsure which type suits your build, this wood glue guide breaks down the honest differences between the common options.
Planing and finishing the surfaces
Plane all surfaces flat and smooth before assembly, not after — it’s far easier to run a plane over a flat, unobstructed board than to work around joints and corners once the stool is glued up. A final light pass after assembly can clean up any small offsets where parts meet.

If you haven’t planed by hand before, the flattening guide on this site covers the technique in more depth than fits here, including how to read grain direction so you’re not fighting tear-out on the top surface, which is the one surface where a rough patch will actually be felt underfoot.
Sand or scrape lightly after planing, then round over sharp edges and corners — a step stool gets bumped into shins and hands constantly, and a slight roundover makes a real difference in daily use.
What finish should you use?
An oil finish such as boiled linseed oil or a basic hardwood oil is enough for an indoor step stool, since it won’t see the weather or heavy moisture an outdoor piece would. Two or three coats, wiped on and off, gives a durable, low-maintenance surface without building up a film that gets slippery underfoot.
Avoid a high-gloss varnish on the top surface specifically — a stool top needs grip, not shine.
Common mistakes when building a step stool
The most common failure point is undersized or poorly fitted joinery, not weak wood. A step stool doesn’t fail because pine is too soft; it fails because a dado was cut too loose or a tenon was too thin to survive repeated flexing.
The second most common mistake is skipping the dry fit. Assembling for the first time with glue already applied means you’re troubleshooting a bad joint while it’s setting up, which rarely ends well. A five-minute dry assembly catches almost every problem before it becomes permanent.
There are several existing walkthroughs worth watching for comparison, including this step-by-step video build and a one-hour build guide that takes a faster, simpler approach using butt joints and screws — a reasonable option if you want something functional today rather than a joinery exercise.
FAQ
How long does it take to build a step stool by hand?
A basic step stool with dado joints can be built in an afternoon, roughly 3 to 5 hours including layout, cutting, and a first coat of finish. A version with through-tenons will take closer to a full weekend, mostly due to the extra time chiseling tenons cleanly.
What size should a step stool be?
Most step stools are built around 10 to 12 inches tall with a top of roughly 10×12 inches, which suits reaching a kitchen cabinet or changing a lightbulb. Build to your actual need — a taller stool for a high shelf, a lower one for a child.
Can I build a step stool without any power tools at all?
Yes — a step stool is a good first fully hand-tool project precisely because it’s small enough that hand-cut joints, hand-planed surfaces, and a handsaw are entirely practical in an afternoon. It’s a manageable scale to learn dado or tenon joinery on before attempting it on larger furniture.
What’s the strongest joint for a step stool?
A wedged through-tenon is the strongest option, since the wedge physically prevents the joint from pulling apart once installed, regardless of glue condition. A well-fitted dado joint with glue is a close second and considerably faster to cut.
Does a step stool need to be made from hardwood?
No — pine or poplar is strong enough for a step stool when the joinery is cut correctly, since the loads involved are modest compared to something like a chair. Hardwood is a reasonable upgrade for looks or durability, not a structural requirement.