Removal of rust from tools comes down to four practical routes: mechanical abrasion (sandpaper, steel wool, wire wheel), electrolysis, chemical rust converters or acids, and soaking in vinegar or citric acid. Vinegar works, but it is slow, smells, and can pit steel if left too long. For most secondhand tools, a wire wheel or fine abrasive gets you there faster, and electrolysis is the better call for tools with a lot of pitting or old cast iron.
If you’ve already read our piece on removing rust with white vinegar, you know it’s a reliable, cheap method. This guide is for when vinegar isn’t the right tool for the job — because it’s too slow, too weak on heavy rust, or you just don’t have three days to spare.
Why look beyond vinegar for rust removal?
Vinegar removes rust through mild acid action, and that action takes time — usually 12 to 24 hours minimum, longer for heavy corrosion. It also does nothing for pitting, and it can leave a slight etched or gray finish on bare steel if you oversoak it.
For a hobbyist working through a stack of secondhand chisels or plane irons on a weekend, that’s a real constraint. You don’t always have a spare day to let something sit in a jar. Sometimes you need a tool usable in twenty minutes, or you’re dealing with rust that vinegar simply won’t touch — deep pitting on an old plane sole, for instance, or rust baked onto cast iron that’s been sitting in a damp shed for a decade.
There’s also a practical limit to how many tools you can process with vinegar at once. Each one needs its own container, its own soak time, and its own rinse-and-neutralize step afterward. If you’ve picked up a box lot of a dozen rusty tools at an auction, vinegar turns into an assembly line that eats up an entire weekend. That’s usually the point where a hobbyist starts looking at faster mechanical methods or a single electrolysis bath that can handle several pieces at once.
Mechanical removal: wire wheels, sandpaper, and steel wool
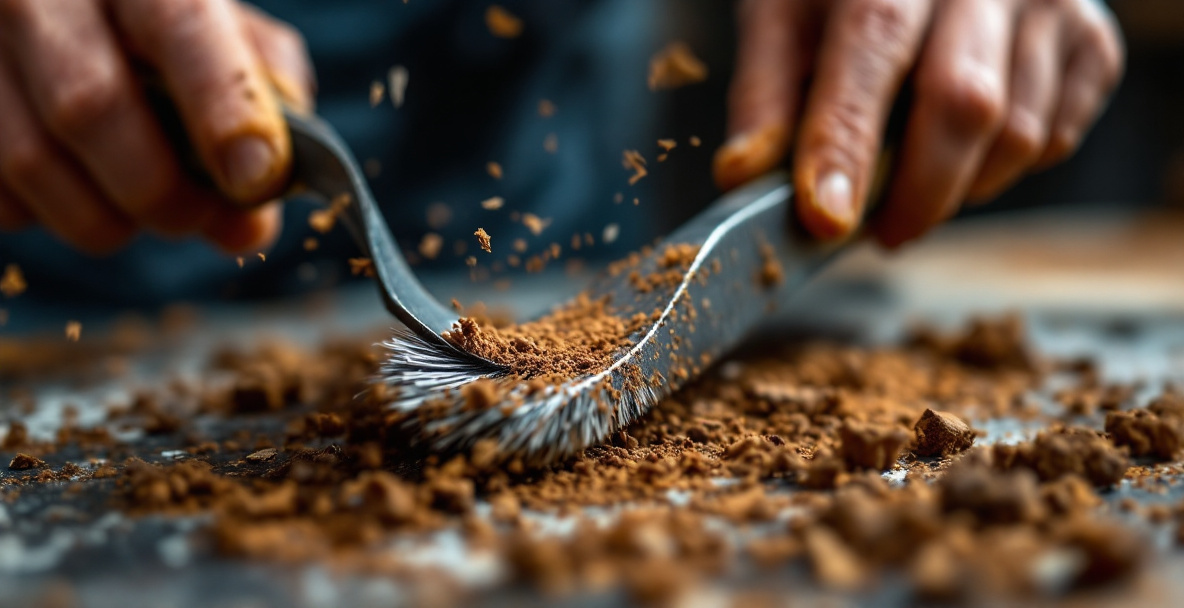
Mechanical removal means physically abrading the rust off, and it’s the fastest method for light-to-moderate surface rust. A wire wheel on a bench grinder or drill can clear a chisel or plane iron in under a minute; hand sanding takes longer but gives you more control.
When does a wire wheel make sense?
A wire wheel makes sense when the rust is surface-level and you’re not worried about removing fine detail or a sharp edge you’ve already ground. It’s aggressive — it will take metal off, not just rust — so it’s a poor choice for anything with stamped markings, a maker’s mark, or a blade edge you want to preserve. For flat stock like plane soles, saw plates, or the sides of chisels, it’s fast and effective.
Go slow on anything thin. A wire wheel spinning at full speed can heat up steel fast enough to draw the temper, which softens the edge. If you’re working near a cutting edge, switch to hand methods instead.
Wheel type matters too. A crimped-wire wheel is gentler and better suited to flat panels and handles, while a knotted-wire wheel is far more aggressive and best kept for heavily corroded castings where you don’t care about the surface finish. Running either one at low RPM on a drill, rather than full speed on a bench grinder, gives you a middle ground: enough abrasion to clear rust, less risk of heat buildup on thin edges.
Sandpaper and steel wool for controlled work
Sandpaper and 0000-grade steel wool are the better choice when you need control rather than speed. Start with something like 220-grit wet-or-dry paper on heavier rust, then work down to 400 or 600 grit to clean up, finishing with steel wool for a smooth surface. This method takes longer than a wire wheel — often 15 to 30 minutes per tool — but it won’t overheat the steel and it’s easy to stop exactly where you want.
This is the method most Backwood Crafting readers will reach for, since it needs no power tool at all — just paper, oil, and patience, which fits a shed or a shared basement better than a grinder does.
A drop of oil on the paper as you work — mineral oil or even light machine oil — keeps the grit from clogging with rust dust and stops the surface from flash-rusting again mid-job. Wrapping the sandpaper around a flat block, rather than sanding freehand, also helps keep flat surfaces like plane soles genuinely flat instead of dished from uneven pressure.
Electrolysis: the best option for heavy rust and pitted cast iron
Electrolysis removes rust using a low-voltage electric current passed through a solution of water and washing soda, with a sacrificial piece of scrap steel acting as the anode. It’s the most effective method for heavy, deep rust — particularly on cast iron like plane bodies, vise parts, or old saw handles’ fittings — because the current lifts rust from pits and crevices that abrasion or acid can’t reach.
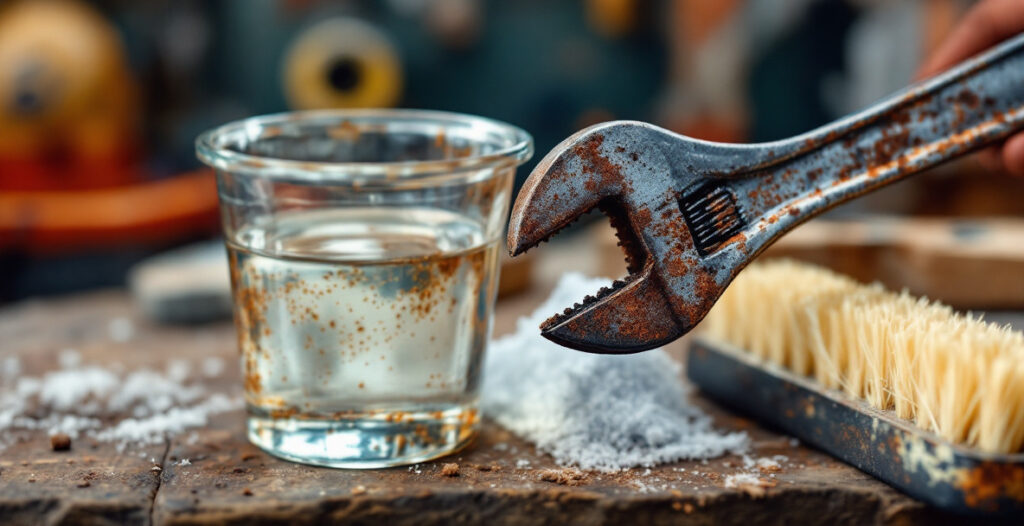
The setup: a plastic tub, washing soda (sodium carbonate, not baking soda), a battery charger, and a piece of scrap rebar or steel as the sacrificial anode. The rusted tool connects to the negative terminal, the scrap steel to the positive. Left running for several hours to overnight, the current strips rust without touching good steel underneath — unlike sanding, it doesn’t remove any base metal.
It’s slower to set up than grabbing sandpaper, but for a badly pitted find at a flea market, it’s often the only method that gets the tool back to usable condition rather than just clean-looking.
Expect roughly a tablespoon of washing soda per gallon of water as a rough mixing ratio, and expect the anode to need cleaning or replacing after a few uses since it sacrifices itself to protect the tool. The tool will come out of the bath covered in a loose black residue rather than shiny metal — that’s normal, and a quick scrub with a nylon brush or steel wool right after the bath reveals the clean steel underneath.
Is electrolysis safe to do at home?
Yes, with basic precautions — but it does produce a small amount of hydrogen gas, so it needs to be done outdoors or in a well-ventilated space, away from any open flame. Standard safety guidance recommends working outside or in a garage with the door open, wearing gloves, and never using a sealed container. The Crcindustries covers general precautions worth reading before you try it for the first time.
Chemical rust converters and acid-based products
Rust converters are chemical treatments — typically based on tannic acid or phosphoric acid — that react with rust to form a stable, paintable compound rather than dissolving it away. They’re built for rust you’re going to prime and paint over, not bare tool steel you want to keep shiny and sharpen.
That distinction matters for woodworking tools. A rust converter is a good match for the cast-iron base of an old workbench vise you’ll repaint, but a poor one for a plane iron or chisel, where you want bare, clean steel underneath.
Phosphoric acid-based rust removers work differently — they actively dissolve rust rather than converting it, and they work faster than vinegar’s weaker acetic acid. They’re more effective but also harsher on skin and need gloves and ventilation.
Comparing the methods: speed, cost, and tool safety
Vinegar is cheapest and safest for the metal but slowest. Mechanical abrasion is fast but risks removing metal and heating the edge. Electrolysis is best for deep pitting and cast iron but takes the most setup. Chemical converters are best when you’re painting over the result, not sharpening it.
For a single lightly rusted chisel, sandpaper and steel wool will do the job in half an hour with no special setup. For a batch of secondhand tools bought at a car boot sale, electrolysis handles the volume and the pitting better than soaking each one individually. For anything you plan to sharpen afterward — plane irons, chisels, saw teeth — avoid rust converters entirely, since they leave a chemical layer that isn’t bare steel.
Cost is worth factoring in too. Vinegar and sandpaper are nearly free if you already have them on hand, while electrolysis needs a battery charger and washing soda, and rust converters are sold by the bottle at a real price. If you’re only ever cleaning up the odd tool here and there, that cost difference barely matters; if you’re processing tools regularly as a hobby, the upfront cost of an electrolysis setup pays for itself quickly.
What to do after removal of rust from tools
Rust comes back fast on bare steel, often within days in a damp shed, so the tool needs oiling or waxing immediately after cleaning. A light coat of camellia oil, mineral oil, or plain machine oil on bare metal prevents flash rust from forming overnight.
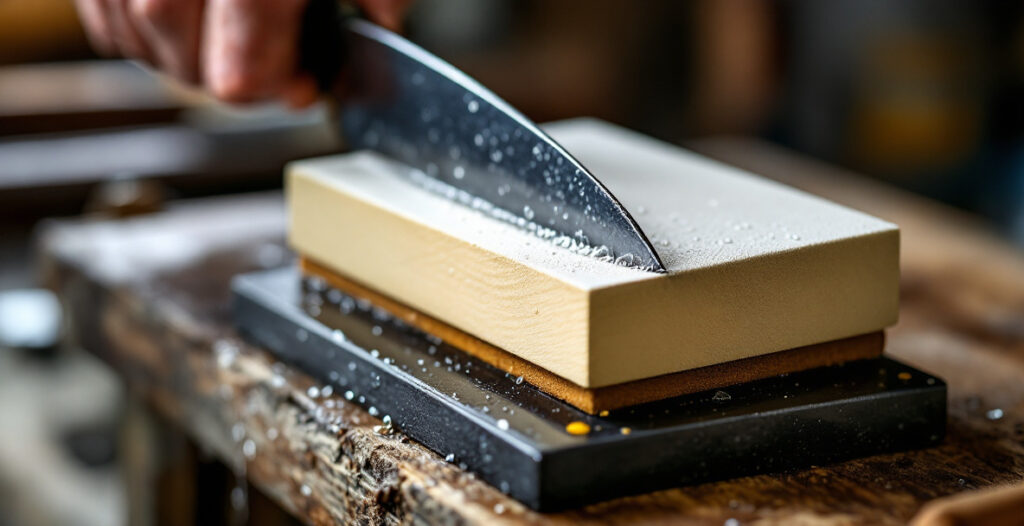
Once the rust is off and the surface protected, the tool likely still needs its edge restored — rust removal cleans the steel but doesn’t sharpen it. If it’s a chisel or plane iron, sharpening a plane blade with basic secondhand tools is the natural next step, since a clean tool with a dull edge still won’t cut anything.
Store the tool somewhere dry afterward. A damp shed corner or an unheated garage is exactly where rust started in the first place, so wrapping tools in an oiled cloth or keeping them in a dry toolbox with a silica packet makes a real difference over the following months. A thin coat of paste wax on cast-iron surfaces, like a plane sole or vise body, adds another layer of protection beyond oil and lasts longer in storage between uses.
Frequently Asked Questions
Is vinegar or electrolysis better for rust removal?
Vinegar is better for light surface rust when you have time to let it soak overnight. Electrolysis is better for heavy pitting, cast iron, or when you’re processing several tools at once, since it’s more thorough on deep corrosion without removing good metal.
Will removing rust damage the temper of my chisel or plane iron?
Hand sanding, steel wool, vinegar, and electrolysis are all safe for tool temper since none of them generate significant heat. A wire wheel or bench grinder can overheat thin steel near an edge if held in one spot too long, which is the main risk to watch for.
How often does a hand tool need to be checked for rust?
If tools are stored in a damp shed, garage, or basement, check every few weeks during humid seasons. A light film of oil after each use and dry storage cuts the need for rust removal down significantly.
Can I use both sandpaper and vinegar on the same tool?
Yes. A common approach is soaking in vinegar to loosen heavy rust first, then finishing with fine sandpaper or steel wool to clean up the surface and restore some shine. This combines vinegar’s gentleness with abrasion’s speed.
Does rust removal work on rusted saw blades?
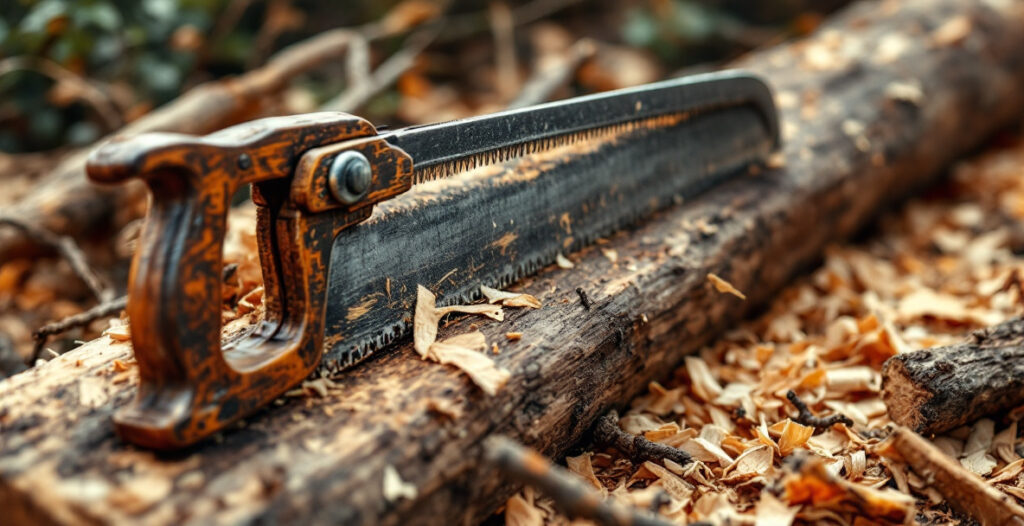
Yes, though saw plates are thin and flex easily, so wire wheels should be used carefully and only lightly. Fine steel wool or a light vinegar soak followed by hand rubbing is usually safer for preserving the set and shape of the teeth.