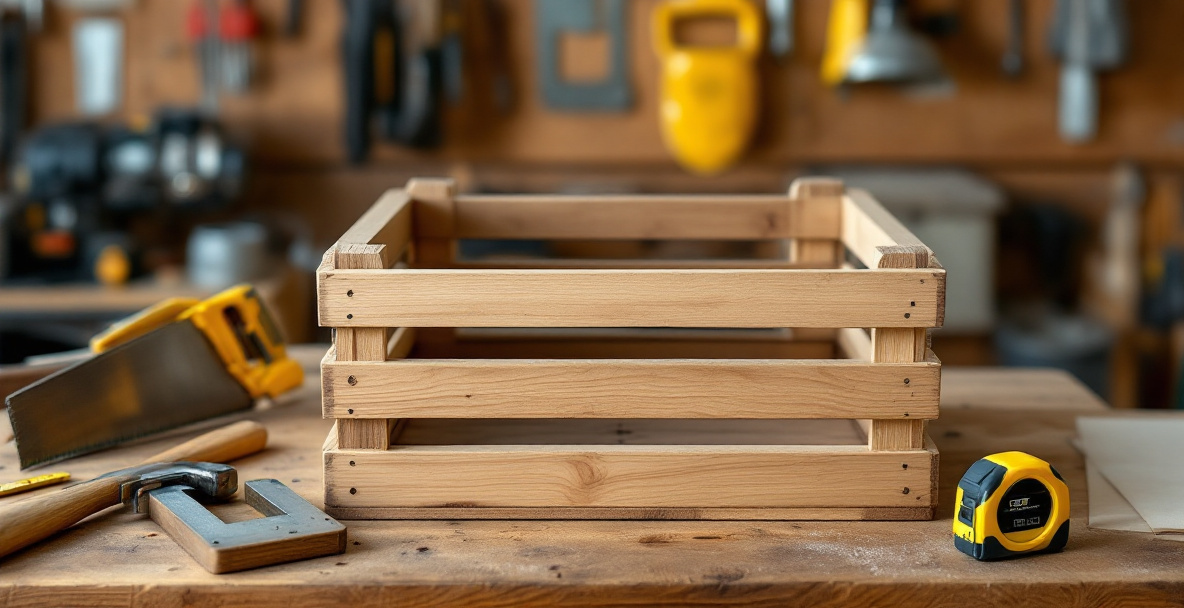
A wooden crate is one of the best first projects for hand tool woodworking because it forgives imprecision, uses cheap or scrap lumber, and needs no power tools or dedicated workshop. You can build one on a workbench the size of a card table, using a saw, a hammer, some nails or screws, and a square. Expect to spend two to four hours on a basic crate, most of it spent cutting boards to length and squaring the frame.
This guide walks through how to build a wooden crate — the kind useful for storage, moving, or stacking firewood — entirely with hand tools, in a space no bigger than a garage corner.
What tools do you actually need?
You need a handsaw, a tape measure, a combination square, a hammer or mallet, and something to hold wood steady while you cut it. That’s the honest minimum. Everything else is convenience, not necessity.
A basic list looks like this:
- A panel saw or crosscut saw (a $15 secondhand saw cuts pine just fine)
- A combination square for marking right angles
- A tape measure or folding rule
- A hammer, or a mallet if you’re using screws and a hand drill
- Clamps — even two cheap spring clamps help enormously
- A block plane, optional, for cleaning up rough-cut edges
You don’t need a workbench with a vise. A pair of sawhorses, a door laid across two chairs, or even a scrap of plywood on the floor will hold the wood steady enough for crosscuts. If you’re building your tool kit from nothing, buying secondhand is usually the smarter move — old saws and planes were often made better than new budget versions, and you can find them for a fraction of retail price at flea markets or online listings.
Choosing wood for a crate
Pine, spruce, or reclaimed pallet wood all work well for crates — the joints don’t need to be fine, and the wood doesn’t need to be furniture-grade. What matters more is that the boards are reasonably straight and free of large knots near where you’ll be cutting joints.
If you’re using pallet wood, expect some extra labor. Pallet boards are often rough, slightly warped, and held together with nails that need pulling before you can reuse the wood. Instructables’ pallet crate guide covers the process of breaking down a pallet safely, which is worth reading before you start prying boards apart with a claw hammer.
New pine boards from a hardware store cost more but save time — no denailing, no guessing whether a board is structurally sound. For a first crate, that trade-off is usually worth it while you’re still learning to saw straight.
How thick should the wood be?
For a general-purpose crate, 3/4-inch boards for the sides and base, and thinner slats (around 1/2 inch) for the top if you want one, is a reasonable standard. Thicker wood is more forgiving of rough joinery but harder to cut and nail by hand. Thinner wood saws faster but splits more easily near the edges, so you’ll want to pre-drill before nailing close to a board’s end.
How to build a wooden crate step by step
The basic method is: cut your boards to size, assemble a rectangular base, build up the sides, and reinforce the corners. None of these steps require power tools — a saw, a square, and a hammer will get you through the whole build.
Step 1: Decide on dimensions
Pick a size based on what the crate needs to hold, then work backward to board lengths. A common utility crate is around 18 by 12 by 10 inches, but there’s nothing special about those numbers — measure whatever you’re actually storing and add an inch of slack on each side.
Write the cut list down before you touch the saw. It’s tempting to measure as you go, but a written list means every board that’s supposed to match actually does.
Step 2: Cut the boards to length
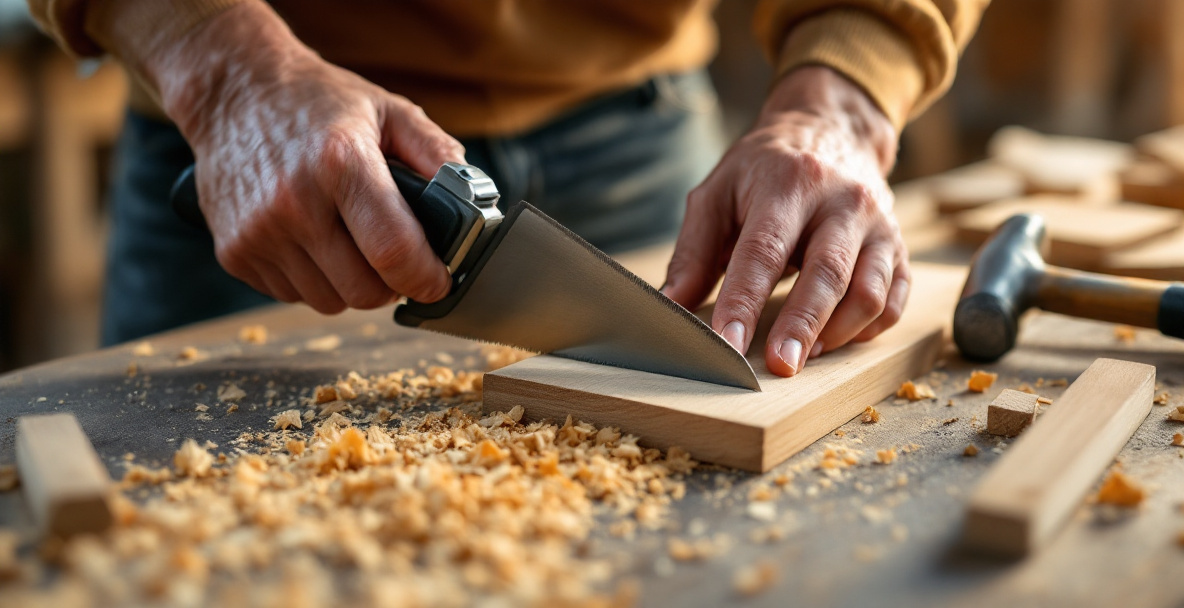
Mark each cut with a combination square so the line is a true right angle across the board, then saw just to the waste side of the line. Cutting slightly long and trimming back with a block plane is easier than trying to saw to a perfect line the first time — the plane corrects small errors that a handsaw can’t.
Group boards that need to be identical length — the two long sides, the two short sides — and cut them as a matched pair where possible. This is more reliable than cutting each board separately from a tape measure reading.
Step 3: Assemble the base
Lay two long boards down, place two short boards perpendicular across the ends, and check the corners with your square before driving any nails. This forms the base frame the rest of the crate builds on. Clamp it together if you have clamps; if not, have something heavy holding the boards flat while you work.
Nail or screw through the top boards into the end grain of the side boards, pre-drilling near the ends to stop splitting. Two fasteners per corner is usually enough for a crate this size.
Step 4: Add the base slats
With the frame square and fastened, lay slats across it and nail them down evenly spaced. Leave small gaps between slats — about a pencil’s width — for drainage and airflow if the crate will sit outdoors. If it’s staying indoors, you can butt them tighter.
Step 5: Build and attach the sides
Cut four corner posts slightly taller than your desired crate height, and fasten them at each corner of the base, standing vertically. Then nail horizontal slats across the sides, working up from the base, checking with your square every few slats that the posts are staying vertical and not leaning inward or outward.
This is the stage where a small helping hand — a clamp holding a post in place while you nail — saves the most frustration. Working alone in a tight space, it’s easy for a post to shift half an inch while your hands are busy with the hammer.
Step 6: Check, trim, and finish
Once the sides are on, check all four corners are still square, then plane or sand down any protruding edges. A block plane handles proud edges quickly without needing sandpaper at all, though a sanding block works if that’s what you have.
If the crate is for outdoor use, an exterior wood glue on the joints alongside the nails adds real strength, and a coat of exterior finish protects the end grain, which is where moisture does the most damage over time.
Is this method different from a machine-built crate?
Not structurally — a hand-built crate can be just as strong as one built with power tools, but it takes longer and rewards patience over speed. The core steps (square cuts, solid corner joints, evenly spaced slats) are identical whether you’re using a table saw or a handsaw. What changes is the pace: a machine shop might turn out a crate in twenty minutes, while doing it by hand realistically takes an afternoon.
Other guides built around shop tools are still useful for reference even if you’re working by hand. Volpinprops is aimed at people with a table saw and pneumatic nailer, but the underlying structure — frame, slats, corner reinforcement — is the same logic you’re following with a handsaw. Read it for the design thinking, not the tool list.
What if you’re working in a very small space?
You can build a crate on a surface as small as a folding table, as long as you have room to swing a saw arm’s length without hitting a wall. The actual footprint needed is smaller than most people assume — it’s clearance for tool movement, not floor area for the project, that limits you.
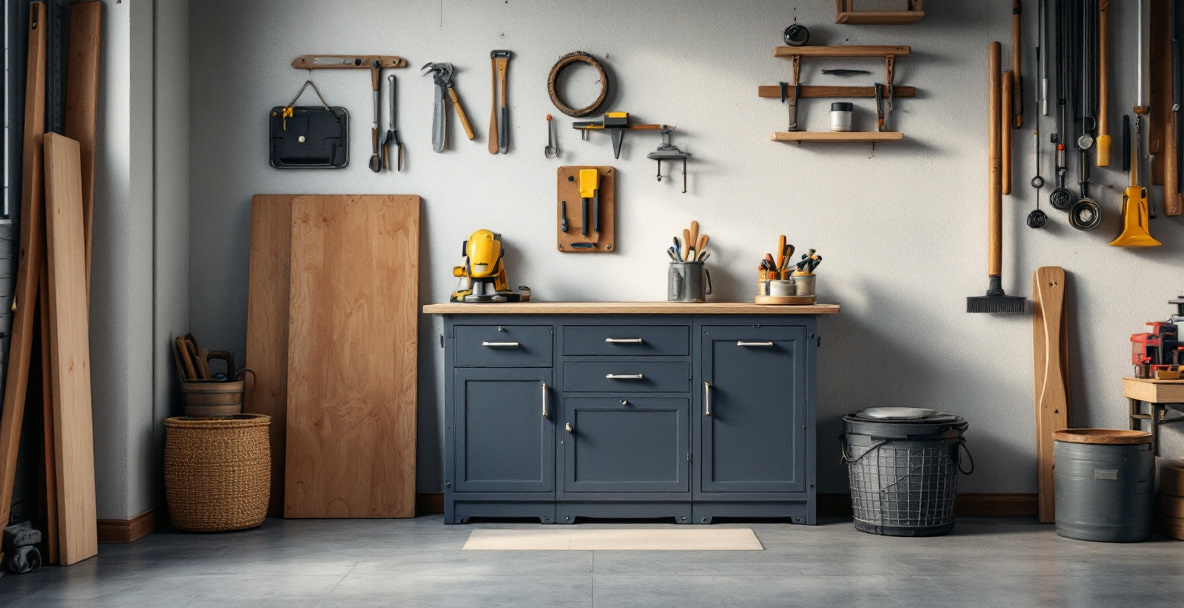
Break the work into stages if space is genuinely tight: cut all boards in one session, clear the space, then assemble in the next session. You don’t need every board and tool laid out simultaneously. A shed, a garage corner, or even a section of a shared basement is enough room, provided you’re willing to work in sequence rather than having everything spread out at once.
Sawhorses that fold flat against a wall when not in use are worth the investment if your space doubles as something else — a car port, a laundry area, a spare room. If this is the kind of constraint you’re building around regularly, it’s worth reading more on working within a small, tool-light setup, since most crate and furniture guides quietly assume a full shop that not everyone has.
Working without clamps
You can substitute clamps with weight, wedges, or a helper — clamps make corners easier to hold square, but they aren’t strictly required. A heavy book or a brick on top of a joint while glue sets, or a wedge of scrap wood jammed against a post, does the same job in a pinch. It’s slower and slightly less precise, but it works.
Alternative approaches worth knowing about
Not every crate design uses butt joints and nails — some builders prefer rabbet joints for stronger corners, or a router-cut groove for the base panel to sit in. Blogspot shows a version with a routed base groove, which is worth a look if you eventually want a cleaner, glue-free base — though it does assume access to a router, which isn’t a hand-tool method.
There’s also a well-known simplified design online, sometimes called the “Steve Ramsey crate,” built from a single board ripped into matching strips. It’s a fast, low-waste method, though as one breakdown of the build points out, it relies on a table saw to rip consistent strips quickly — by hand, ripping long strips accurately is one of the slower, more tiring cuts you can make, so it’s worth knowing before you commit a whole board to the attempt.
None of these approaches are wrong. They’re just built around different tools and different amounts of time. Pick the one that matches what you actually own and how much of a Saturday you want to give up.
Frequently asked questions
How long does it take to build a wooden crate by hand?
A basic crate takes two to four hours for someone with limited experience, most of it spent cutting boards square and checking corners as you go. Faster builds are possible once you’ve made a few and know your saw.
Do I need to glue the joints, or are nails enough?
Nails or screws alone hold a crate together fine for indoor or light-duty use. For outdoor crates or anything that will be moved or stacked often, adding exterior wood glue at the joints adds real strength and is worth the extra few minutes.
What’s the cheapest wood option for a crate?
Reclaimed pallet wood is usually the cheapest, often free, but it takes extra time to denail and straighten. New pine boards cost more but save labor, which matters if your time is more limited than your budget.
Can I build a crate without a workbench?
Yes. Sawhorses, a sturdy table, or even a door across two chairs will hold boards steady enough for hand sawing and nailing. What you actually need is a stable surface and enough clearance to swing a saw, not a dedicated bench.
What size crate is best for a first project?
Something in the range of 12 to 18 inches on each side is a manageable first build — small enough to finish in an afternoon, large enough that small measuring errors don’t ruin the whole piece.