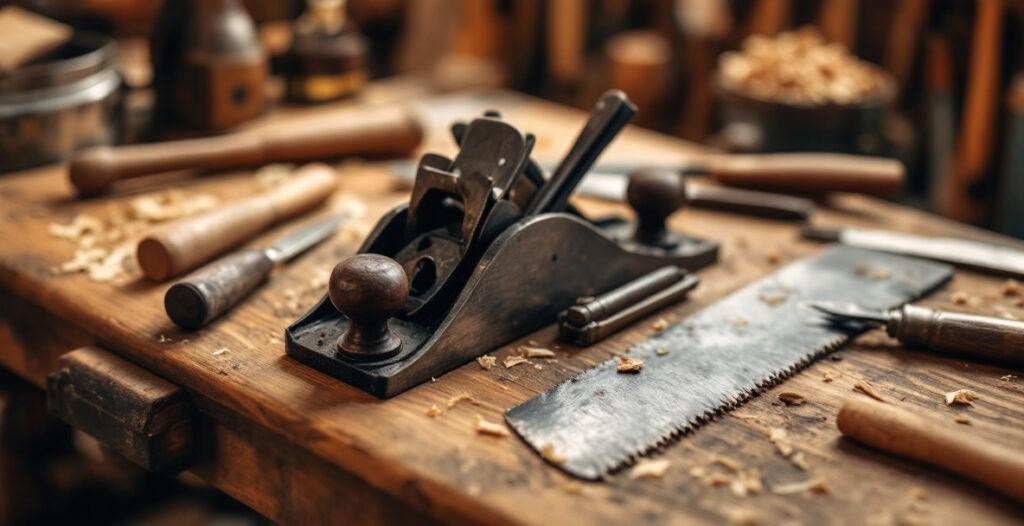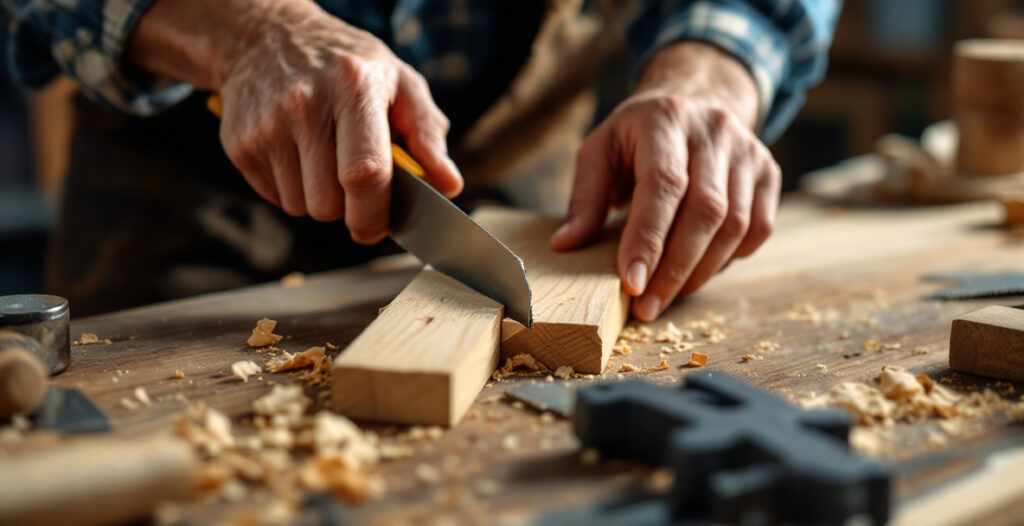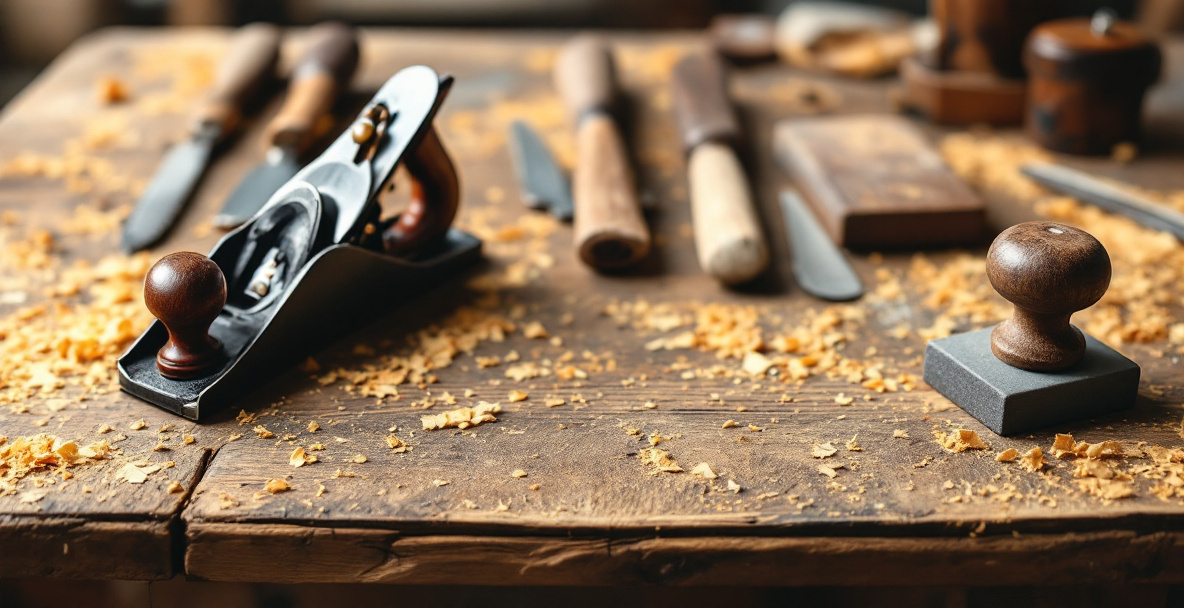
The essential tools to start woodworking are a hand plane, a backsaw, a set of chisels, a marking knife, a mallet, and a sharpening stone — nothing more. That’s it. You do not need a table saw, a planer, or a dust extraction system to build real furniture. Most of these tools can be bought secondhand for a fraction of retail price, and a good number of experienced woodworkers prefer them that way. Total cost, buying used, usually lands somewhere between $80 and $200.
That number surprises people who’ve only ever browsed woodworking magazines aimed at people with a two-car garage to spare. It shouldn’t. Hand tool woodworking predates electricity by a few centuries, and the tools that made furniture then still make furniture now.
Why most woodworking advice assumes gear you don’t have
Most beginner guides are written by people with a shop full of machines, and they write as if that’s the default. It isn’t. If you’re working in a shed, a garage corner, or a shared basement, a table saw and planer aren’t a starting point — they’re a fantasy you can safely ignore.
The trade-off is honest: hand tools are slower. A board that takes ninety seconds through a power planer might take you fifteen minutes by hand. But hand tools are also quiet, cheap, and don’t require a 240V outlet or a dust collection plan you’ll never actually build. For a hobbyist working evenings and weekends in a space shared with a car or a washing machine, that trade-off usually favors hand tools.
There’s also a learning-curve argument that rarely gets made. Machines punish mistakes instantly and expensively — a kickback or a miscut on a table saw can ruin a board, injure a hand, or both. A misjudged cut with a backsaw wastes a few minutes and maybe an offcut. For someone still learning to read grain direction and judge a square edge, that lower stakes environment matters as much as the lower price tag.
What’s the actual difference between hand tools and machine tools here?
Machines remove material fast and repeat a cut identically hundreds of times. Hand tools remove material slower but give you direct feedback on the wood — you feel tear-out before it happens, and you can stop mid-cut. For furniture-scale projects like stools, crates, and small chests, that difference in speed rarely matters as much as marketing suggests.
The core tool list to start woodworking
Here’s the actual list, in the order you’ll reach for them on a typical project:
- A backsaw (tenon saw or dovetail saw) — for straight, controlled crosscuts and joinery cuts.
- A set of bench chisels — 1/4″, 1/2″, and 3/4″ covers most joinery. You don’t need twelve sizes.
- A hand plane — a No. 4-sized plane handles flattening and smoothing for most furniture.
- A marking knife — for layout lines that are actually accurate, not just visible.
- A mallet — wood or urethane, for driving chisels.
- A sharpening stone or two (coarse and fine) — because a dull chisel is more dangerous and more frustrating than a sharp one.
- A coping saw — for curves and clearing waste in tighter joints.
That’s seven tools. You can build a stool, a crate, or a small bench with exactly this list and nothing else.
A few notes on sizing, since this trips people up more than it should. For the backsaw, a smaller dovetail saw with fine teeth is more versatile for a beginner than a large tenon saw — you can always cut slower on a bigger joint, but you can’t make a coarse saw cut fine. For chisels, bevel-edge is the style to look for over firmer chisels, since the angled sides let you get into tighter dovetail corners. None of this needs to be perfect on the first purchase; secondhand tools are cheap enough that outgrowing one isn’t a real financial risk.
Do you need a workbench too?
Yes, but it doesn’t need to be fancy. A stable, flat surface with some way to hold your work still — a vise, or even just clamps and a stop block — is enough to start. Building your own is a common first project once you have the tool list above, and picking the right top matters more than people expect; our guide to choosing wood for a workbench top covers what actually holds up under daily use.
Why secondhand tools are usually the smarter buy
Old tools are frequently better made than new budget-tier tools, and they’re almost always cheaper. A vintage No. 4 plane or a set of bevel-edge chisels from a flea market, car boot sale, or estate sale can outperform a new box-store set at a third of the price, once you’ve cleaned them up.
The catch is condition, not age. A tool with rust, a chipped edge, or a warped sole isn’t ruined — it’s a weekend project. Rust in particular is common on secondhand tools and easy to overstate as a problem. If you pick up a rusty plane or chisel set, a simple soak-and-scrub with white vinegar handles most surface rust without damaging the steel underneath, and it costs almost nothing.
What should you check before buying a used tool?
Check three things: is the cutting edge intact (not chipped or badly pitted), is the body straight (no cracks, no warping you can see by sighting down it), and does it move as it should (handles seated, no loose parts). Surface rust is cosmetic and fixable. Pitting deep enough to leave craters in the steel, or a cracked handle socket, is a reason to walk away or negotiate the price down hard.
Bring a small magnet and a straightedge if you’re buying in person — they cost nothing to carry and answer two of the three questions immediately. A magnet quickly reveals whether a “steel” plane sole has been repaired with filler, and a straightedge held against a chisel back shows flatness in seconds. Neither trick works over an online listing, which is exactly why in-person markets and estate sales tend to offer better value than shipped auctions: you can actually inspect what you’re buying before money changes hands.
Online forums are a decent way to sanity-check a purchase before you commit, especially if you’re not yet confident telling a good used chisel from a bad one. Woodworking communities like the discussion on Lumberjocks show how even people who do own machines still weigh hand tools against them — worth reading if you want a second opinion on where the line actually sits. There are also active buy-and-sell and advice groups, such as this Facebook, where people post exactly what they picked up secondhand and what it cost them.
Getting the sharpening right from day one
A sharp chisel is the single biggest factor in whether hand tool woodworking feels good or feels like a fight. Dull edges crush wood fibers instead of cutting them, which means more force, more tear-out, and more frustration — often mistaken by beginners for “I’m just not good at this.”

You don’t need a full honing jig setup to get there. A coarse stone to establish the edge, a fine stone to polish it, and a few minutes of practice on the angle is enough. Our full breakdown on sharpening a chisel and getting a working edge walks through the process using nothing but secondhand stones and basic technique — no specialty gear required.
How often do tools actually need sharpening?
More often than beginners expect, but each session is short once you know how. A chisel used regularly might need a quick touch-up every hour or two of real cutting, taking under two minutes on a fine stone. This isn’t a sign something’s wrong — it’s just how edge tools work, and it’s far less disruptive than it sounds once it’s a habit instead of an event.
Picking your first project (and why it matters more than your tool list)
Your first project should be small, low-stakes, and forgiving of mistakes — not a bed frame or a dovetailed chest. A step stool or a simple crate teaches the core moves (sawing a straight line, chiseling a joint, planing a flat surface) without punishing you for a wobble.
A step stool built with basic hand tools is a solid first project precisely because it uses every tool on the list above at least once, on a scale small enough that a mistake costs you an offcut, not a whole board.
What comes after the first project?
Once you’re comfortable with straight cuts and flat surfaces, mortise and tenon joinery is the next real skill to learn — it’s the backbone of most solid furniture, from stools to bed frames. It requires nothing beyond the tools already on your list: chisel, mallet, saw, marking knife. There’s no need to buy anything new to take that step.
Common beginner mistakes worth avoiding
A few habits derail new hand tool woodworkers more than any gap in their tool kit. The first is buying too much too soon — a full set of twelve chisel sizes or three planes before finishing a single project usually means money spent guessing, not building. The second is skipping sharpening because it feels like a detour from “real” work, when in practice it’s the fastest way to make every other step easier. The third is choosing a first project that’s too ambitious, which turns a learning exercise into a source of discouragement when it doesn’t come out looking like a magazine photo.
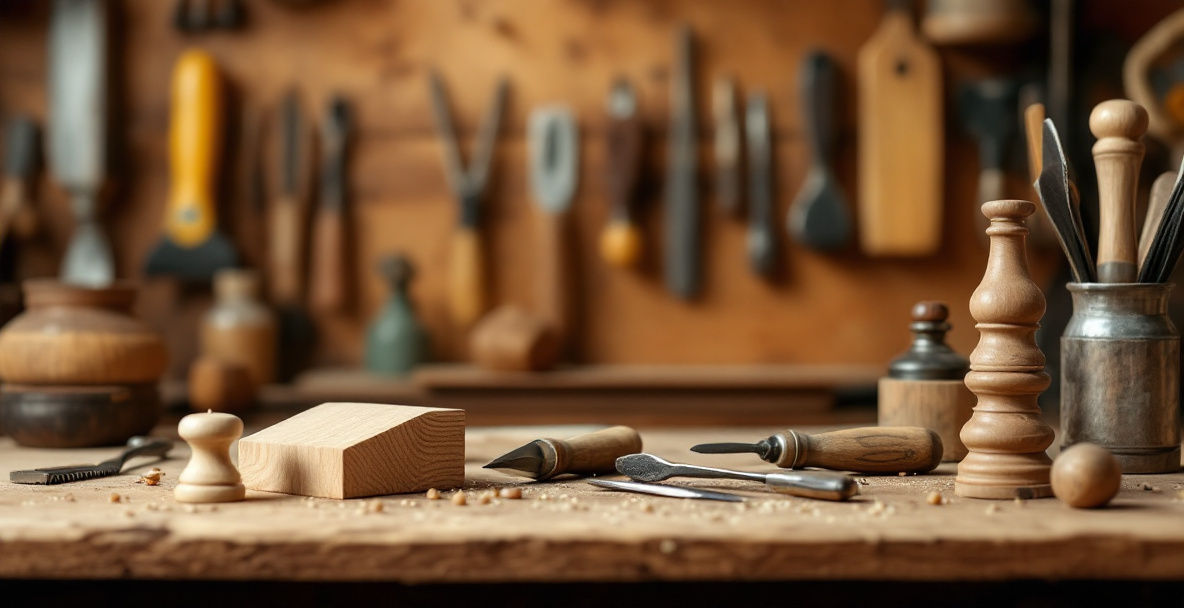
None of these mistakes are expensive to fix, but they’re easier to avoid than to undo. Slowing down on the tool list, treating sharpening as part of the work rather than a break from it, and picking a genuinely small first project will save more frustration than any specific tool purchase.
Budgeting realistically for your first tool kit
Expect to spend $80–$200 total if you buy secondhand and shop patiently, versus $300–$600+ for the equivalent new from a specialty retailer. The gap is almost entirely in the plane and chisels — saws and marking knives are cheap either way, new or used.
Don’t buy everything at once. Buy what the next project needs, learn it, then buy the next tool. A full kit bought before you’ve cut a single joint usually means money spent on the wrong sizes or the wrong style for how you actually work.
FAQ
What is the minimum tool list to start woodworking?
A backsaw, a set of two or three chisels, a hand plane, a marking knife, a mallet, and a sharpening stone. That’s enough to build a stool, crate, or small box from start to finish.
Can I really learn woodworking with only secondhand tools?
Yes. Many secondhand tools are better made than new budget-tier equivalents, and the only real requirement is checking the cutting edge and the body for damage before buying. Rust and grime are cosmetic problems, not structural ones.
Do I need a workshop or garage to start?
No. A shed corner, a garage corner, or a shared basement with a stable workbench surface is enough space for hand tool work. Machines need room and power; hand tools mostly need a flat surface and light.
How much should I expect to spend on a first tool kit?
Roughly $80–$200 buying secondhand, versus $300 or more buying new. Buy tools as each project requires them rather than all at once.
Is hand tool woodworking slower than using power tools?
Yes, generally. A cut that takes seconds with a machine might take minutes by hand. In exchange, hand tools are quieter, cheaper, and don’t require dust extraction or a dedicated power supply — a fair trade for most hobbyists working in small spaces.