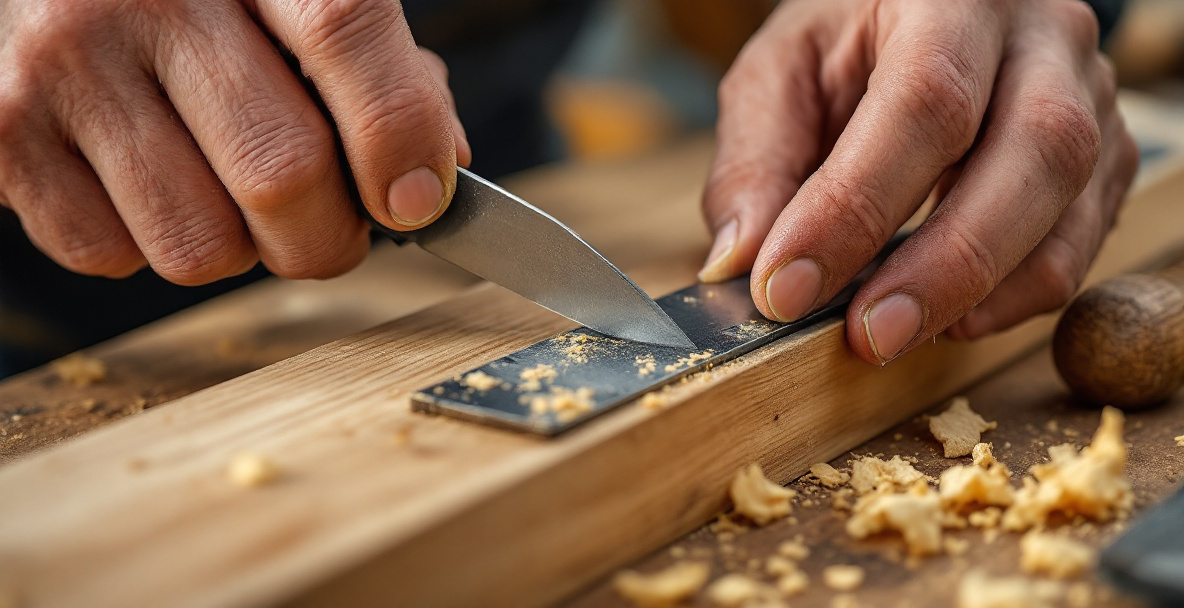
A marking knife cuts a thin, precise line into wood fibers instead of pressing graphite onto the surface like a pencil does. That line acts as a physical channel for your chisel or saw to register against, so your cut lands exactly where you marked it — not a hair to either side. For joinery like mortise and tenon work, this difference is the gap between a tight joint and a sloppy one.
What does a marking knife actually do that a pencil can’t?
A pencil line has width and it sits on top of the wood. Depending on how sharp the pencil is and how you hold it, that line can vary by a millimeter or more — enough to throw off a tight joint. A marking knife severs the wood fibers themselves, leaving a groove with a clean wall on one side.
That wall matters. When you register a chisel edge into a knife line, the chisel wants to fall into the cut and sit flush against that wall. It’s self-aligning in a way a pencil mark never is. You’re not eyeballing where the line “probably” is — you’re feeling for it.
This is why almost every serious hand-tool joinery method leans on a marking knife instead of a pencil for the actual cut lines. Pencils are still useful for rough layout, waste marking, and reference notes. The knife is for the line you’ll actually cut to.
Choosing a marking knife
Most marking knives fall into two shapes: single-bevel and double-bevel (spear-point). A single-bevel knife has one flat face and one angled face, which lets the flat side ride against a square or straightedge for dead-accurate lines. A double-bevel knife has a symmetrical point on both sides, which makes it easier to use in either direction but slightly less precise against a fence.
For beginners working with one all-purpose knife, single-bevel is the more common recommendation, mainly because it removes guesswork about which side to keep against your square. You do need to be deliberate about orientation — flip the knife or flip your approach when marking the opposite face, or your line will drift off-square.
Handle shape and blade steel matter less than most people assume. A comfortable grip and a blade that holds an edge through a session are the real requirements. Plenty of woodworkers get by with a modified utility knife or a repurposed kitchen knife ground to a point, and there’s no shame in that if it holds an edge and fits your hand. If you’d rather buy something purpose-made, options like the Classic Marking Knife or the Honey Brook Marking Knife are both single-bevel designs built specifically for joinery layout, and a budget option like the iGaging marking knife covers the basics without much outlay.
Do you need to spend a lot on a marking knife?
No. A marking knife is one of the cheapest tools in a joinery kit, and the geometry matters more than the price tag. A well-ground $15 knife will outperform an expensive one that’s been left dull. If money’s tight, a secondhand blade ground to a point does the same job as anything on a tool catalog page.
How to mark a straight, accurate layout line
Start by holding the knife against a square or straightedge with steady, even pressure — the flat face of a single-bevel knife should sit flush against the guide’s edge. Draw the knife toward you in one continuous stroke rather than several short scratches, which tend to wander.
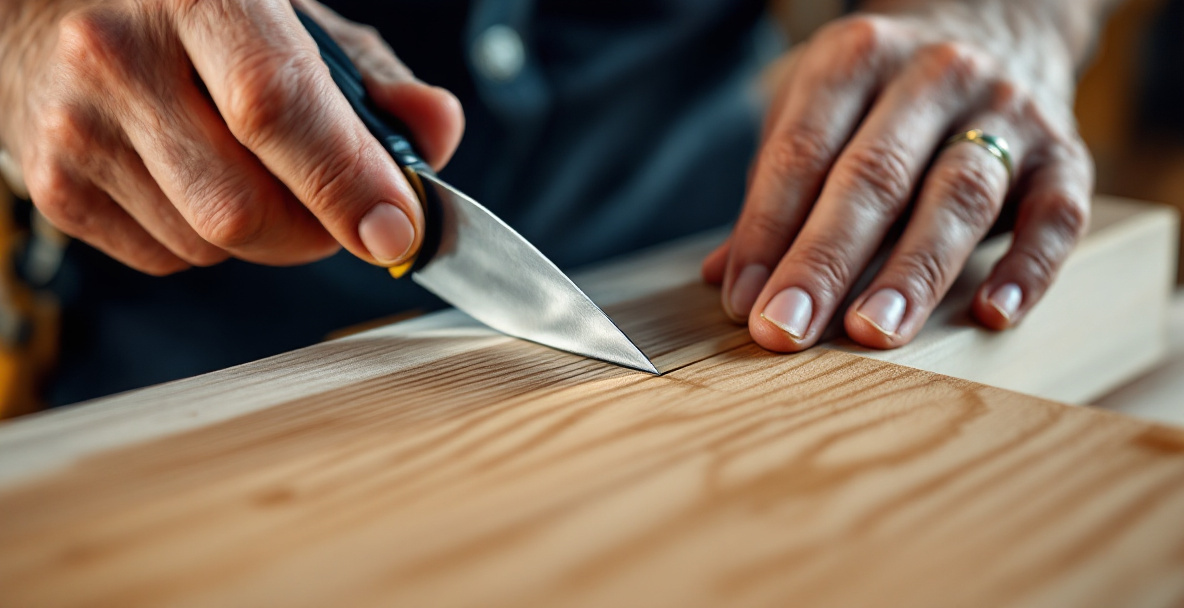
On the first pass, don’t dig deep. A light scoring cut establishes the line’s position. Go back over it two or three times, pressing slightly harder each pass, until the line is deep enough to register a chisel edge — usually about 1mm deep for most joinery work. Cutting too deep on the first stroke is a common mistake; it makes the knife harder to control and increases the chance of drifting off your guide.
Always mark with the knife’s flat face against the piece you want to keep, and the beveled face against the waste. This way, any tiny wedge of material removed by the knife’s angle comes off the waste side, not your finished surface.
Why do woodworkers extend or “wrap” the knife line around the workpiece?
Wrapping a knife line means continuing it around adjacent faces of the board so all four sides share one continuous, connected line. This keeps your layout consistent even if the board isn’t perfectly square, because you’re referencing the same line rather than remeasuring from scratch on each face.
This matters most on tenon shoulders and mortise walls, where a line that’s off by even half a millimeter on one face but not another will produce a joint that doesn’t sit flush. Wrapping forces the error, if there is one, to be consistent rather than compounding.
Using a marking knife for mortise and tenon layout
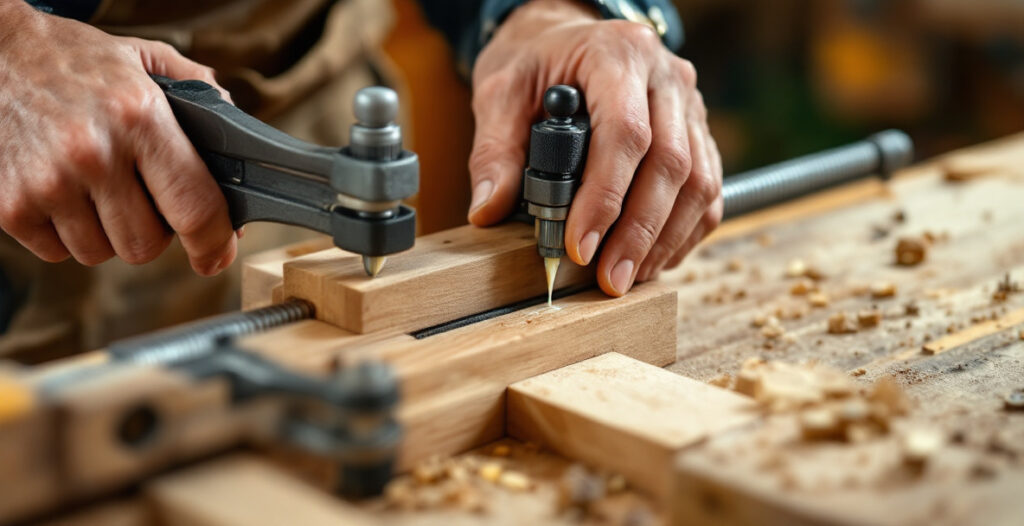
For a mortise and tenon joint, the marking knife defines both the tenon’s shoulder lines and the mortise’s wall lines — the exact spots where a saw or chisel needs to register. Getting these knife lines accurate is most of the battle in cutting a joint by hand.
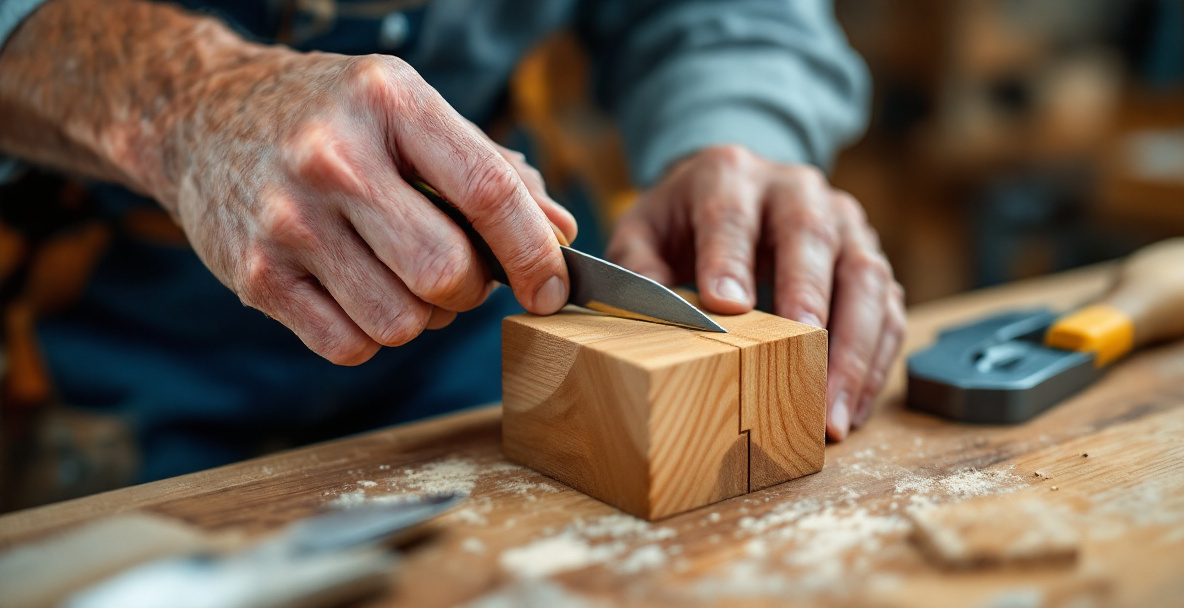
Mark the tenon shoulders first, wrapping the line around all four faces of the workpiece using a square. Then set a marking gauge (a separate tool, but often used alongside a knife) to scribe the tenon’s cheeks. The knife line at the shoulder gives your saw a hard stop; you saw down to that line, not past it, and the crisp wall left by the knife keeps the saw from splintering the surface as it exits.
For the mortise, knife lines mark the two end walls of the mortise mouth. These are the lines your chisel registers against on the first paring cuts, so accuracy here directly decides how tight the finished joint will be. If you’re new to this joint specifically, working through it start to finish alongside a focused guide is worth doing before committing to a real project.
Depth matters differently here than on open layout lines: since these lines will be pared to repeatedly as you deepen the mortise, they need to be crisp enough to still be visible after the surrounding wood has been chiseled away several times, which usually means a slightly deeper initial scoring than you’d use for a one-off shoulder line.
Common mistakes when using a marking knife
The most common error is applying too much pressure on the first pass, which pushes the knife off-line before it has a groove to follow. Fixing this is simple: score lightly first, then deepen gradually over two or three passes.
The second common mistake is not registering the knife’s flat face against the square consistently, especially when working around a board’s opposite faces. If you don’t consciously track which face is “flat” and which is “waste,” your wrapped lines end up misaligned rather than continuous.
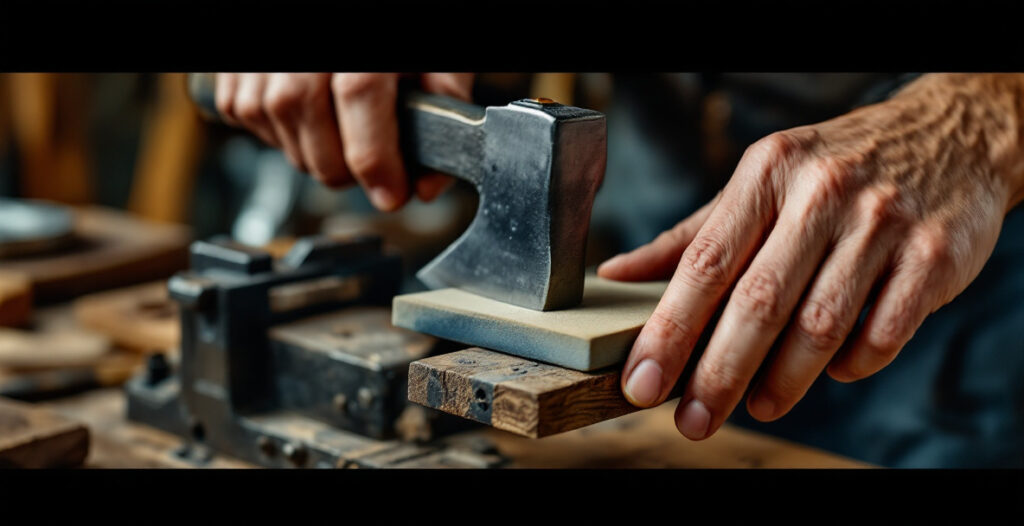
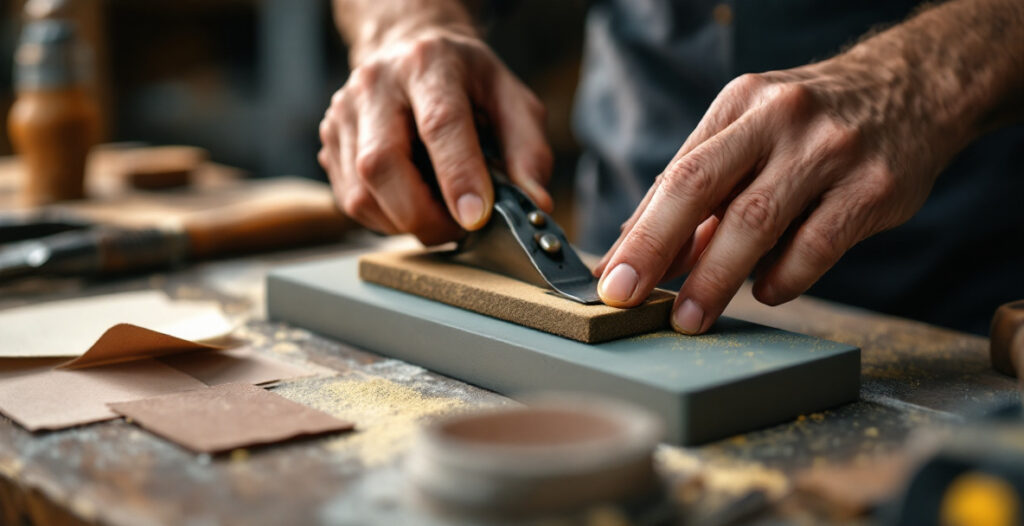
Skipping honing is the third. A marking knife that’s gone dull will tear fibers instead of severing them cleanly, leaving a fuzzy, imprecise line that’s harder to register a chisel against. The knife doesn’t need constant sharpening, but it should be touched up on a stone the moment it starts dragging instead of slicing. If you already maintain a chisel or plane blade by hand, the same basic stropping routine applies here — no separate system needed.
For anyone assembling a minimal kit from scratch, a marking knife is one of the least demanding tools to buy secondhand, since geometry and edge quality matter more than brand or age. It pairs naturally with the other core layout tools — a square, a marking gauge, and a sharp chisel — none of which require a dedicated workshop to use. If you’re building out that kit for the first time, it’s worth reading more on the site’s approach to hand tool woodworking for small spaces to see how the rest of the toolkit fits together.
Frequently Asked Questions
Can I use a utility knife instead of a proper marking knife?
Yes, with caveats. A utility knife blade can score a usable line, but the blade is thin and flexes under pressure, which makes long, straight lines harder to control than with a rigid marking knife blade. It works fine for occasional use or while you decide if joinery is something you’ll keep doing.
Which side of the knife line do I cut on?
Cut on the waste side of the line, leaving the knife line itself (and a hair of material) on the piece you’re keeping. You then pare or plane back to the line afterward, rather than cutting exactly on it and risking removing too much.
How often does a marking knife need sharpening?
Less often than a chisel, since it’s not levering against resistance the same way. Most woodworkers touch up the edge every few projects, or as soon as the knife starts tearing rather than slicing cleanly through the wood fibers.
Does the marking knife work on softwood and hardwood equally well?
Yes, though softer woods like pine can compress slightly under the blade rather than cleanly parting, which sometimes makes the line less crisp. A sharp edge and a light first pass matter more on softwoods, not less.
Is a single-bevel or double-bevel knife better for a beginner?
Single-bevel is generally easier to get consistent results with, since the flat face gives you a fixed reference against a square. Double-bevel knives are more forgiving about which direction you cut in but require more care to keep the line accurate against a fence.