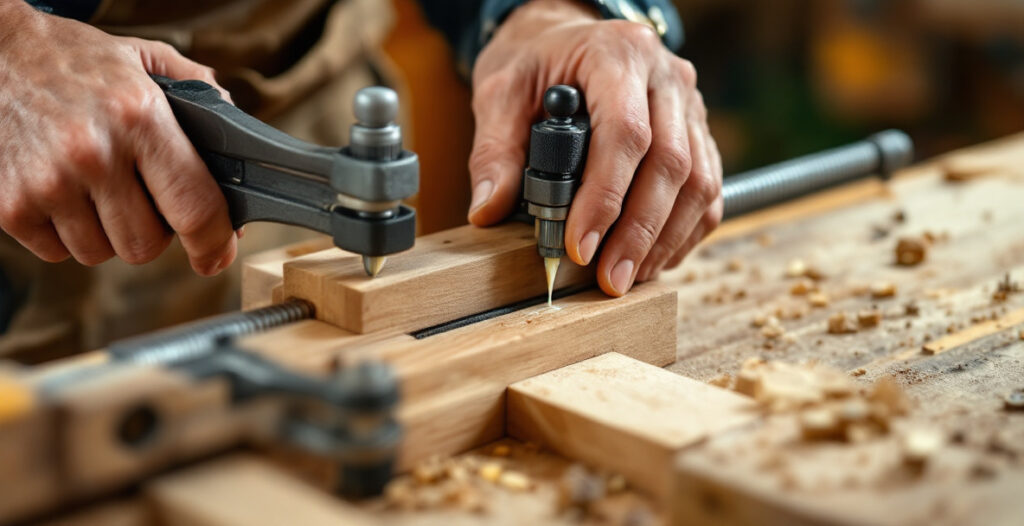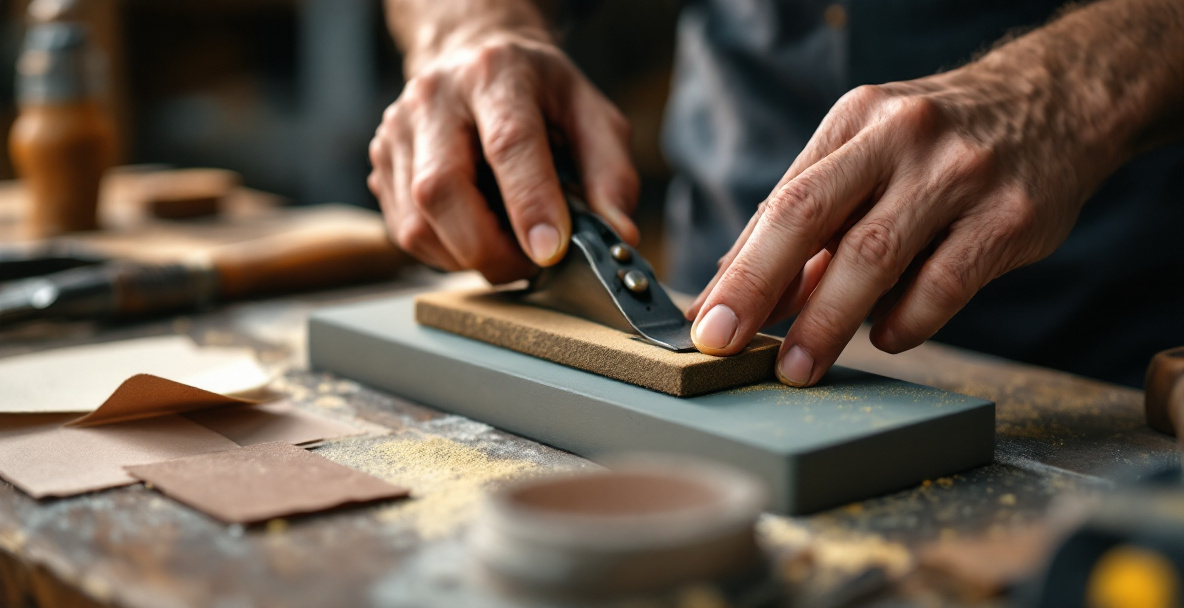
A sharp hand plane blade is the difference between shavings that curl off in thin ribbons and a tool that just tears and grinds through wood. To sharpen one, you flatten the back on progressively finer abrasives, hone a bevel at roughly 25-30 degrees, then strop off the burr that forms. You don’t need a honing guide or a $400 stone setup — sandpaper on glass or a couple of secondhand oilstones will get you there.
That’s the whole process in a sentence. The rest of this guide covers how to actually do it with tools you can pick up at a flea market or car boot sale for under the price of a takeaway.
Why a dull plane blade ruins your work
A dull blade doesn’t just cut slower — it changes how the tool behaves entirely. Instead of slicing fibers cleanly, a dull edge pushes and tears them, leaving a rough, fuzzy surface no amount of sanding fully fixes.
You’ll also feel it in your arms before you see it in the wood. A sharp blade takes a whisper-thin shaving with light pressure. A dull one needs you to lean into the plane, which makes tear-out worse and wears you out faster. If you’ve ever given up on hand planing because it felt like hard, unrewarding work, the blade was probably the problem, not the technique.
There’s also a knock-on effect on the rest of the tool. A dull blade forces you to take deeper cuts to make any progress at all, which loads up the mouth of the plane with torn fibers and shavings that jam instead of clearing. People often blame the plane itself — a poorly tuned frog, a clogged mouth, a sole that needs flattening — when the actual fault is a blade that was never properly sharp in the first place. Sharpening first, before you start adjusting the rest of the tool, saves a lot of wasted tinkering.
What you actually need to sharpen a hand plane blade
You need three things: something flat to flatten the back on, something to shape a bevel, and something to remove the burr. That’s it. Everything else is optional convenience.
A workable secondhand setup looks like this:
- A flat surface — a piece of glass, granite offcut, or a machinist’s flat reference plate
- Sandpaper in a few grits (220, 400, 800, 1200) or a couple of secondhand oilstones (coarse and fine)
- Some kind of strop — an old leather belt glued to a board works fine
- A honing guide (optional, not required if you can hold an angle steady)
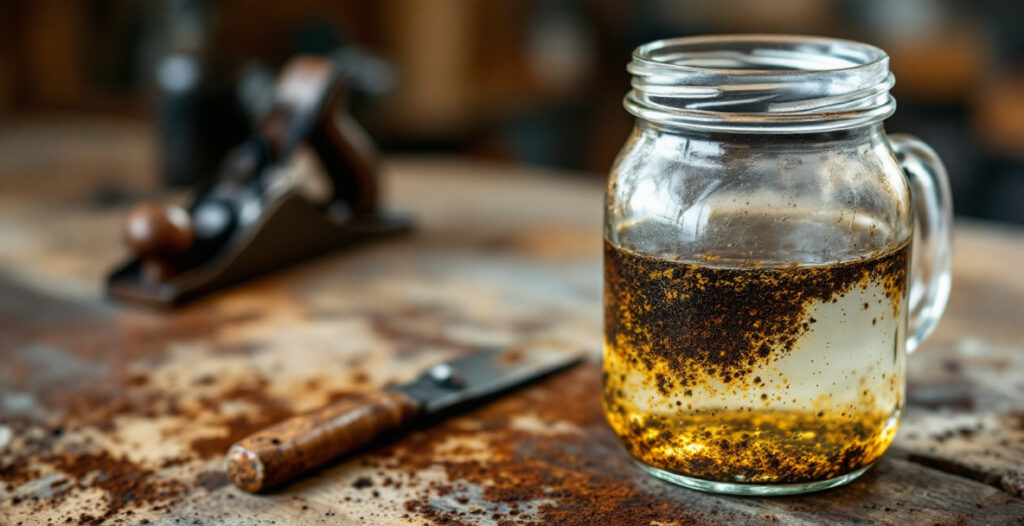
None of this needs to be new. Old oilstones show up cheap at estate sales because most people don’t know what they are anymore. A worn-out leather belt from a charity shop makes a perfectly good strop once it’s glued flat to a scrap of wood.
A small tin of honing compound helps but isn’t essential either — plain leather with nothing on it will still remove a burr, just more slowly. If you do pick up a tube of compound secondhand or cheap, a light smear goes a long way; you’re aiming for a thin, even film, not a thick paste. Green or white compound both work fine for this level of sharpening, and neither is worth agonizing over.
How to sharpen a hand plane blade step by step
Sharpening a hand plane blade comes down to four stages: flatten the back, hone the bevel, remove the burr, and test the edge in wood. Skipping the first step is the most common reason people end up with a blade that still won’t cut cleanly no matter how much they hone the bevel.
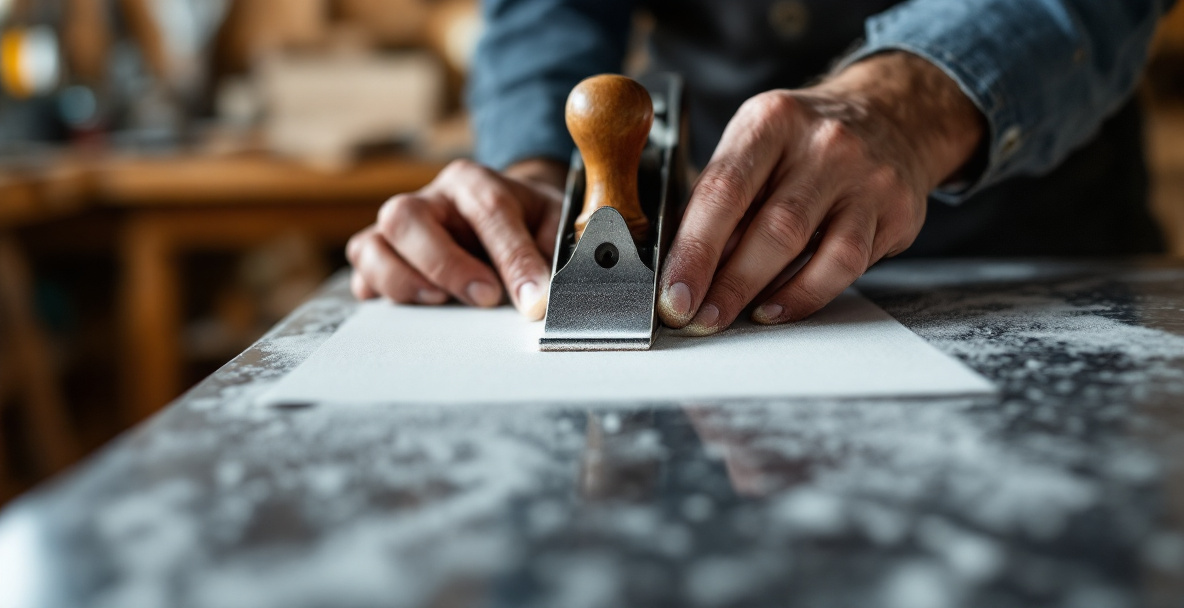
Step 1: Flatten the back of the blade
The back of the blade needs to be dead flat, at least for the last inch or so near the cutting edge. Lay your coarsest sandpaper on the flat surface, hold the blade flat against it, and rub back and forth in a figure-eight motion. Work through the grits until you get a consistent, mirror-ish scratch pattern near the edge.
This step is tedious and it’s tempting to skip. Don’t. A blade with a back that isn’t flat will never take a clean, consistent shaving, no matter how sharp the bevel gets — the two surfaces need to meet at a true edge, and a hollow or rounded back prevents that.
On an old secondhand blade, this first flattening can take a while if the back is pitted or was never properly finished at the factory. That’s normal, and it’s a one-time cost — once the back is flat, you’ll never need to fully redo this step again, only touch it up occasionally as part of future sharpening sessions.
Step 2: Hone the bevel
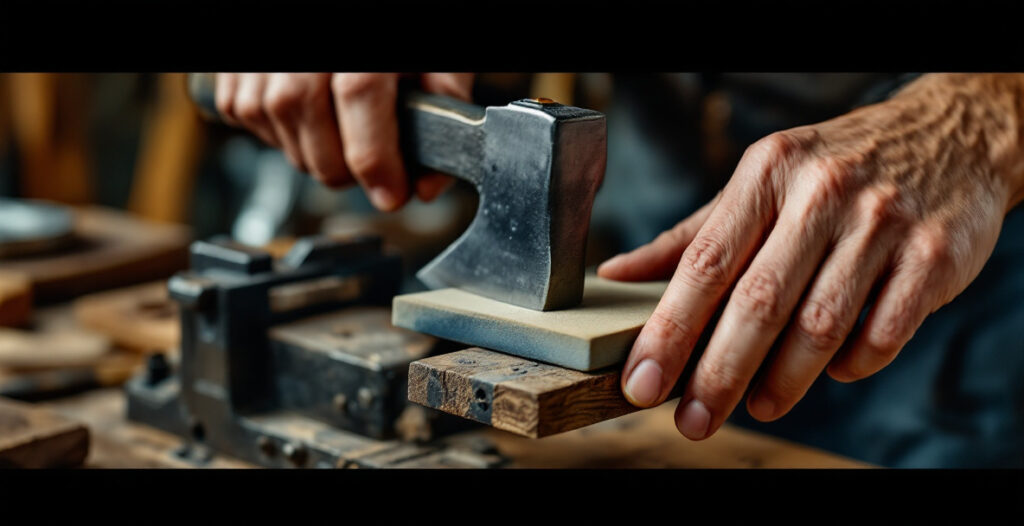
Set the blade at roughly 25-30 degrees to the stone or sandpaper and work it in the same back-and-forth or figure-eight motion. If you’re using a honing guide, set it once and trust it. If you’re going freehand, rest the bevel flat on the surface first so you can feel the correct angle, then lift very slightly and hold that position steady.
Work through your grits from coarse to fine. You’ll feel a small burr, or wire edge, form on the back of the blade once the bevel is fully honed — run your fingernail lightly across the back near the edge and you’ll catch it as a slight snag.
Keep even pressure across the width of the blade as you work, and check the bevel periodically to make sure you’re not rocking the angle without realizing it. A common beginner mistake is applying more pressure on one side, which rounds the edge unevenly and leaves one corner duller than the rest. If you notice this happening, ease off and let the abrasive do the work rather than pushing harder.
Step 3: Remove the burr
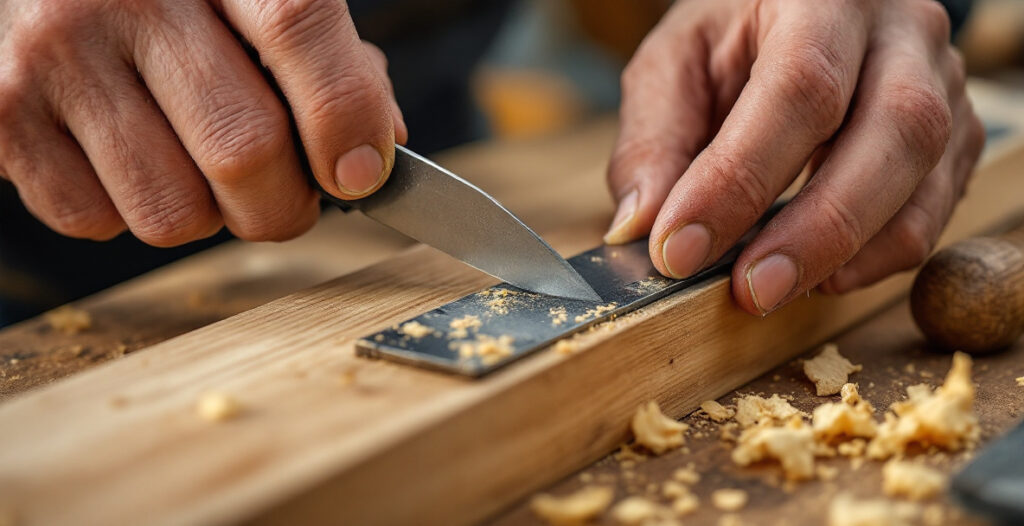
Strop the back flat on leather a few times, then alternate a couple of light passes on the bevel and the back to work the burr off completely. Don’t press hard here — a strop removes the last of the wire edge, it doesn’t reshape anything.
If the burr won’t come off after several passes, it usually means the bevel isn’t fully honed yet. Go back to your finest stone or grit and try again before returning to the strop.
Step 4: Test the edge
The real test isn’t how the edge looks, it’s how it cuts. Push the blade through the end grain of a piece of scrap softwood — it should slice cleanly with light pressure, not tear or crush the fibers.
If it’s still tearing, go back through the grits rather than pushing harder in the plane itself. Forcing a dull blade through wood is how people end up blaming the tool, or themselves, when the real fix is another minute on the stone.
Do you need expensive sharpening stones?
No. Sandpaper glued or clipped to a flat surface, sometimes called the “scary sharp” method, gets a hand plane blade just as sharp as premium waterstones. What actually matters is having a genuinely flat reference surface and working through a range of grits methodically.
Secondhand oilstones are also a solid option and often turn up cheap because they’ve fallen out of fashion in favor of waterstones. A worn stone can be flattened itself using the sandpaper method above, so buying one that looks a bit dished isn’t automatically a bad deal — check the price against a flattening plate before you rule it out.
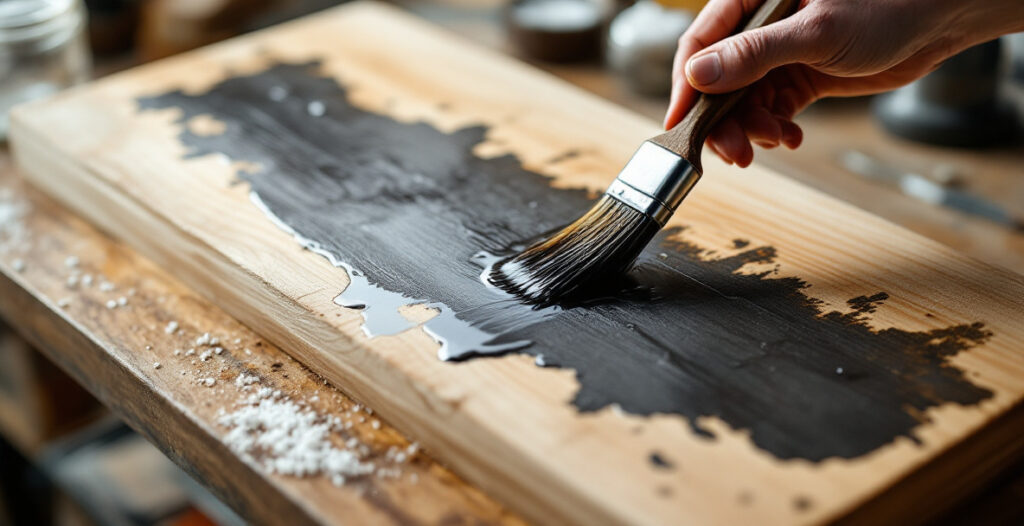
Oilstones do need occasional oiling to keep swarf from clogging the surface, but a light machine oil or even mineral oil from a chemist works fine — you don’t need a specialist honing oil to get good results.
How often should you sharpen a hand plane blade?
Sharpen whenever the edge stops cutting cleanly, which for regular hobby use is often every session or two, not on a fixed schedule. Softwoods are more forgiving; hardwoods and end grain dull an edge faster.
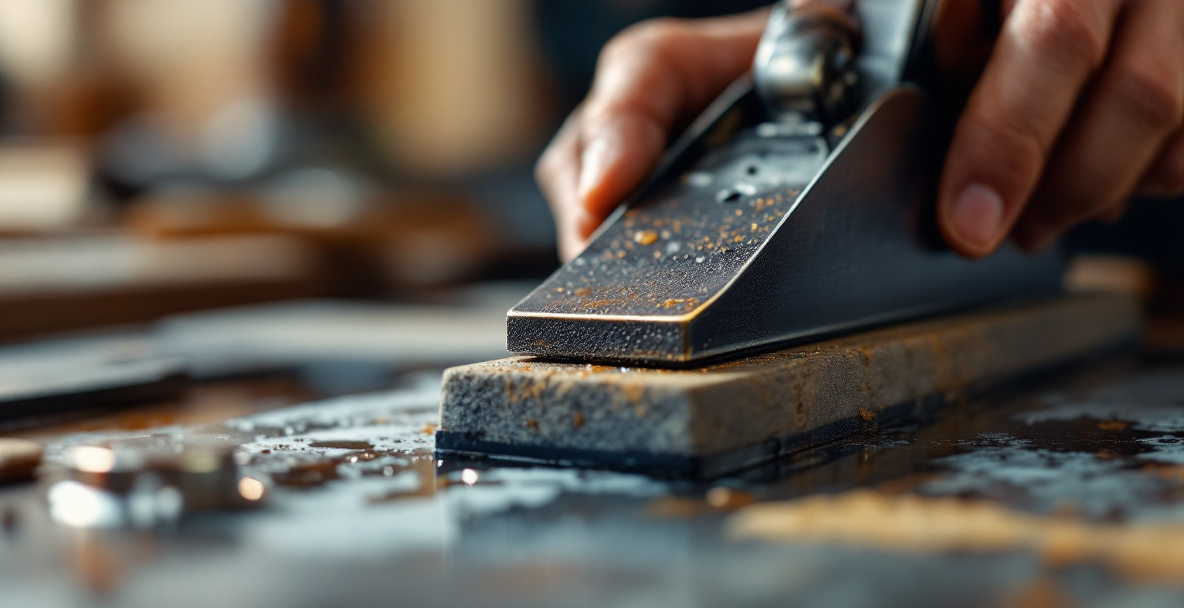
A quick strop between full sharpening sessions extends the edge considerably and takes under a minute. Treat full honing as the occasional deeper maintenance, and stropping as the everyday touch-up.
Buying a secondhand plane blade or plane
A secondhand plane is usually a better starting point than a new budget one, because older steel is often higher quality and the flaws are visible before you buy. Check for a straight, unpitted edge, a back that isn’t badly rusted, and a sole that isn’t badly warped.
Minor rust and a dull edge are not problems — that’s exactly what sharpening fixes. What you want to avoid is pitting right at the cutting edge, since that leaves tiny notches sandpaper and stones can’t fully remove without grinding away a lot of steel.
It’s also worth checking the blade thickness and how much life is left in it. Old blades that have been sharpened many times over the decades can be noticeably shorter than new ones, and if there isn’t much steel left, you’ll be regrinding a fresh bevel again sooner than you’d like. A blade with plenty of length left gives you years of sharpening before it needs replacing.
If you’re building your first pieces of furniture with a small tool kit, it’s worth reading through the site’s hand tool woodworking guides for small spaces before investing in more gear than you actually need.
Frequently asked questions
What angle should I sharpen a hand plane blade at?
Most bench plane blades are sharpened at a bevel angle between 25 and 30 degrees, with 30 being a common, durable middle ground for general-purpose work. The exact angle matters less than keeping it consistent across the whole bevel.
Can I sharpen a hand plane blade without a honing guide?
Yes. A honing guide makes it easier to hold a consistent angle, but plenty of woodworkers sharpen freehand by resting the bevel flat first and lifting slightly. It takes some practice to get consistent, but it’s not a required tool.
Why does my plane blade keep going dull quickly?
This is usually down to the wood, not the sharpening. Hardwoods, knots, and end grain dull an edge much faster than straight-grained softwood, so if you’re working difficult material, expect to sharpen more often rather than assuming something went wrong.
Is sandpaper sharpening as good as using stones?
For a hand plane blade, yes — the “scary sharp” sandpaper method produces an edge that performs the same as one honed on stones, as long as the backing surface is genuinely flat and you work through a proper range of grits.
How do I know when the blade is sharp enough?
Test it in scrap wood rather than trusting how it looks. A sharp blade takes a thin, clean shaving with light hand pressure and no tearing; if you have to push hard or the surface looks fuzzy, it needs more work.